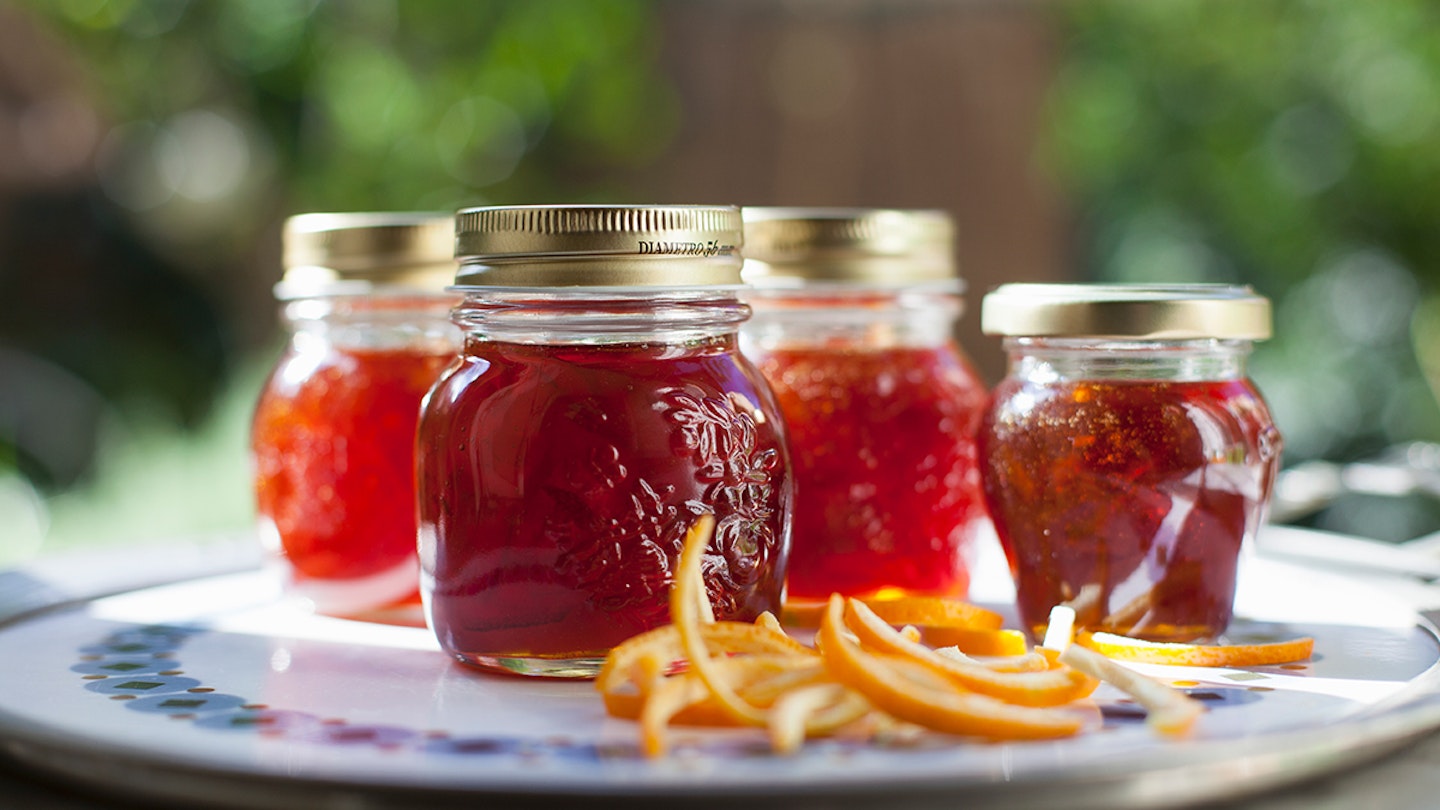
Anyone can make jam! Jam making is very straightforward and you don't need any special equipment. All you have to do is pick your favourite fruit and you're ready to go!
You can get creative and add in spices or herbs or keep it classic.
There are many types of foods you can turn into jam such as rhubarb, strawberries, blackcurrants, cherries, raspberries, blackberries, plums, damsons and even chillis!
Here is our complete guide on how to make jam, what you will need and frequently asked questions.
What you need to make homemade jam
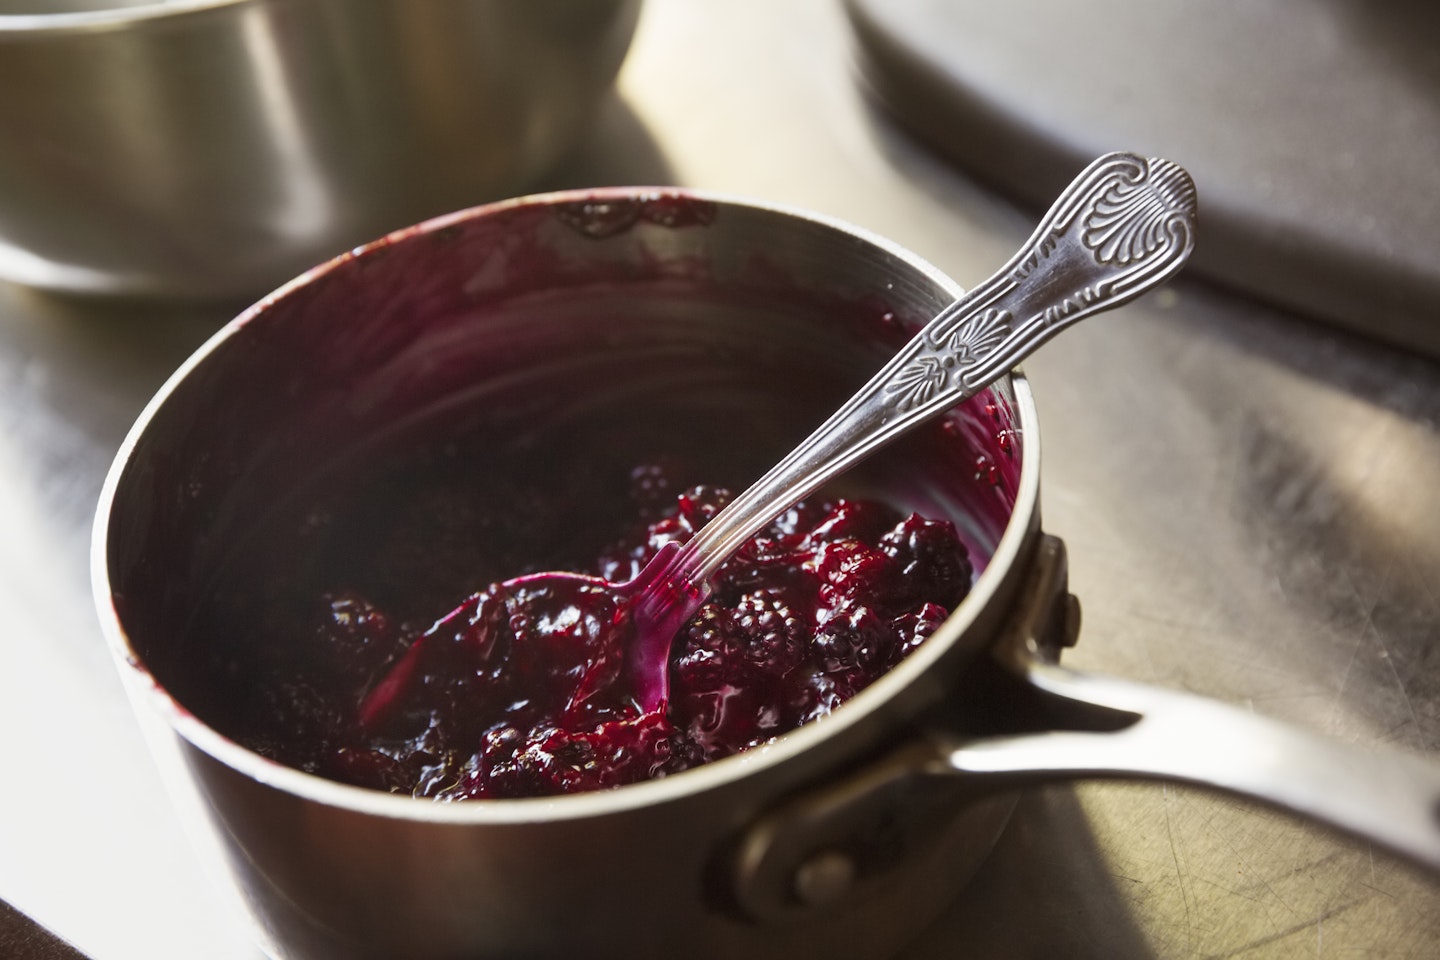
Ingredients
-
Fruit - preferably fresh, but frozen works well too
-
Pectin - 1 package (box usually) or 8 Tablespoons from a jar.
-
Sugar
-
Lemon juice (Not always necessary, as many fruits and berries have sufficient acidity to ensure a good gel).
Equipment
-
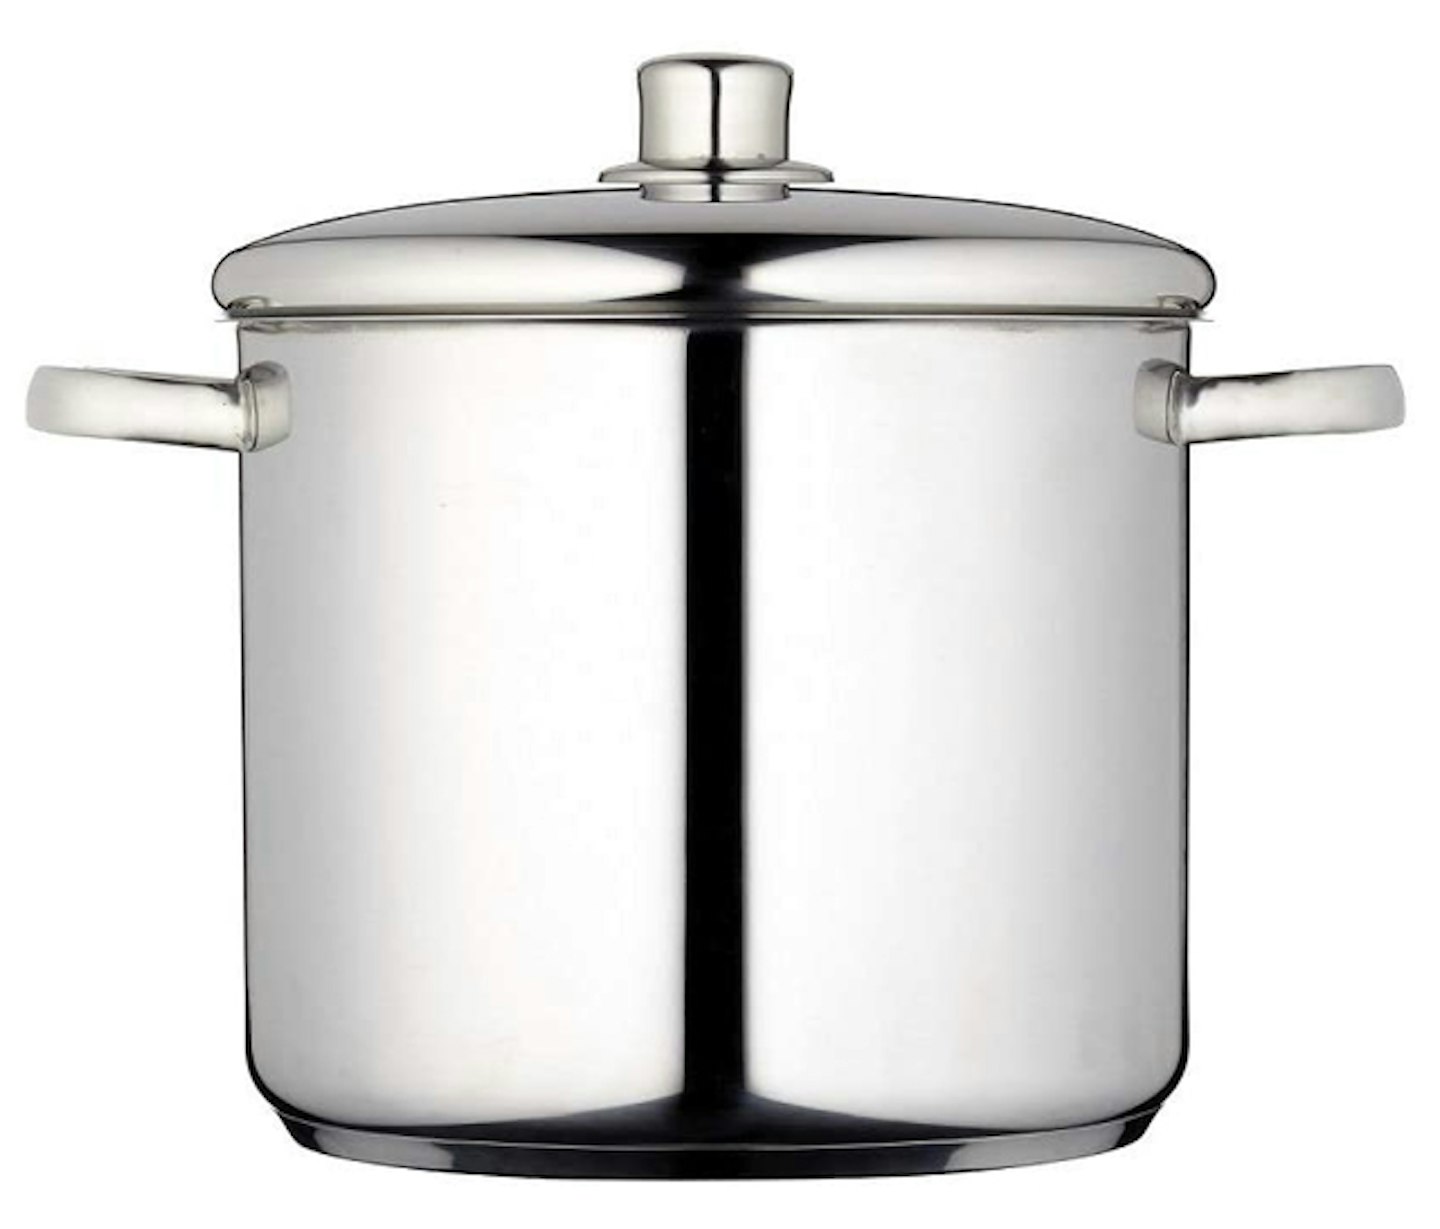
A large pot
-
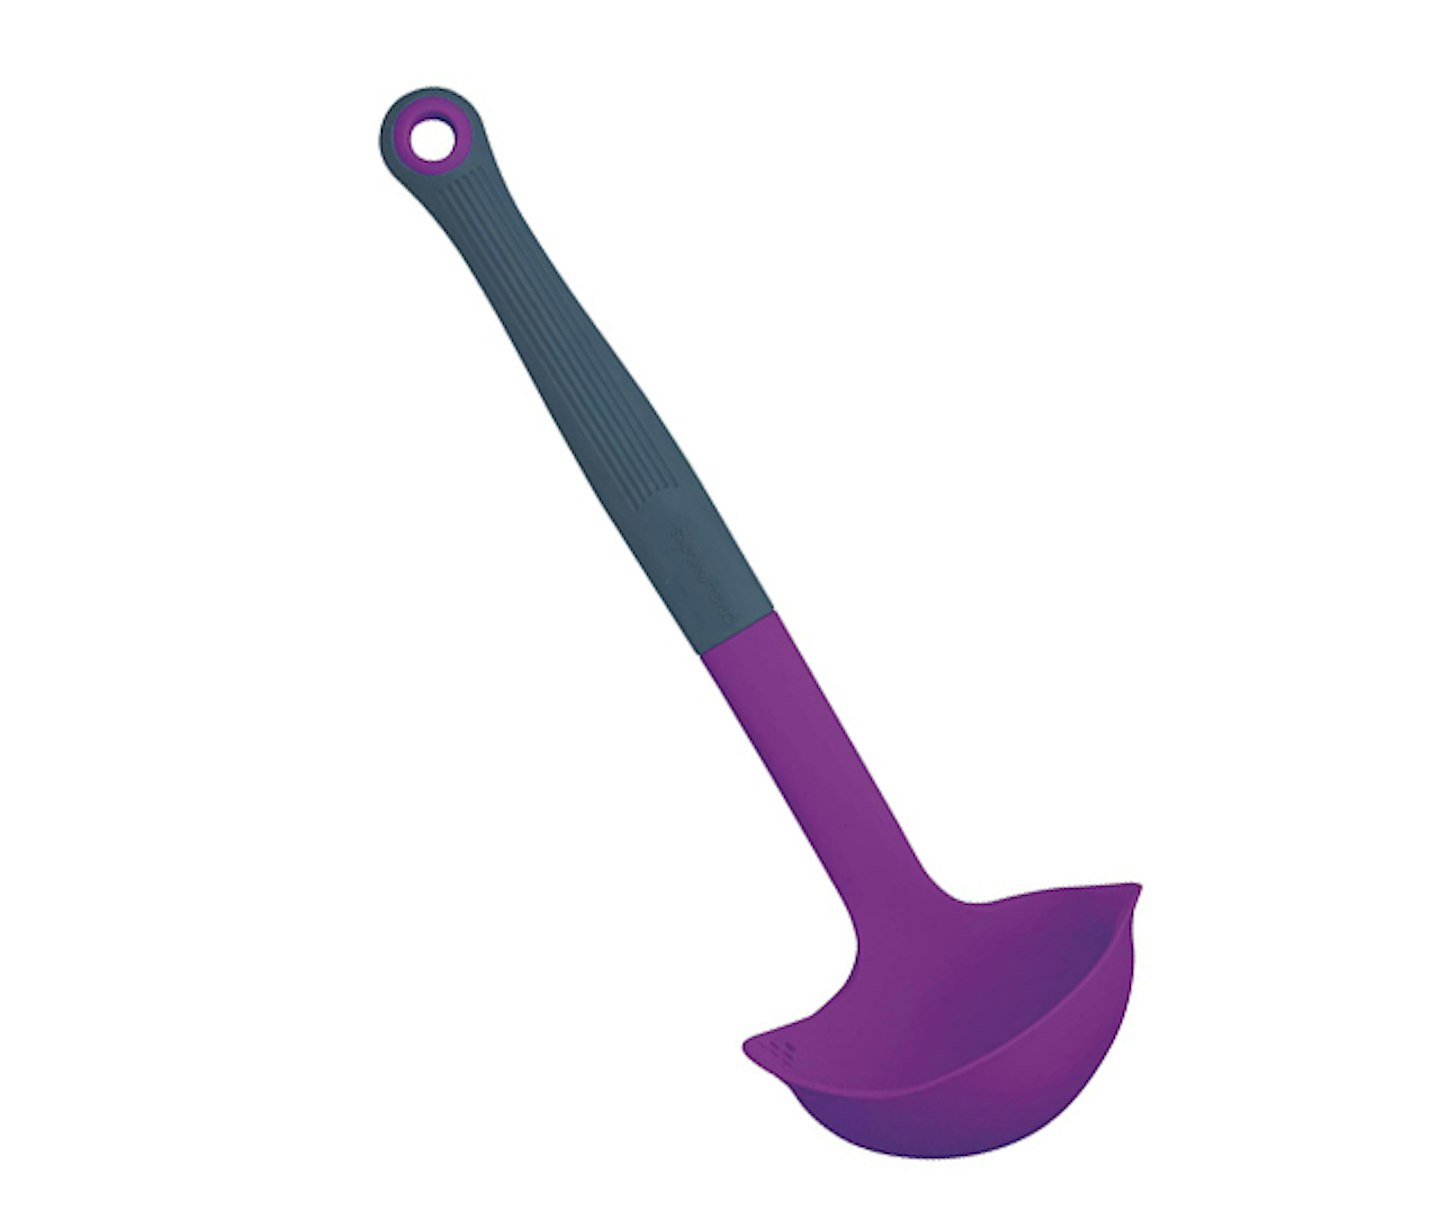
Large spoons and ladles
-
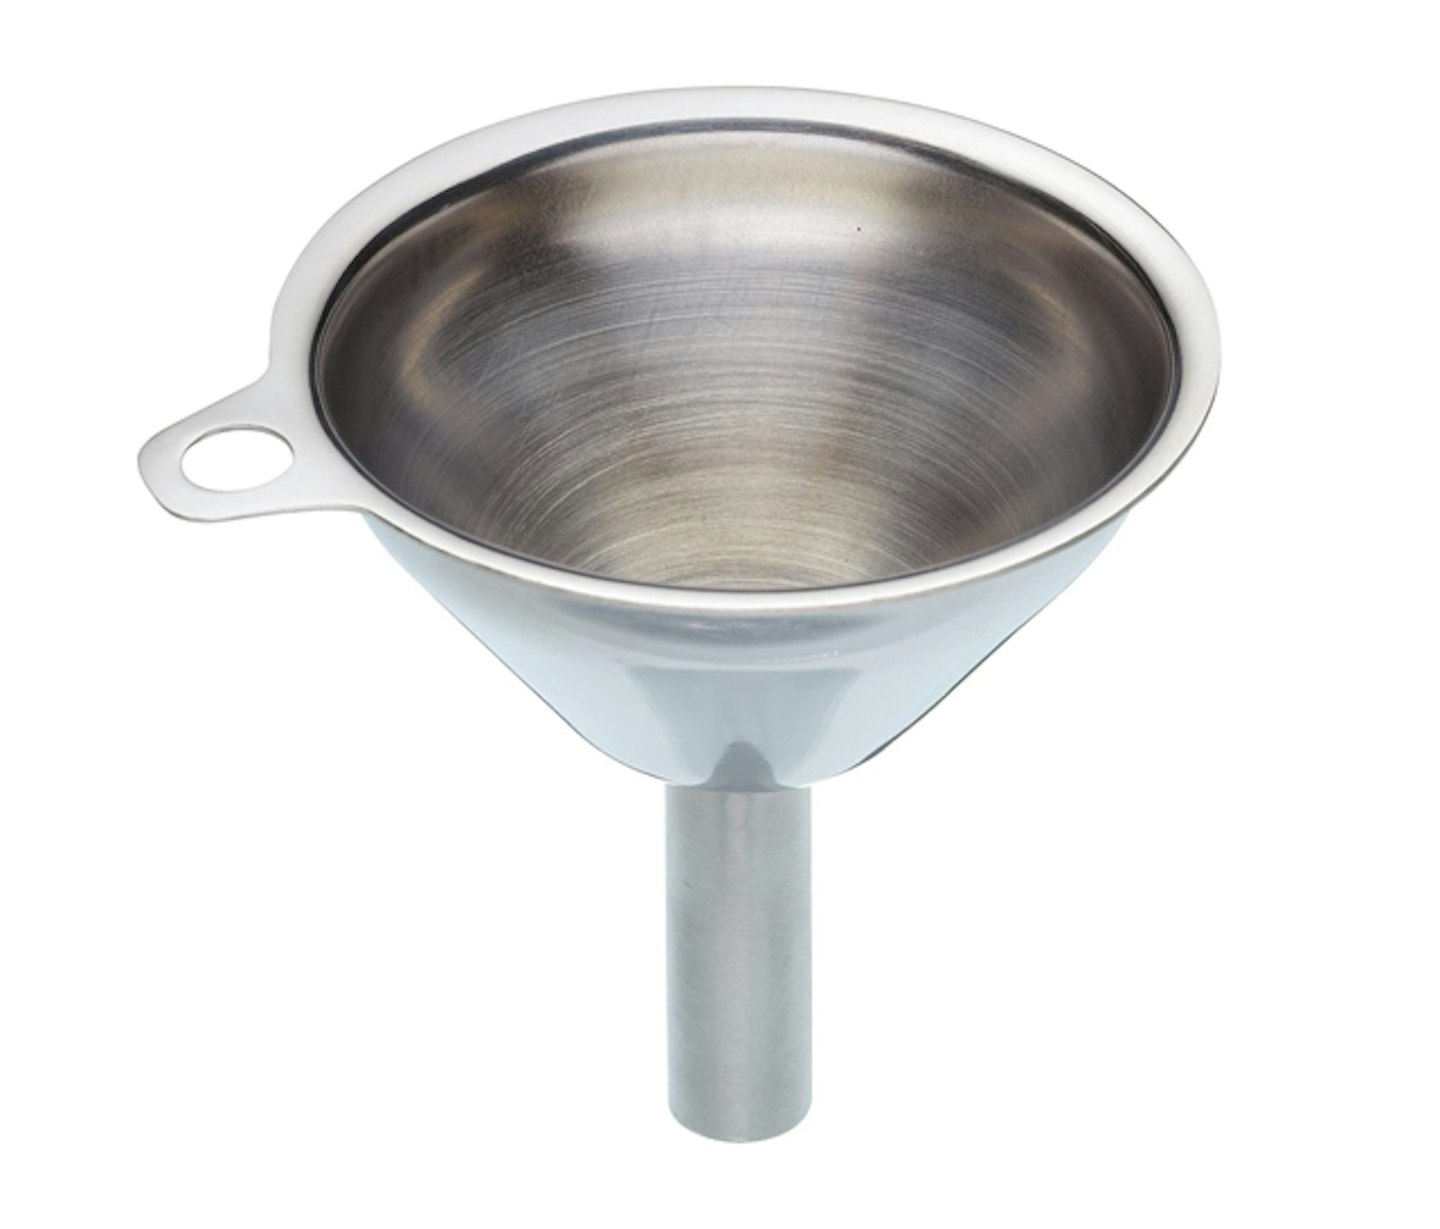
A jar funnel
-
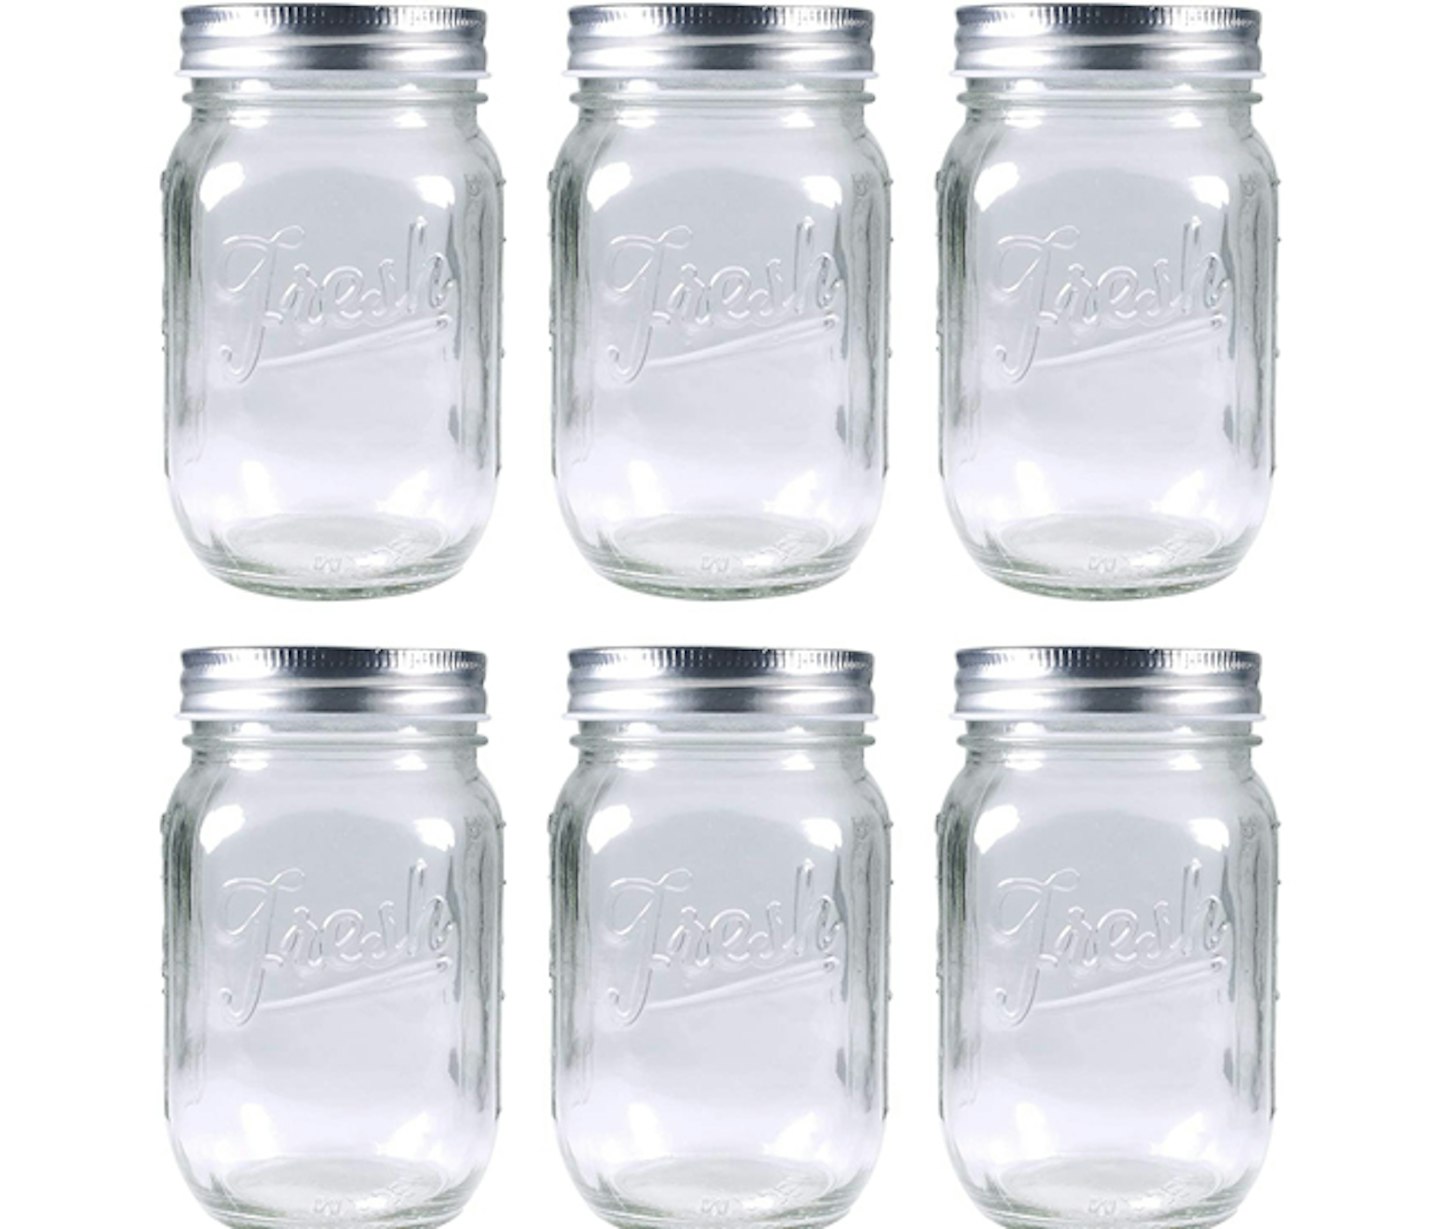
Jars and lids – Jars with thin, flat, round metal lids work best.
-
Rings - metal bands that secure the lids to the jars. They may be reused many times.
-
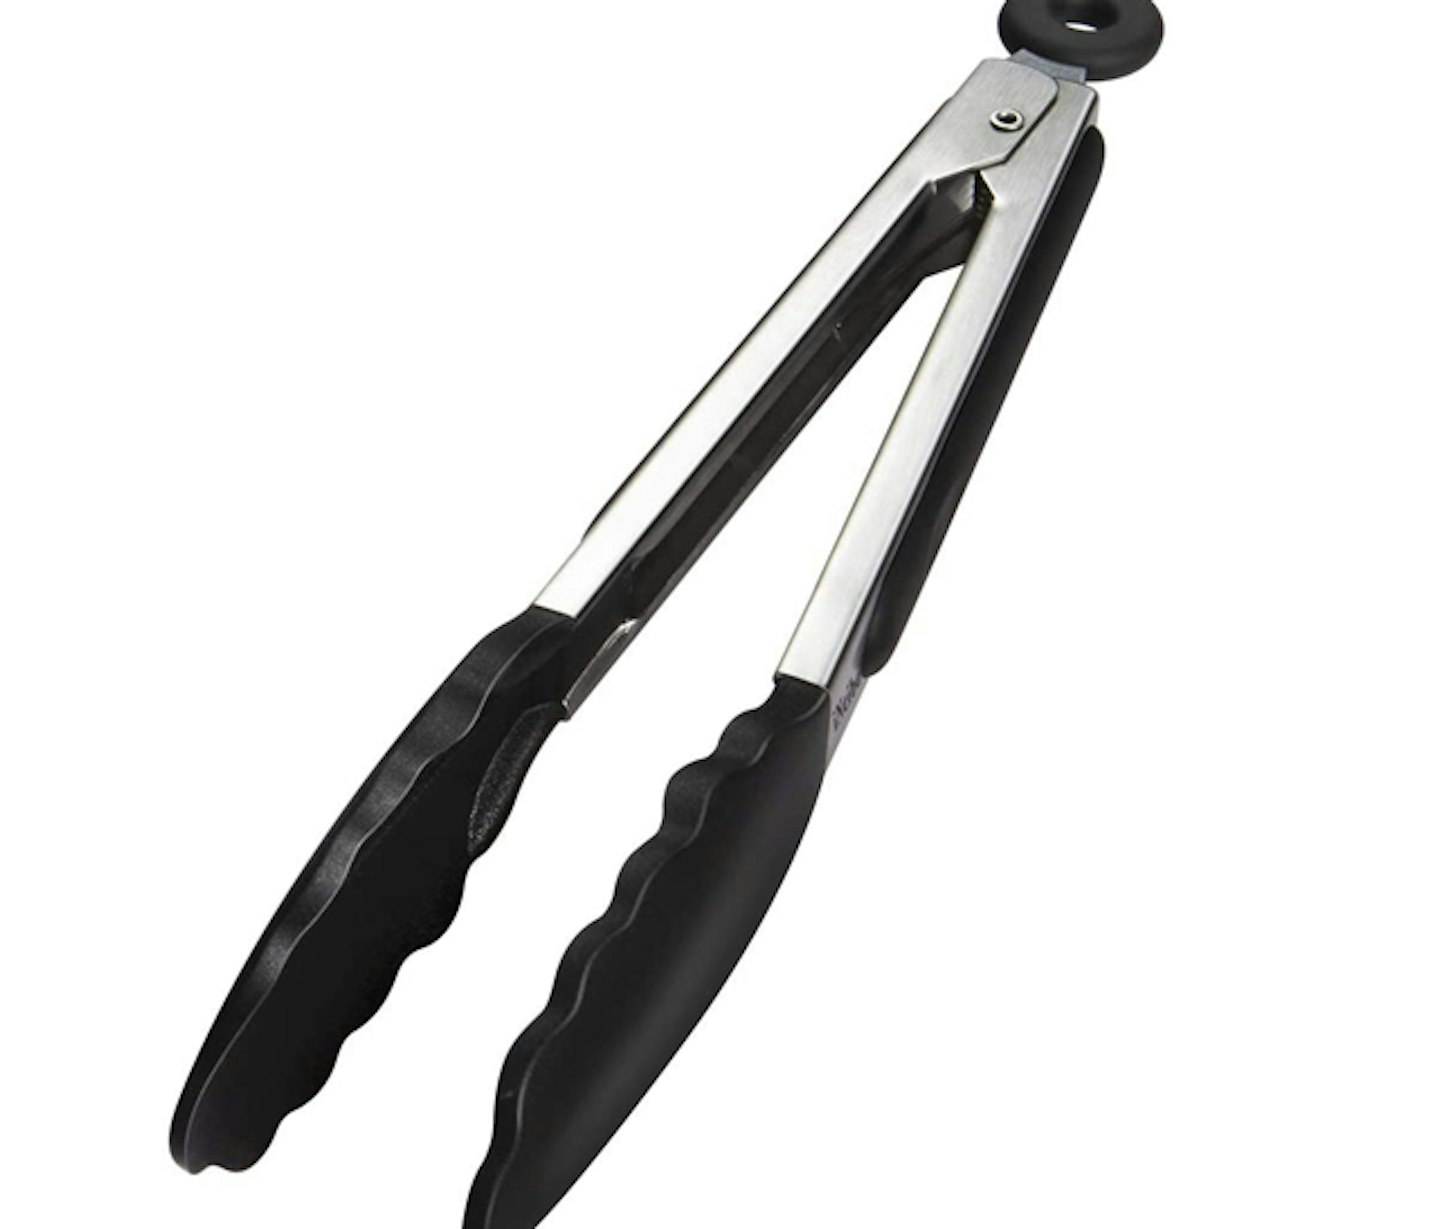
Jar grabber or tongs (to pick up the hot jars)
Where to buy jam-making equipment
Just so you know, whilst we may receive a commission or other compensation from the links on this page, we never allow this to influence product selections.
Step-by-step guide to making jam
Step 1 - Choose your fruit
There are many types to pick from such as rhubarb, strawberries, blackcurrants, blueberries, raspberries, blackberries, damsons. You can also use frozen berries!
How much fruit should you use?
As jam can only be made in small batches – around 6 cups at a time or approximately 1140g. It is easier and faster to get an even heat distribution in smaller batches.
Step 2 – Sterilise and wash the jars and lids
It is essential to sterilise your jars to get rid of any bacteria that could cause the jam to mould. If you have a good dishwasher with a very hot cycle you can sterilise jars this way.
The classic method is to wash your jars and lids (removing any rubber seals) and place them on a baking tray in the oven at 100℃ for 30 minutes or until dry. If your jars have a rubber seal, then boil these in a saucepan with water while the jars are in the oven.
When taking the jars out of the oven be very careful. Use gloves or tongs to grab the jars and dry off your rubber seals.
Top tip: You must fill up your jars with jam whilst they are still hot, so time this according to when your jam will be ready.
Step 3 - Wash the fruit
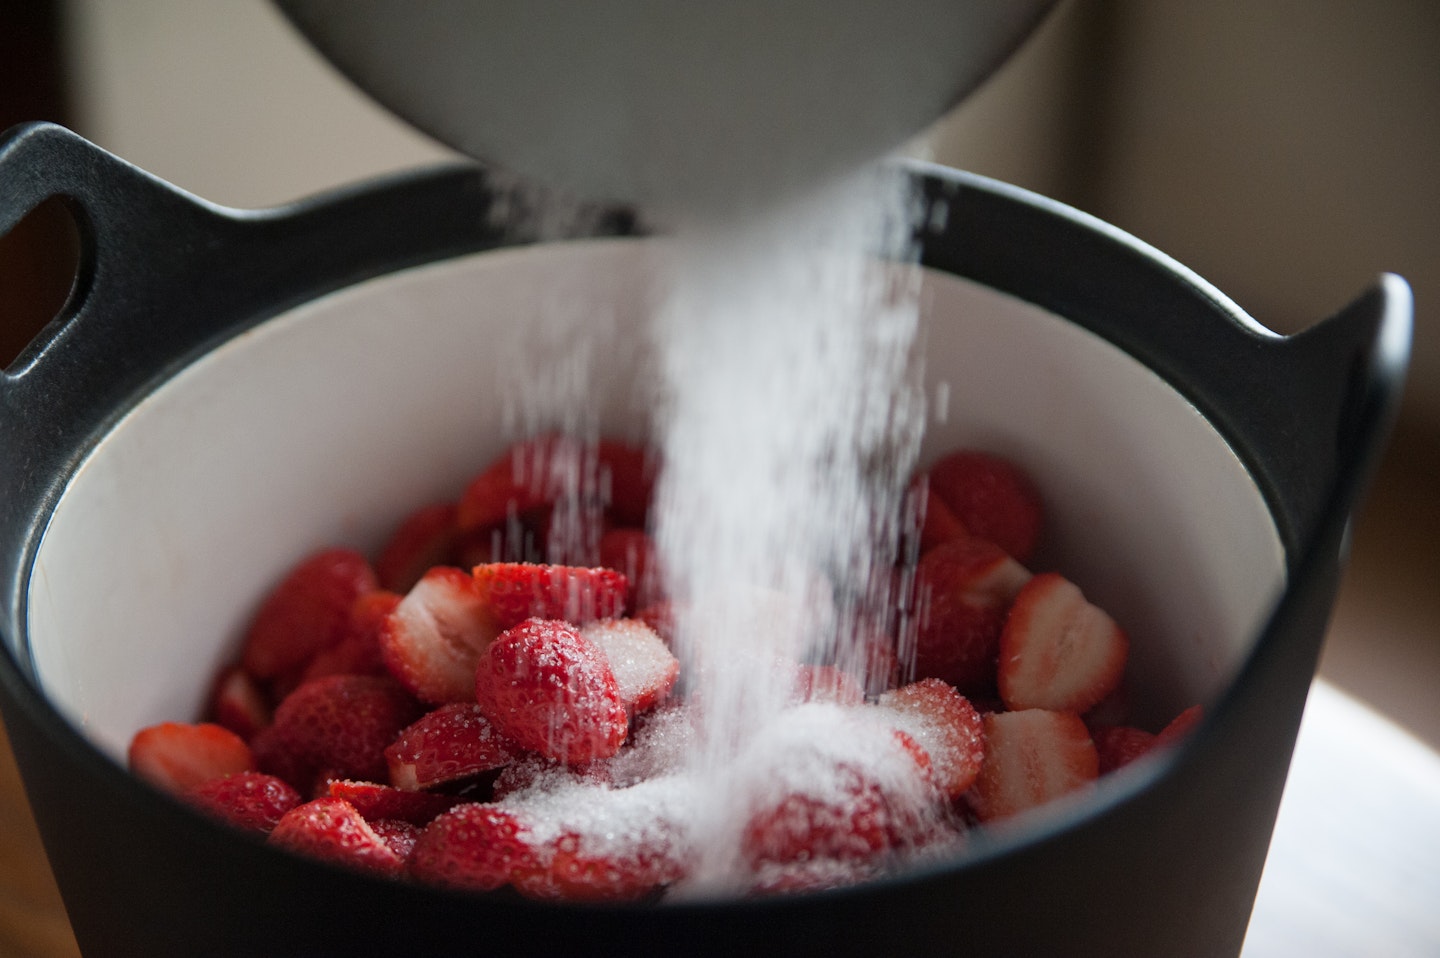
Wash your fruit and add to a large pan with the sugar. You can get creative and add spices, herbs and other flavourings to complement the jam.
With strawberries, you should remove the hulls, other berries you just need to pick off any stems and leaves.
Step 4 - Crush up the fruit and measure the sugar
The amount of sugar you will need depends on what type of berry you are making the jam with. You will need to use a different quantity of sugar, jam and pectin.
The exact measurements of pectin you need will be outlined on its packaging.
For most fruit, like berries, with low sugar pectin, you'll need around 800g of sugar.
If you are not adding any sugar, be sure to stir more vigorously to stop the pectin from clumping up.
Using a potato masher or fork, mash the sugar, fruit and any added flavours together until it is almost completely crushed. The fewer the lumps, the smoother your jam will be.
Step 5 - Mix the berries and pectin and bring to a boil
Next, stir the pectin and the berries in a big pot on the stove on medium heat and stir to prevent the jam from burning the bottom of the pot. This should take 5 to 10 minutes to get a full boil.
Pectin is extremely useful when making jam as it reduces the cooking time, you need much less sugar and helps to preserve the vitamins and flavour of the fruit. The amount of time it will take to be ready depends on what type of fruit you use.
For your jam to set it will need to get to around 105℃.
Top tip: To make sure your jam is ready, pop a plate in the fridge and when you’ve reached the boiling time specified in the recipe, take a teaspoonful from the pot and pour it onto the cold plate. Gently push the jam with your finger and if the jam wrinkles, it will set when cool. If it doesn’t, leave the jam on the heat for a few more minutes and repeat until wrinkles appear!
Step 6 - Skim any excessive foam
Turn off the heat and skim the foam from the surface of the jam. The foam is harmless, but it has no taste.
Step 7 - Fill the jars and put the lid and rings on
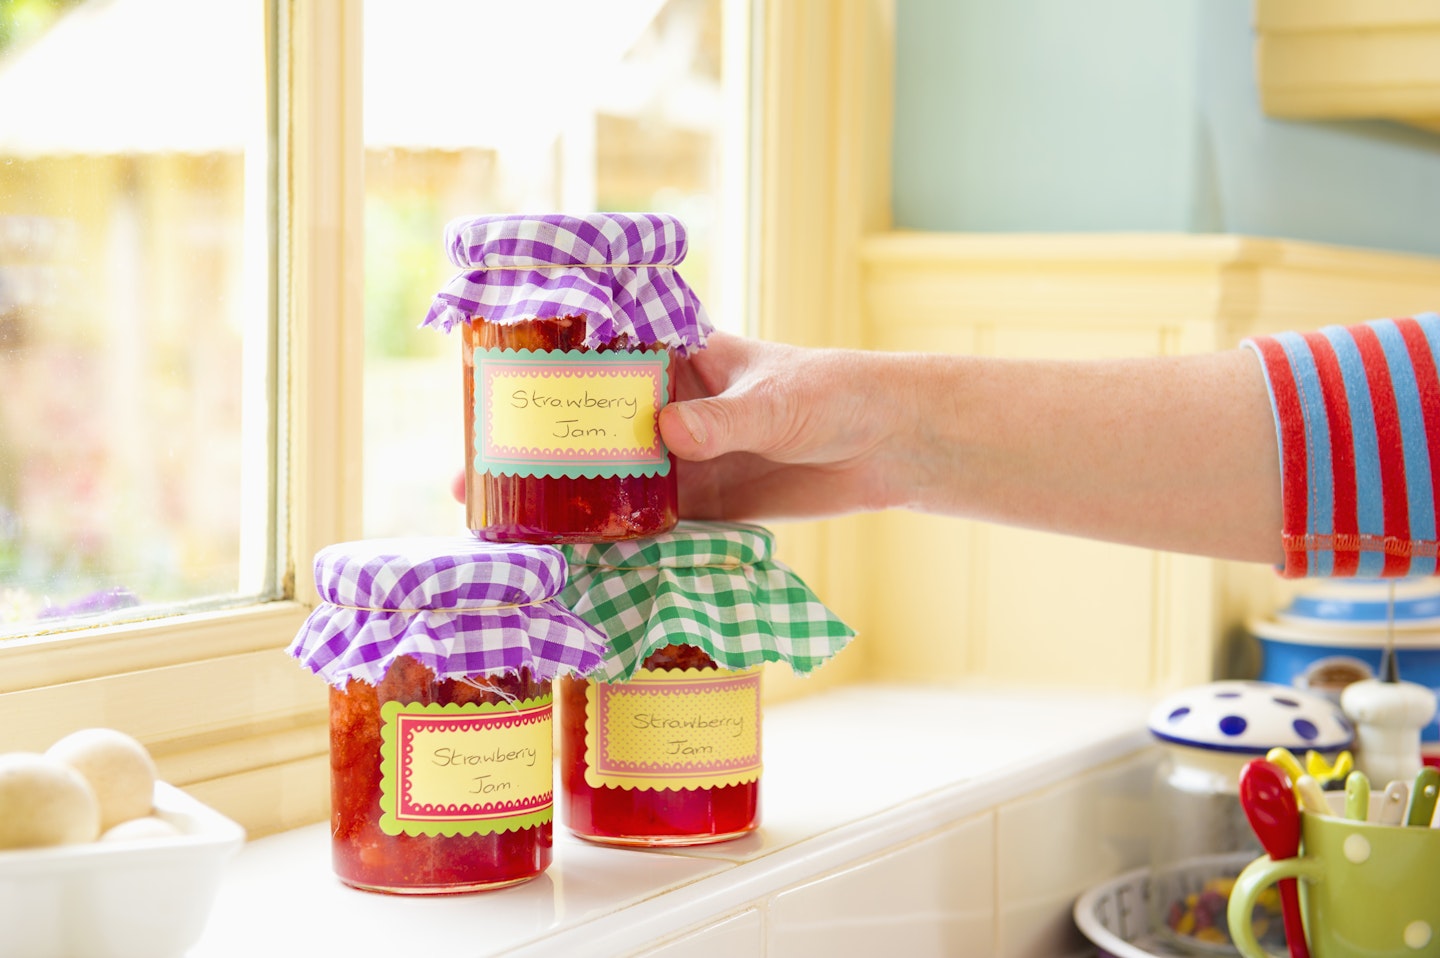
Now is the time to can your jam! While your jars are still hot, fill them up within 1/4-inch of the top. Once filled, secure with a lid and leave it cool and label it so you know what flavour it is
Step 8 - Cool the jars
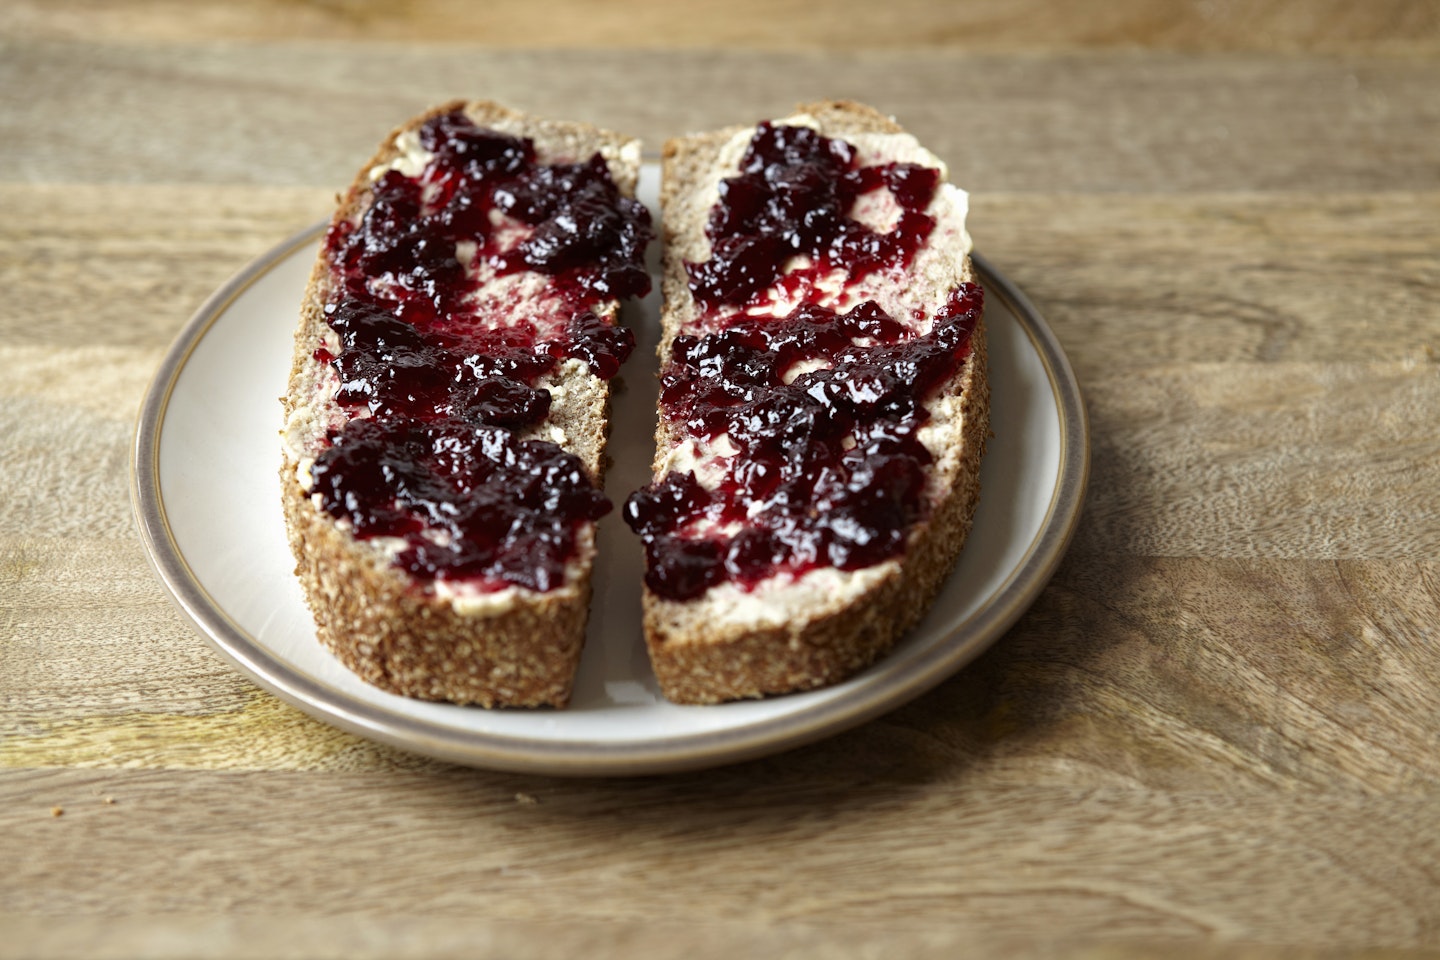
Make to store the jars in a cool dry place. Now you can enjoy your homemade jam on tarts, toast, scones, cakes or in your morning porridge.

How to properly process jam jars to make them last longer.
The canning method is quite uncommon in the UK, however, it is a far safer food preserving practice that will allow your jams to last in a cool dark place for up to two years. Water bath canning sterilizes and preserves high-acid food like jams, jellies, pickled foods, and chutneys. Doing this extra step will make sure that your preserves won't go off or mouldy.
Start by lowering the jars into a large pot or a canner using a jar lifter. Make sure the water covers the jars by an inch so that there is half an inch of space between the pot and the jars.
When the water has come to a boil set a timer for 10 minutes. Then take the jars out and set them on a towel.
Leave them for at least 12 hours to cool down. With metal lids, you'll hear pops as the lids seal. When they have cooled, store in a dark cupboard but refrigerate after opening the jars.
How long does it take jam to set?
Jam can take 24-48 hours to set. Give it time. Jam can take up to a week to be entirely set. Don’t assume that is is a failed batch ten minutes after you take it out of the pot. Give it some time. The amount of time the jam will take to set varies on the fruit.
Why is my jam too runny?
Using pectin will ensure you will have a completely set jam. There are also natural no-sugar pectins that allow you to reduce the sugar you add by half or even eliminate sugar altogether.
Why is my jam too thick?
Usually, this occurs by overcooking the jam, adding too much pectin, using too little fruit or juice, or not using enough sugar. It is better to undercook rather than overcook it as runny jam can be cooked up again.
What is pectin?
Pectin is a natural gelling substance that comes from many fruits. It is mostly found in the pips, cores and skin of the fruit. The cell walls of a not yet ripe fruit contain pectose, a substance that changes into pectin when the fruit ripens, that's why slightly under-ripe fruits are best for jams and jellies.
High-pectin fruits
Crab apples, blackcurrants, gooseberries, plums, redcurrants, cooking apples, cranberries, damsons, quince, oranges and lemons.
Fruits with quite high pectin
Raspberries, loganberries, boysenberries, tayberries and apricots.
Low-pectin fruits
Blackberries, blueberries, strawberries, rhubarb, elderberries, peaches, sweet cherries, dessert apples, pears, figs and marrow.
How can I thicken jam without pectin?
You can make jam without pectin by mashing fruit and sugar with a few tablespoons of chia seeds, as chia seeds have natural gelling abilities.
Can I use brown or coconut sugar in jam?
Brown or coconut sugar can be used to make jam for any kind of fruit.
How long does jam last in the fridge?
The jam will keep for about two weeks in your fridge once opened.
Here is a video explaining how to make homemade jam from scratch:
Popular articles to read next
20 Italian Breakfasts: The ultimate guide to breakfast in Italy
