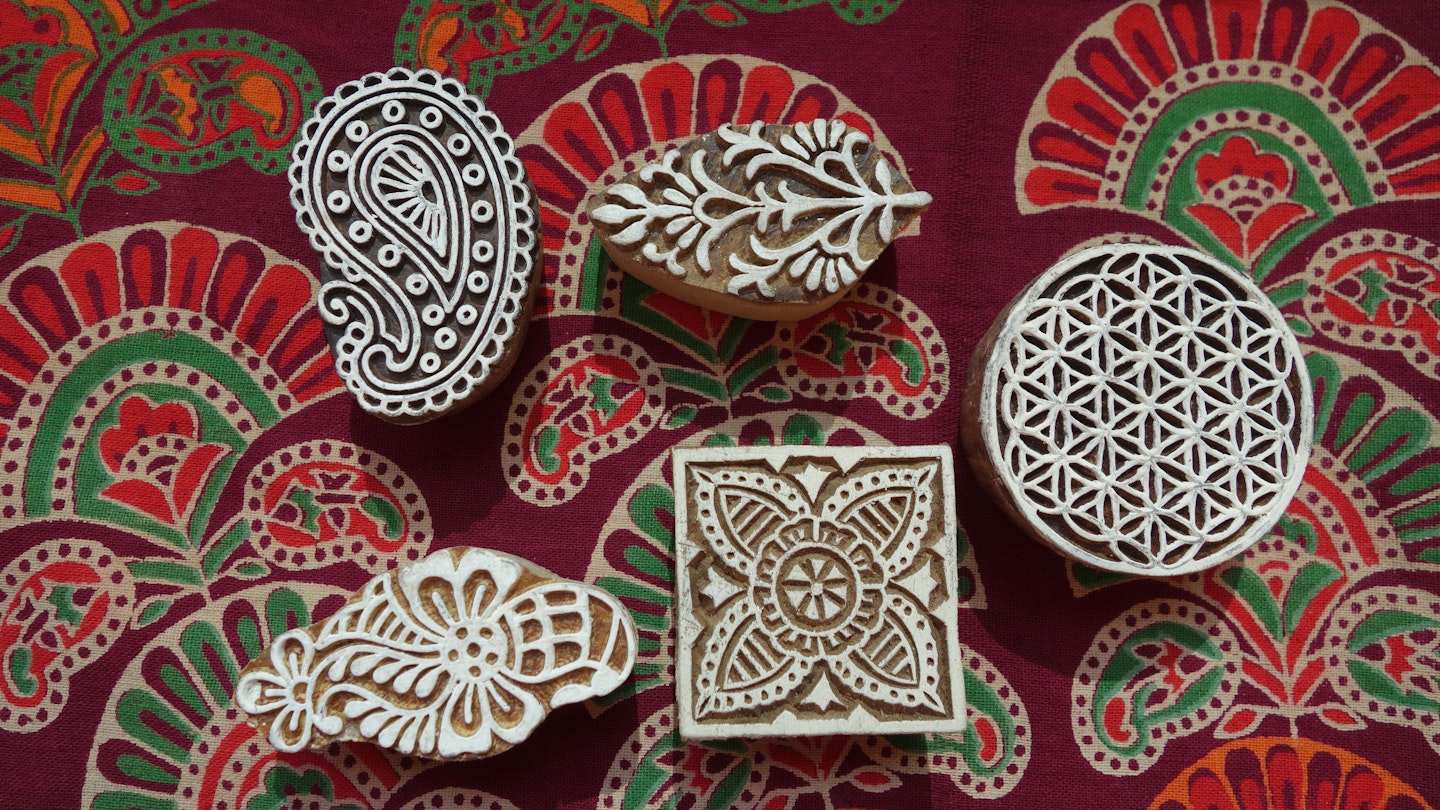
There's a long history to block printing, with many different techniques used, which is why it can make for a fun and stimulating new hobby.
What is block printing?
Block printing (also known as relief printing) is a fun and creative way of reusing old materials to make something new and show off your artistic flare. It's an ancient practice for making art and printing textiles, originating in Far East Asia.
While the first written reference to printed textiles in Europe was found in Florentine trade regulations from the fifteenth century, the earliest surviving examples in China date to before 220AD and remained the most common method in the region for printing books an images up until the nineteenth century.
In more recent centuries the practise was popularised in the Indian sub-continent as a primary method for printing on fabric. With the cultural knowledge of colour and dyes passed down through generations, India is still home to a caste of ‘chippas’, who create beautiful patterns on saris and other garments using the same basic principles from centuries gone by.
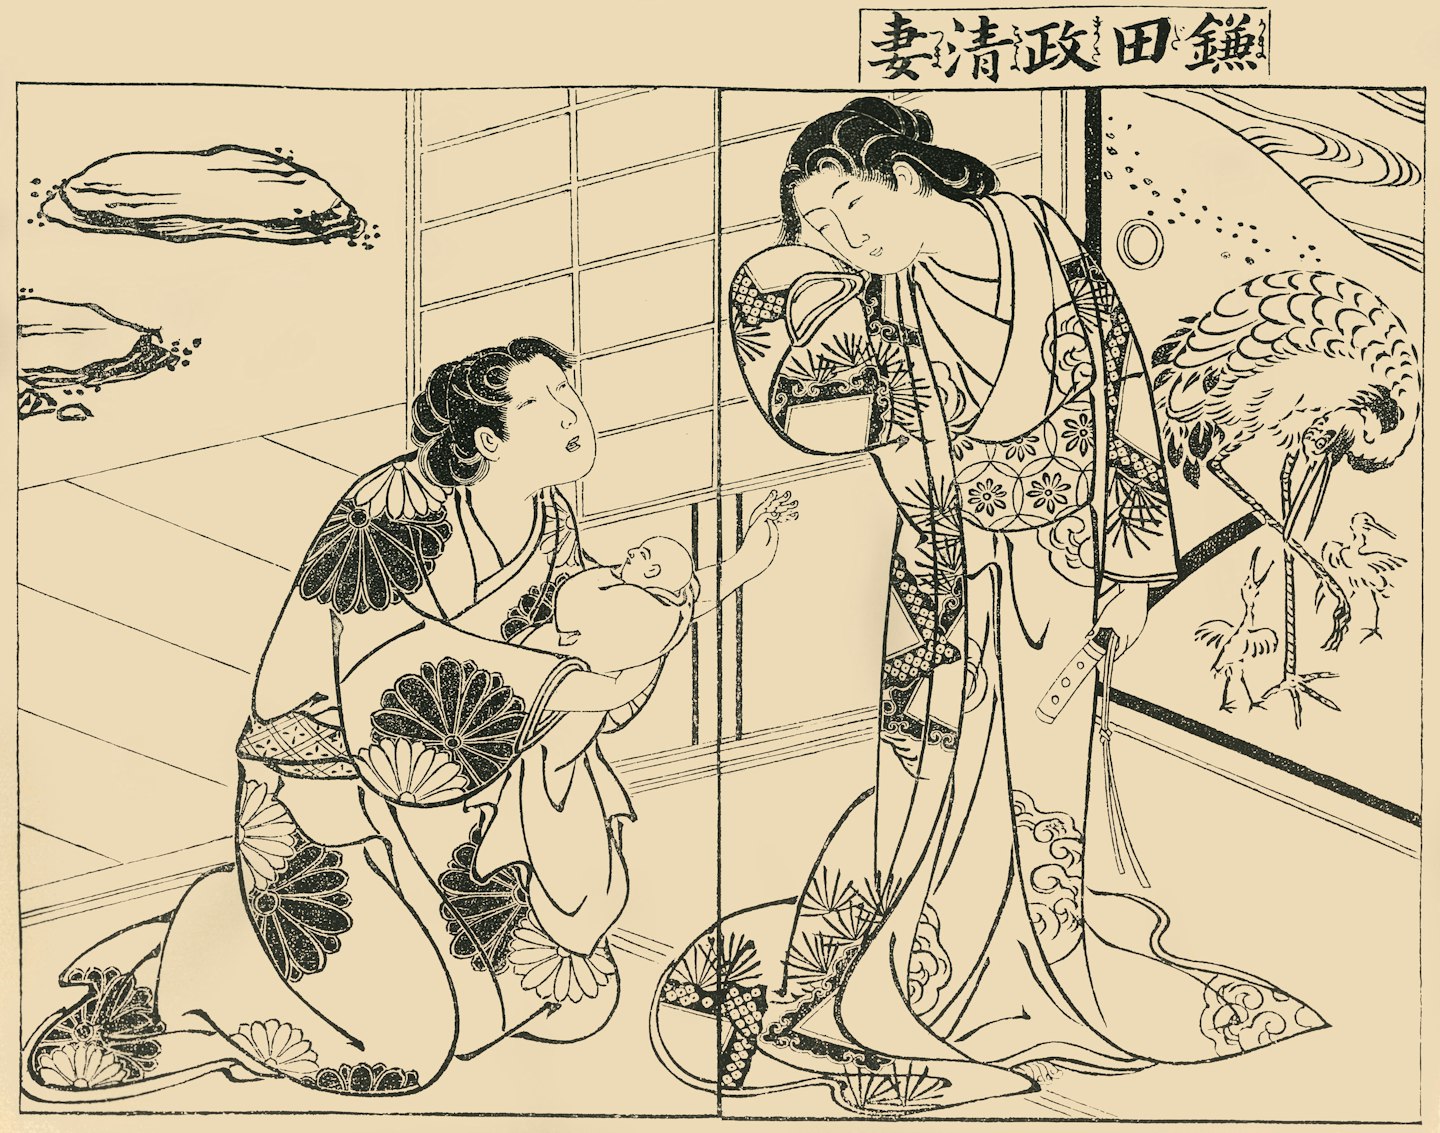
Woodblock printing techniques
Block print designs are achieved using a hand carved block of wood which are then dipped in dye and applied firmly and evenly to a surface, such as paper or fabric. The wood block will be prepared as a ‘relief’ pattern, meaning the white spaces in the design will from where the wood has been cut away. The black or coloured sections of the pattern are created from the inverse of the carving, which is tricky where letters and numbers are involved.
Block printing can be done with wood, linoleum, rubber and many other materials. To get you started, we've put together everything you need to know to get started with woodblock printing and linoleum printing.
What you need to make a woodblock print
You can buy pre-carved blocks or design your own pattern using a small carving tool. For even application of ink onto the block, some people prefer to use a small roller.
Just so you know, whilst we may receive a commission or other compensation from the links on this page, we never allow this to influence product selections.
Block printing tools
 1 of 7
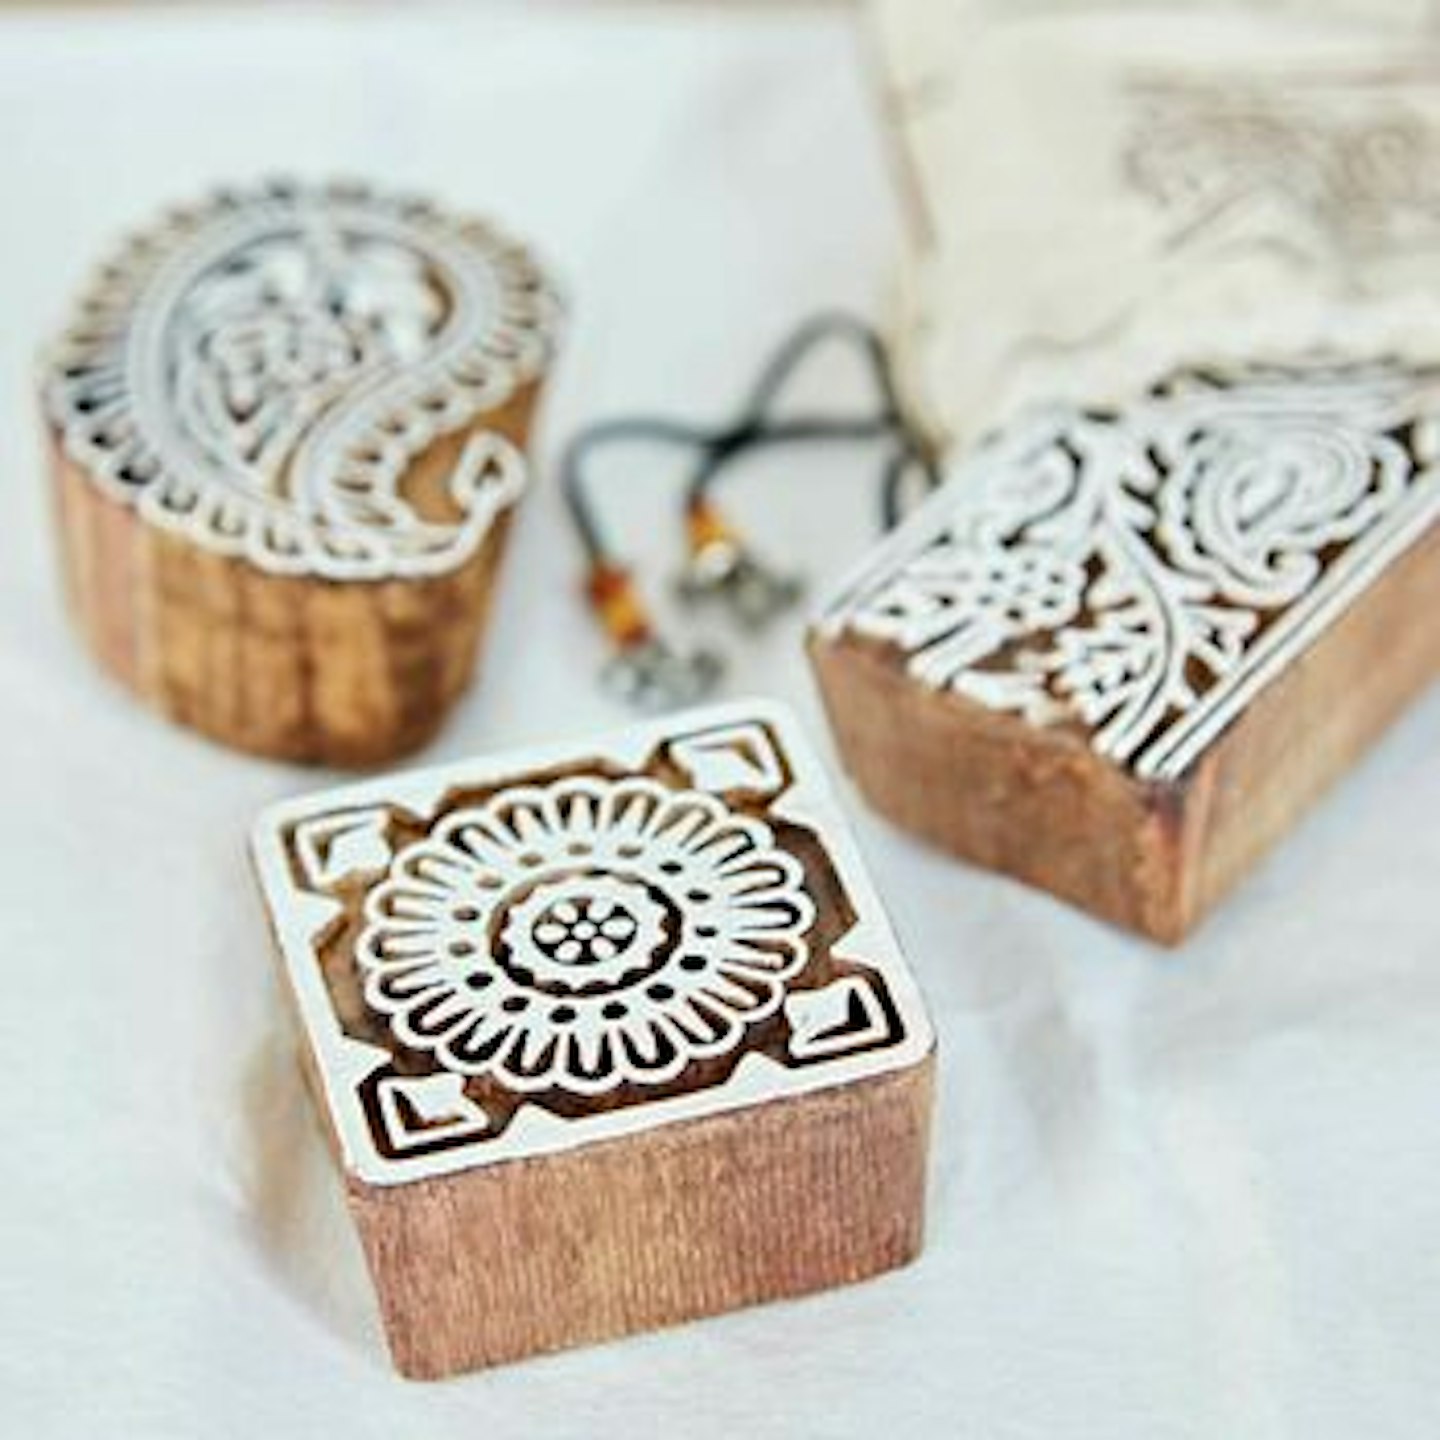
Three Assorted Mango Wood Printing Blocks
These ready carved stamps in pretty traditional prints are great for beginners wanting to start out in printing.
 2 of 7
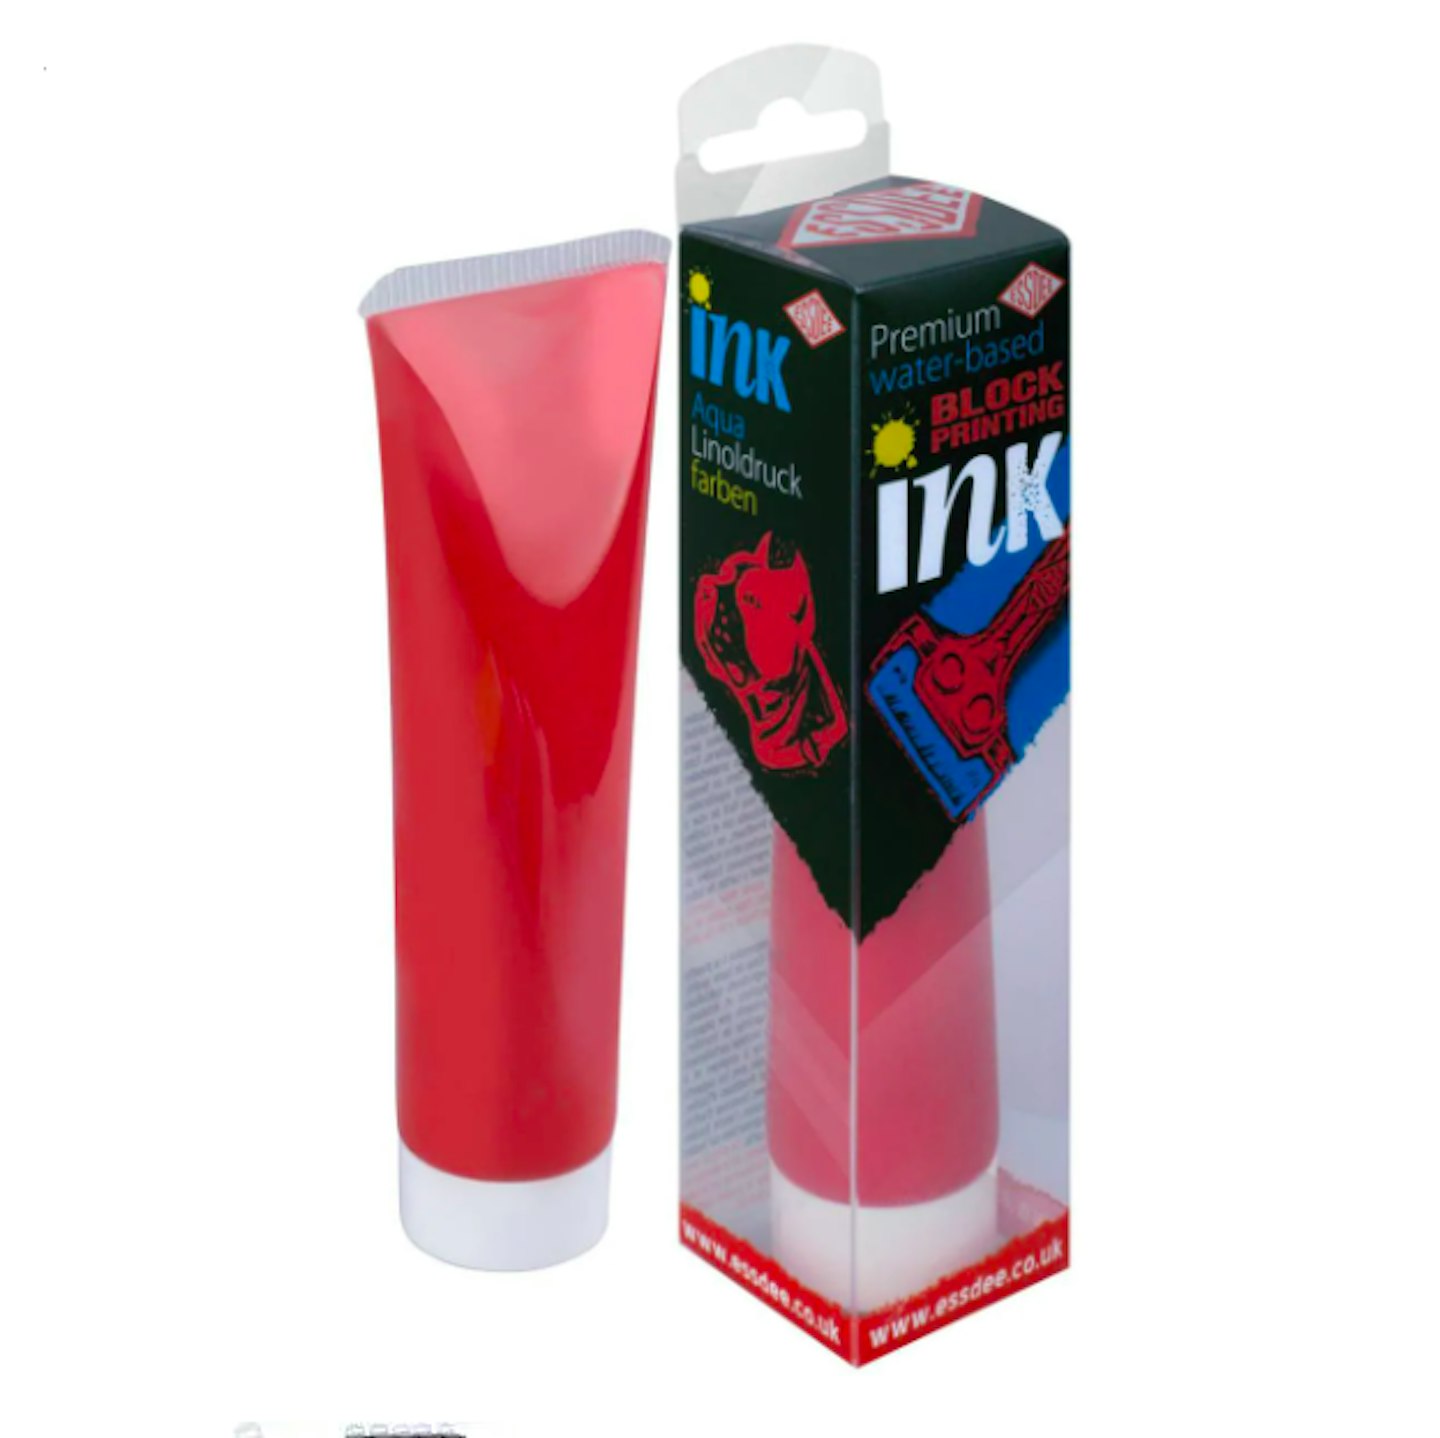
Essdee Red Waterbased Block Printing Ink 100ml
Ready mixed inks that come in a variety of colours, these are a must have for creating beautiful, colourful works of art.
 3 of 7
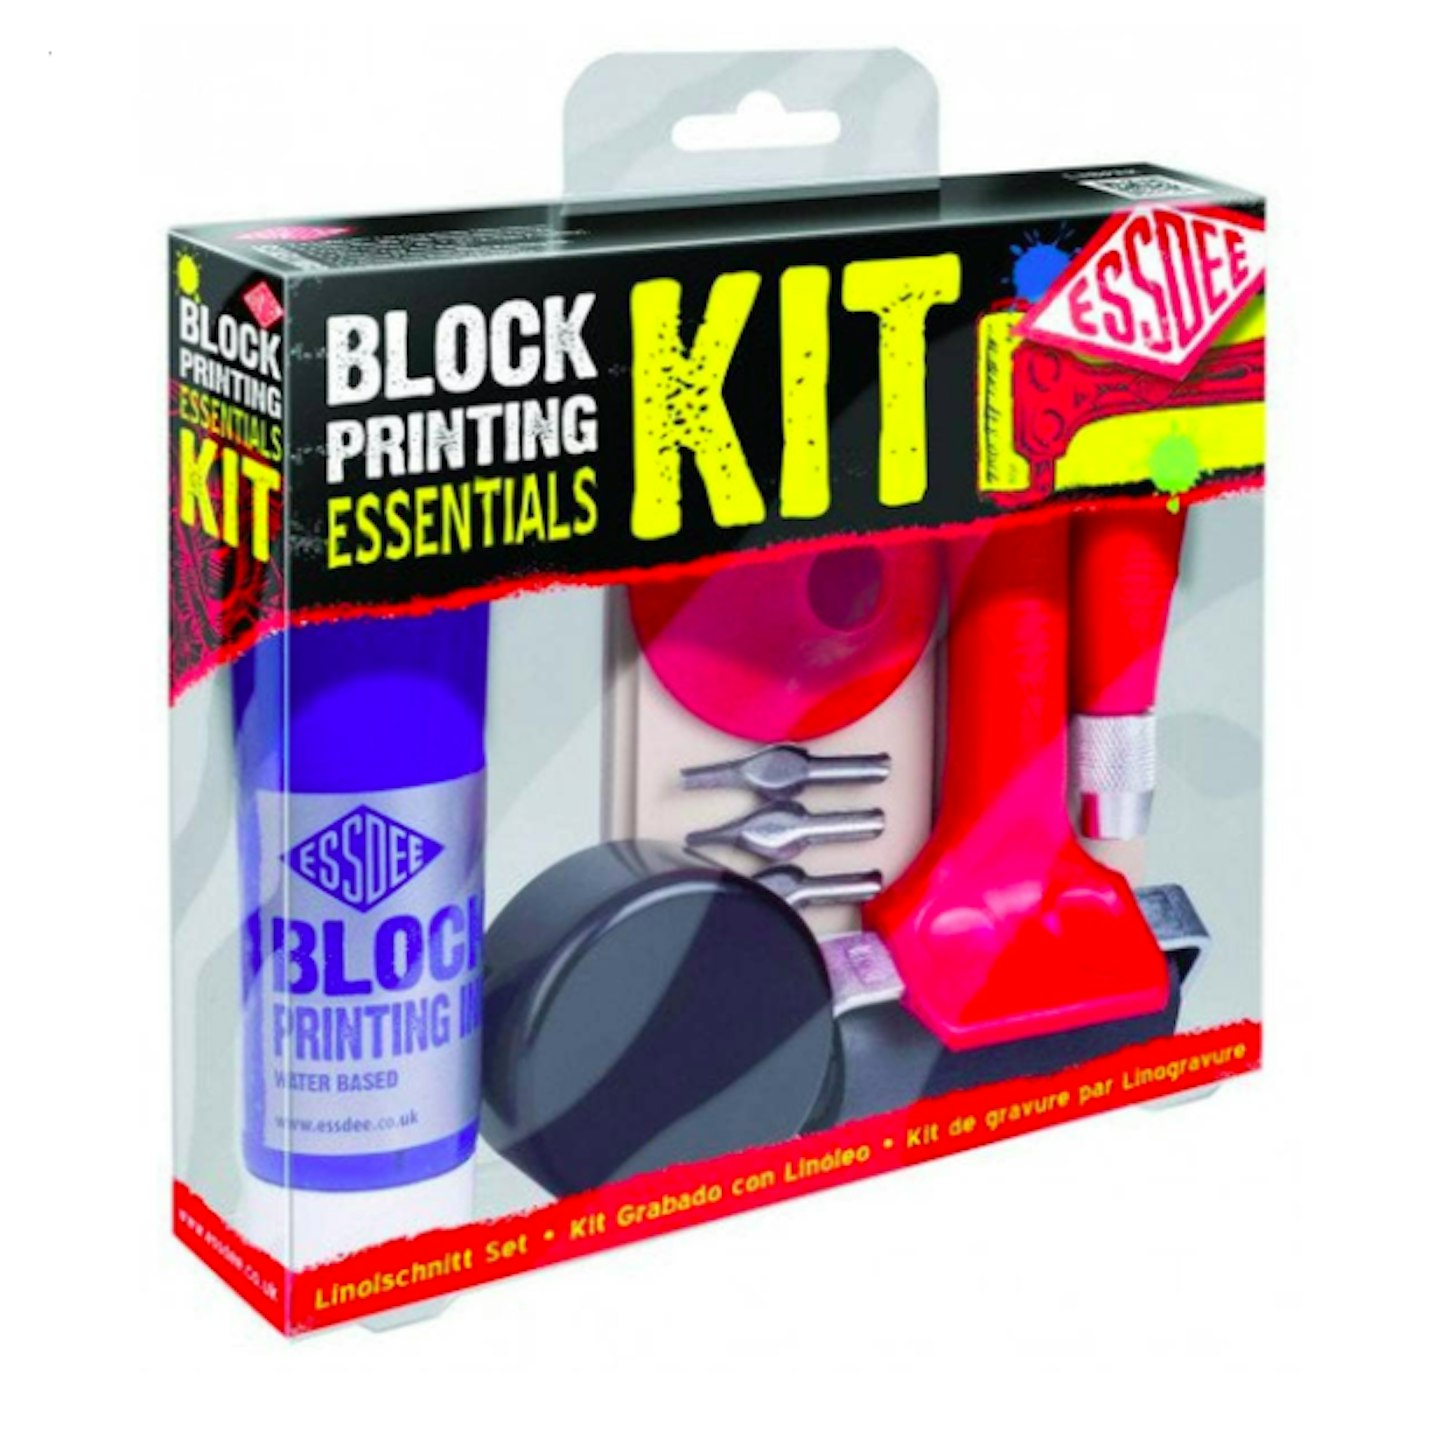
Essdee Block Printing Essentials Kit
The ideal beginners kit for printing on lino, this contains ink, a roller, carving tools and two lino blocks to carve into.
 4 of 7
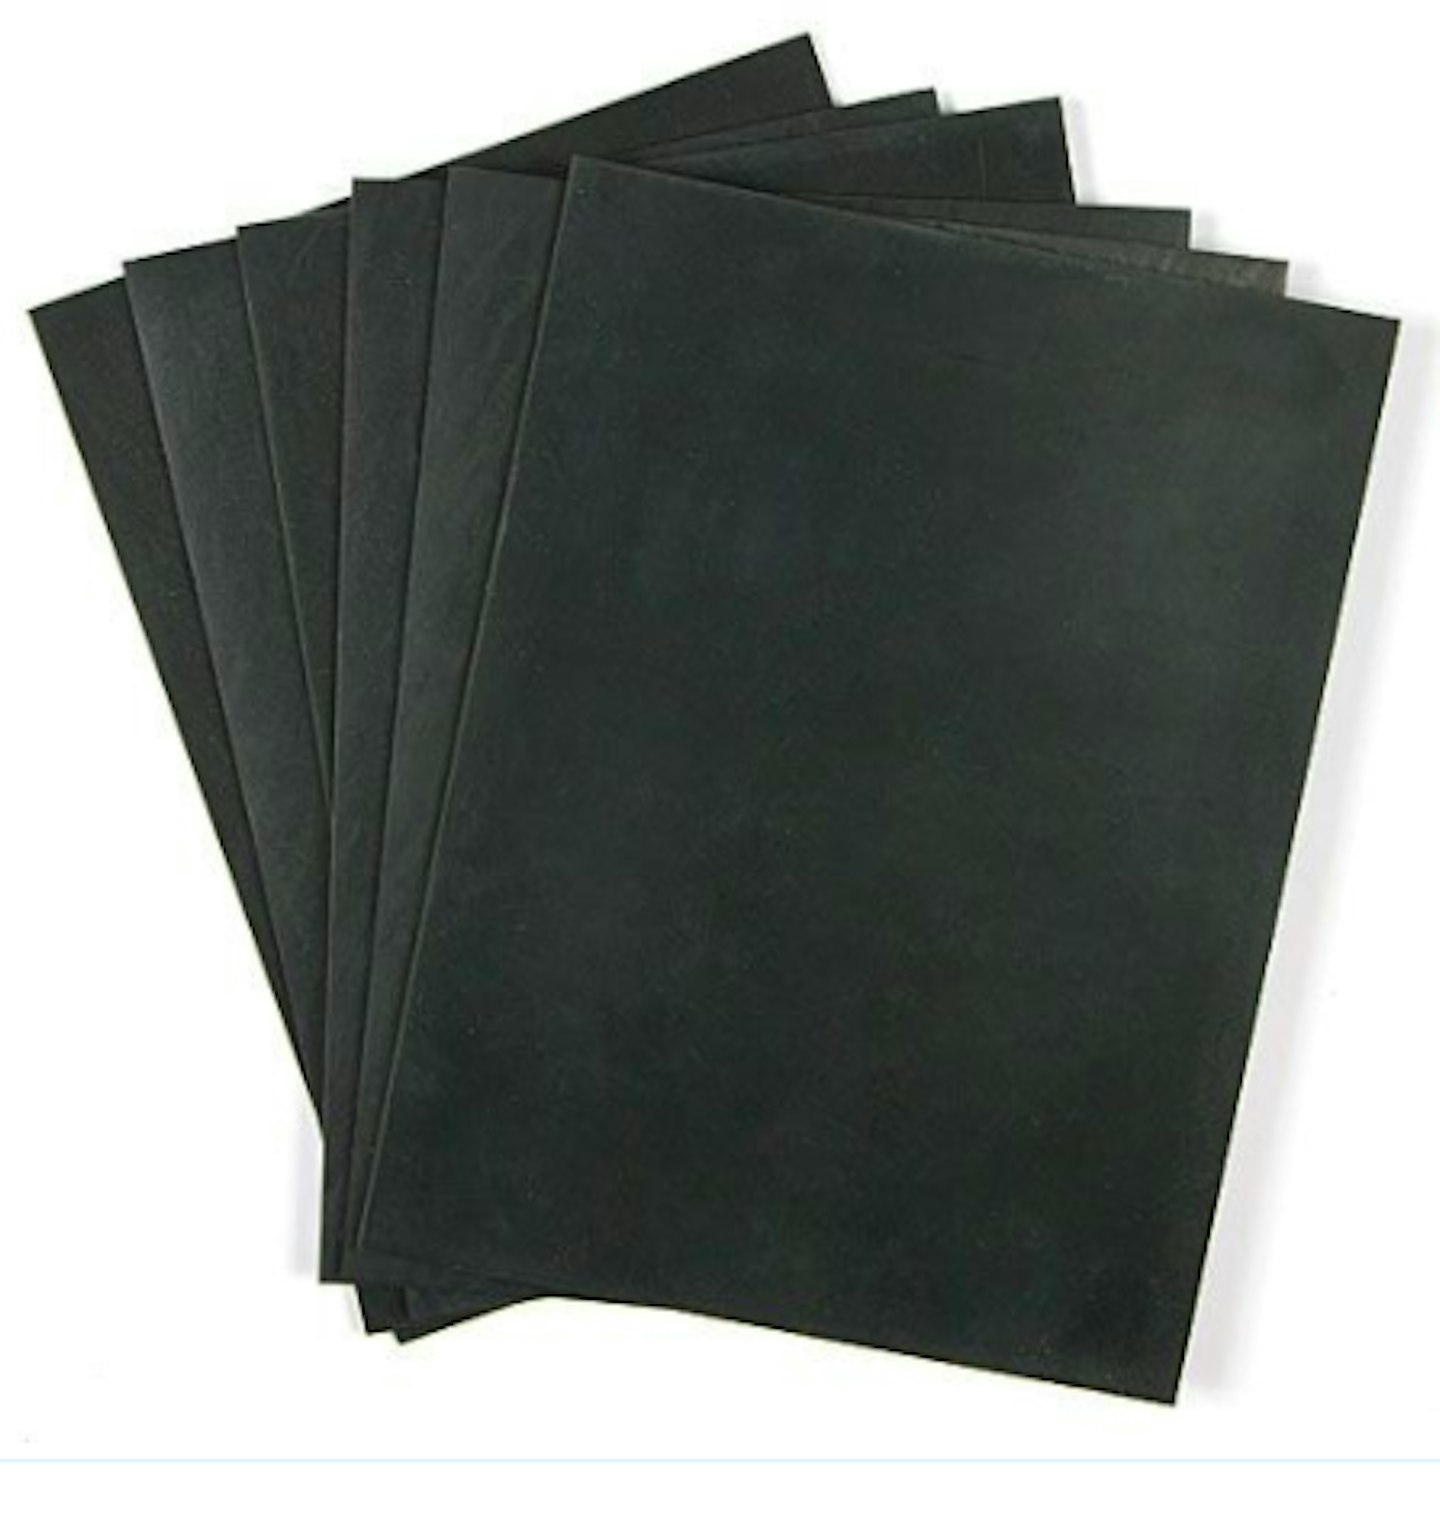
Soft lino carving sheets
If you want to begin carving into lino instead of wood, this pack of ten lino sheets are easier to manipulate than heavier blocks and great value for money.
 5 of 7
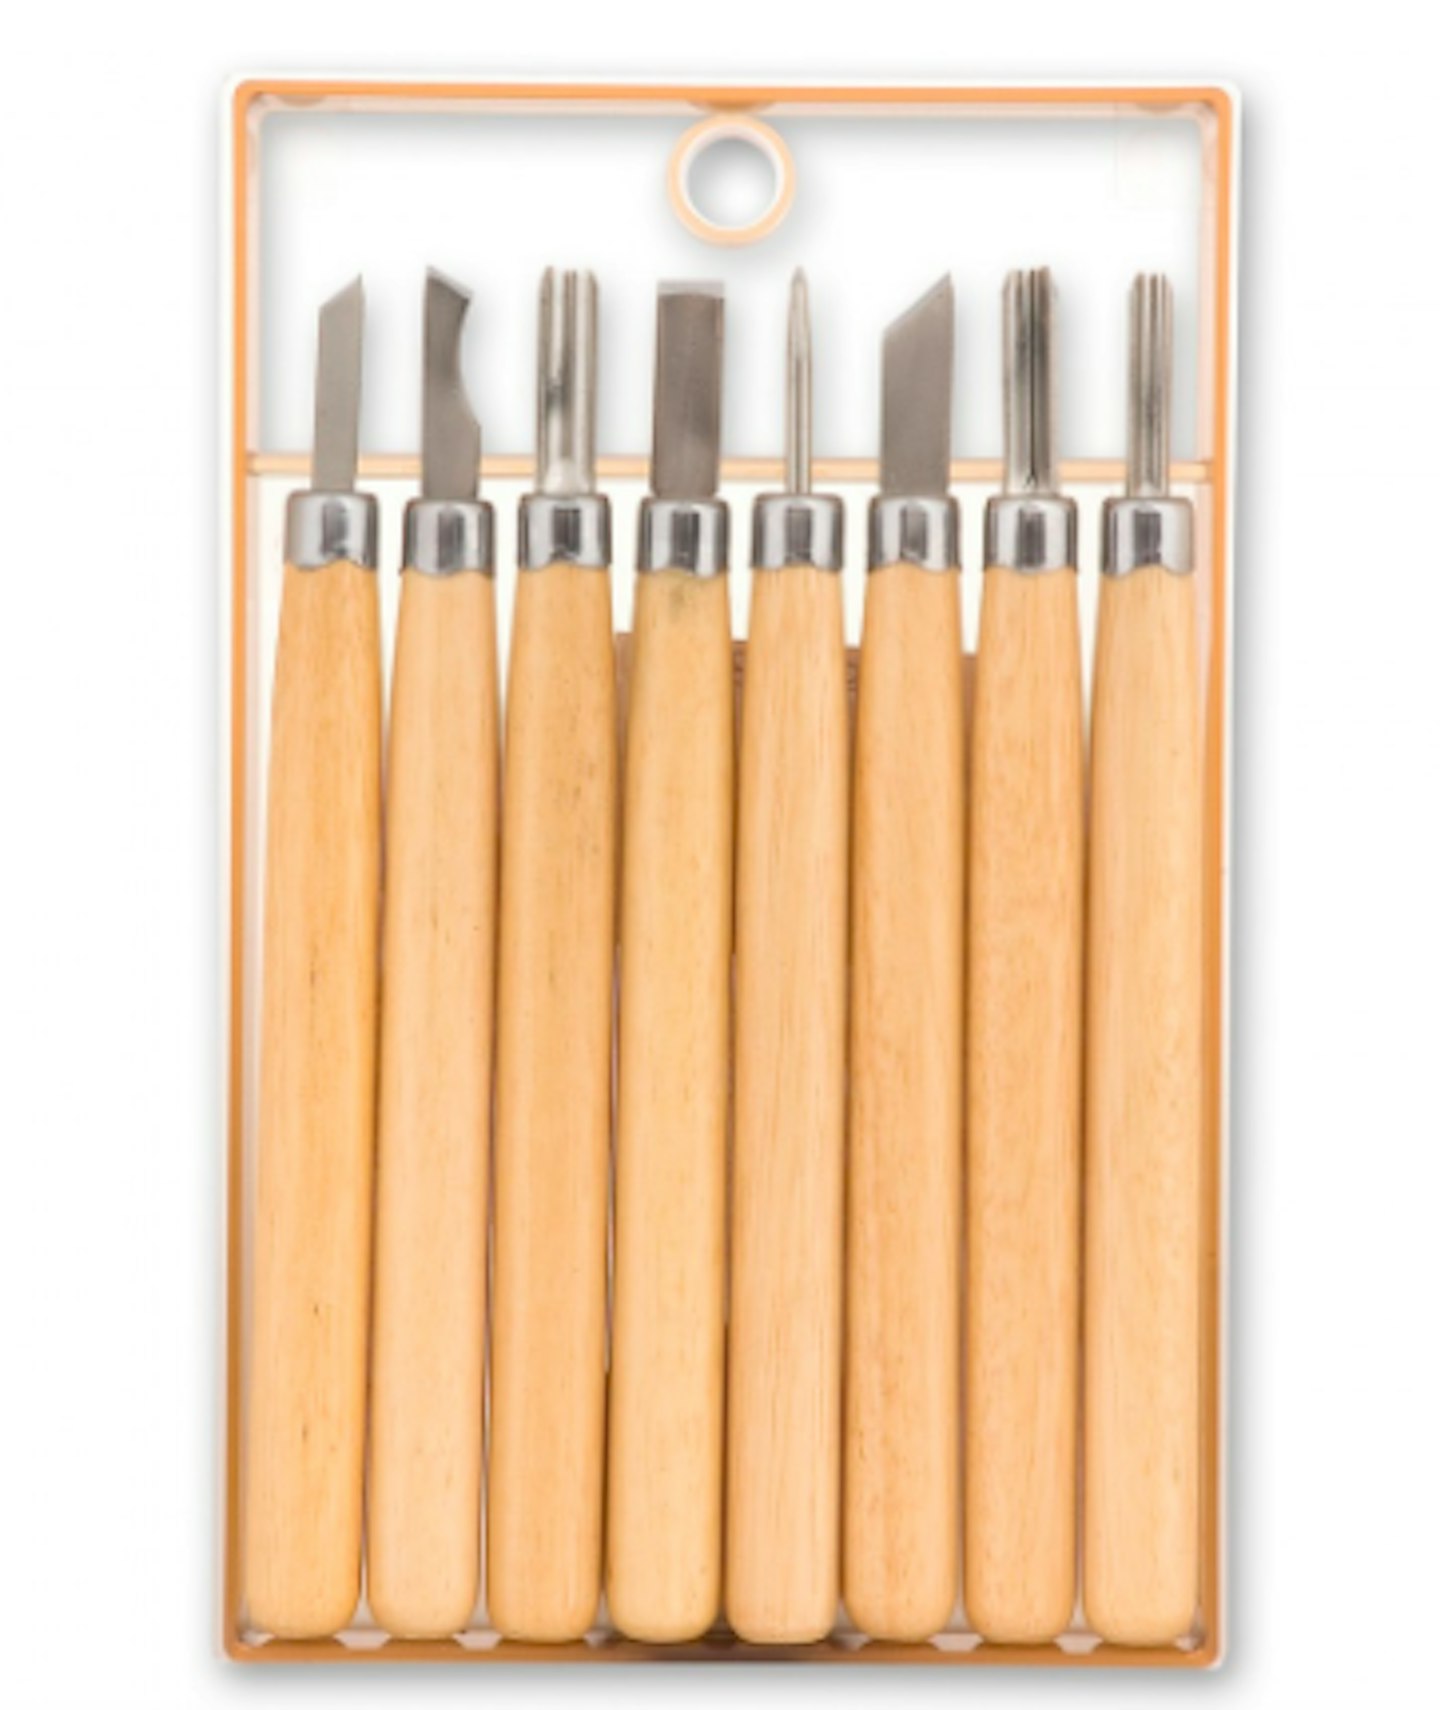
Axminster 8 Piece Detail Carving Tool Set
An artist is only as good as her tools and this handsome set of wooden-handled carving tools are a must have for the more experienced printer.
 6 of 7
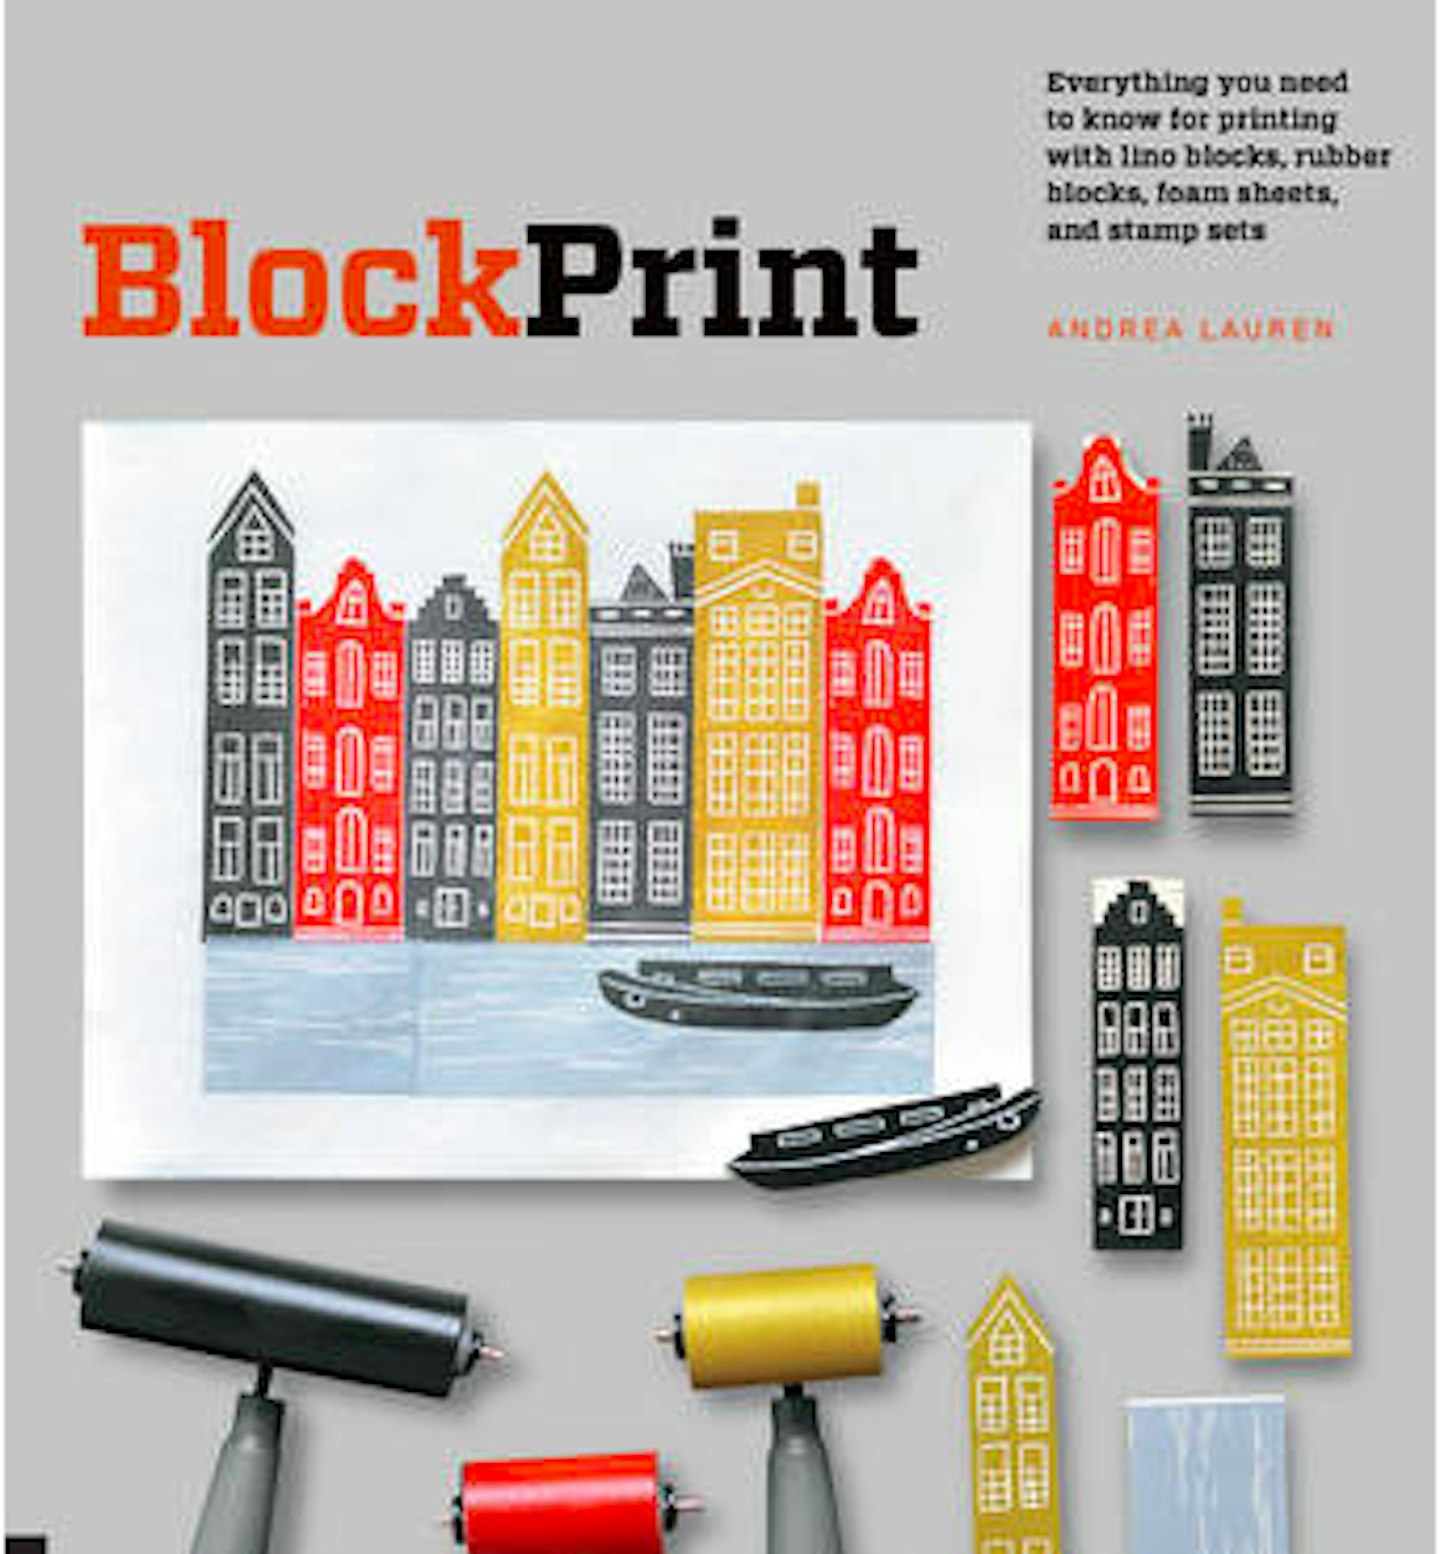
Block Print: Everything you need to know for printing with lino blocks, rubber blocks, foam sheets, and stamp sets
A useful how-to guide by Andrea Lauren that does exactly what it says on the tine (and by tin we mean front cover).
 7 of 7
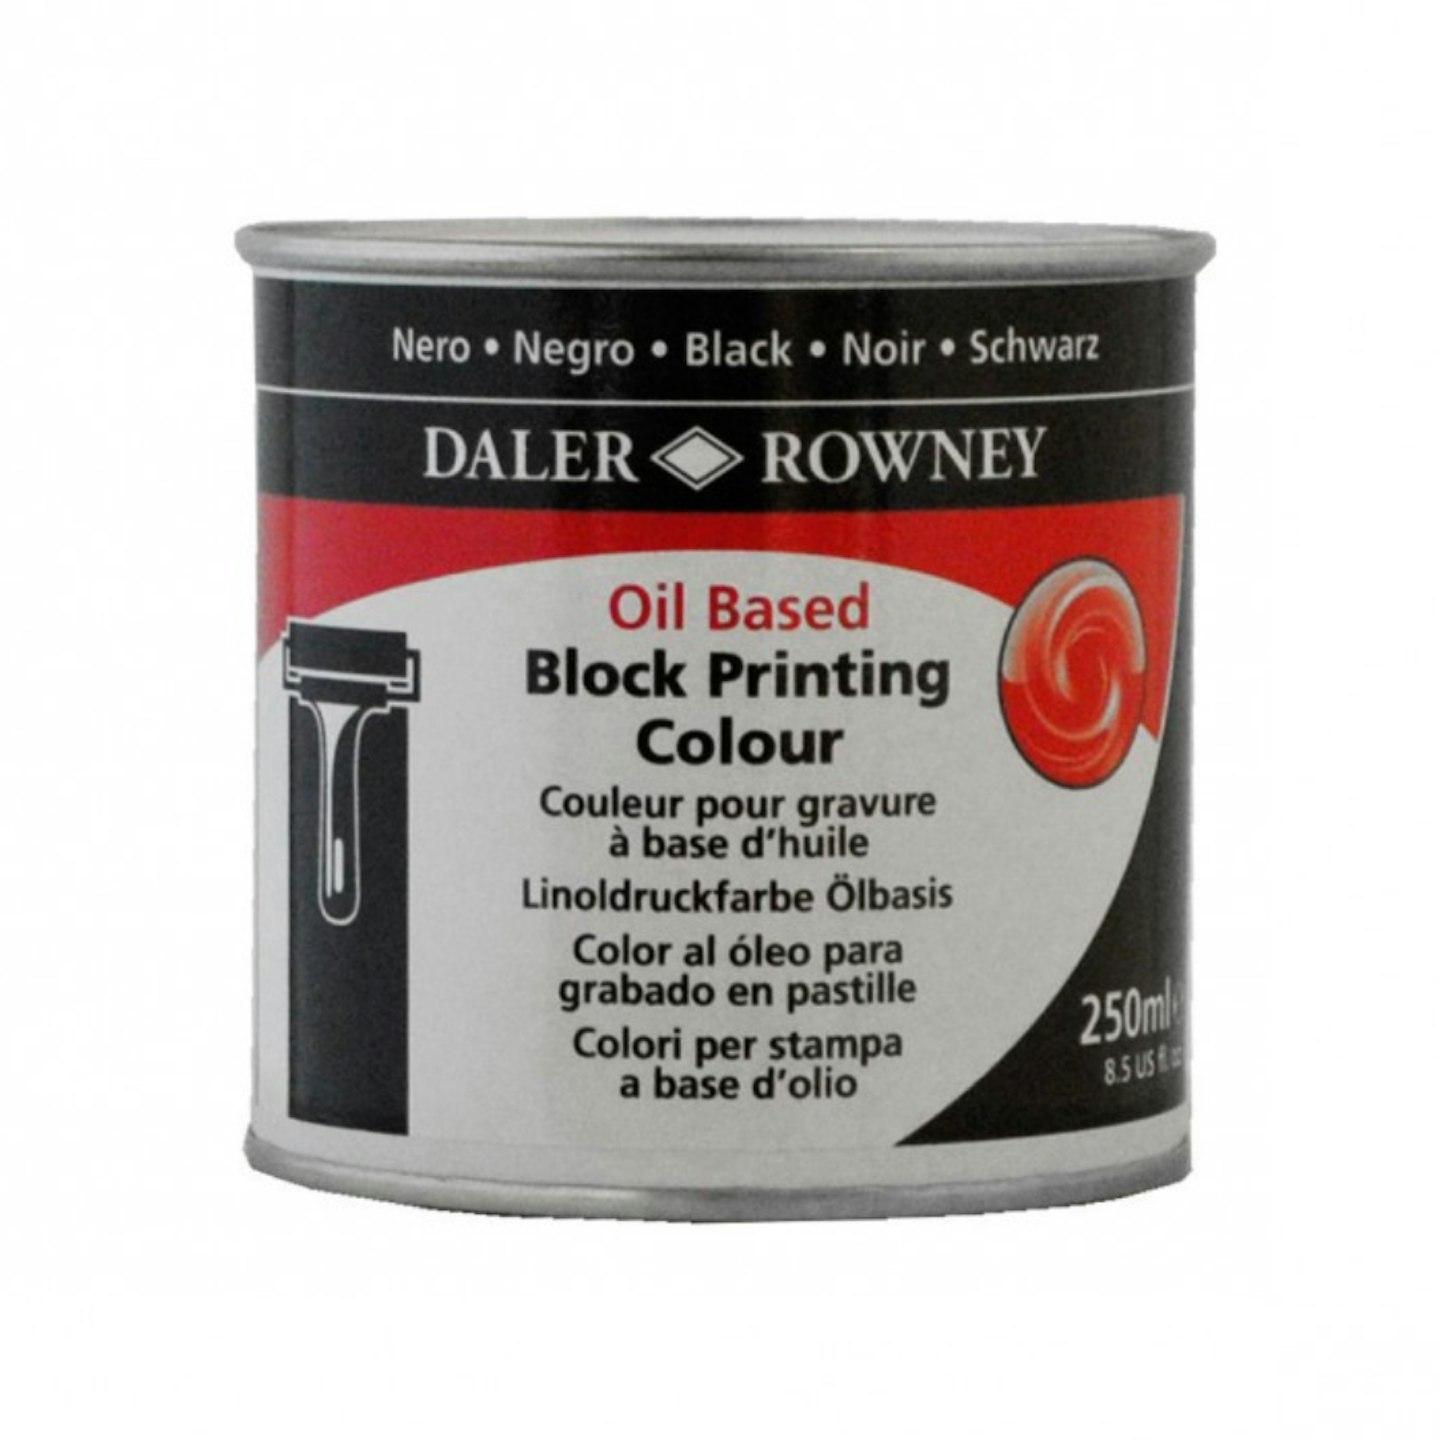
Daler Rowney Oil Based Block Printing Colour
This oil based block printing colour can be used to create professional prints. The colours are inter-mixable and can be thinned or cleaned with turpentine.
The block printing process
There are many ways to make a block print and beginners carving their own stamp may wish to use a more pliable material like linoleum (cutting into half a raw potato is also a great way to practise carving technique!)
To begin, practise drawing your design on paper. Once you have a pattern you’re happy with, there are a few ways to transfer it into the inverse onto your stamp. You can either recreate your design in reverse, drawing with a pencil directly onto whatever you’re using as a stamp. Make sure your markings are thick enough to cut away the ‘blank’ space in between your design.
Or, you can use a transferring method for more intricate patterns. Once you’re happy with your design on paper, go over your line-work using an inky pen, like a felt-tip or marker. While the ink is still wet, transfer directly onto your woodblock or lino block. Then cut away into the line work with your carving tool for a reverse pattern (ie, the line work will be white, and the background will be black or a colour of your choice.)
Letter stamps are widely available and easy to carve yourself if you want to use your print to make a statement.
Woodblock print tutorial
Watch the below videos for a step by step guide to printing with wood or lino.
Linoleum printing
Linoleum or lino printing as most crafters call it is another form of printmaking where the printing plate is cut into lino (as in the floor covering). The lino then has ink applied to it and a piece of paper placed over it. It's then run through a printing press or has pressure applied by hand to transfer the ink to the paper. Because lino is a smooth surface, it doesn't add texture to the print making the patterns nice and even.
What you need to start lino printing
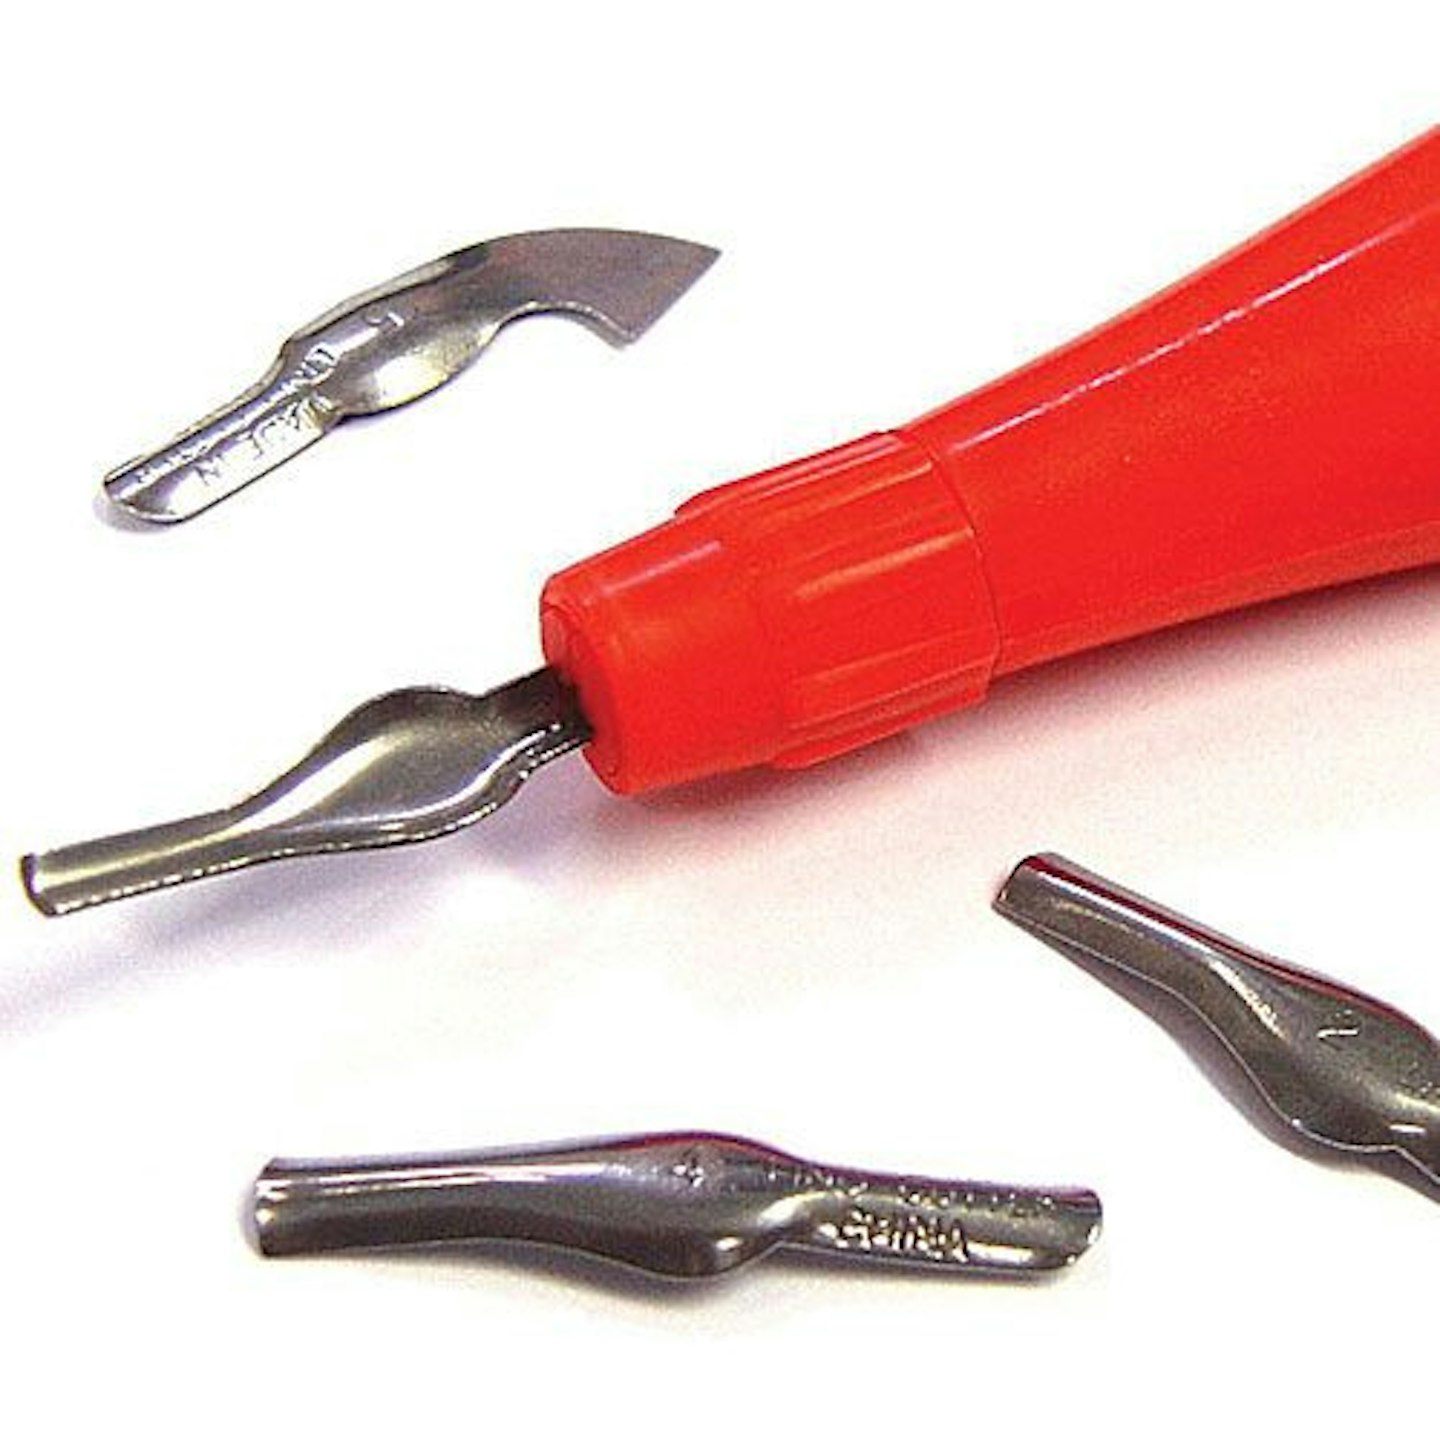
www.bakerross.co.uk
With a plastic handle, there are five different heads to choose from in this pack that will easily and safely cut your lino into the shape or pattern you want.
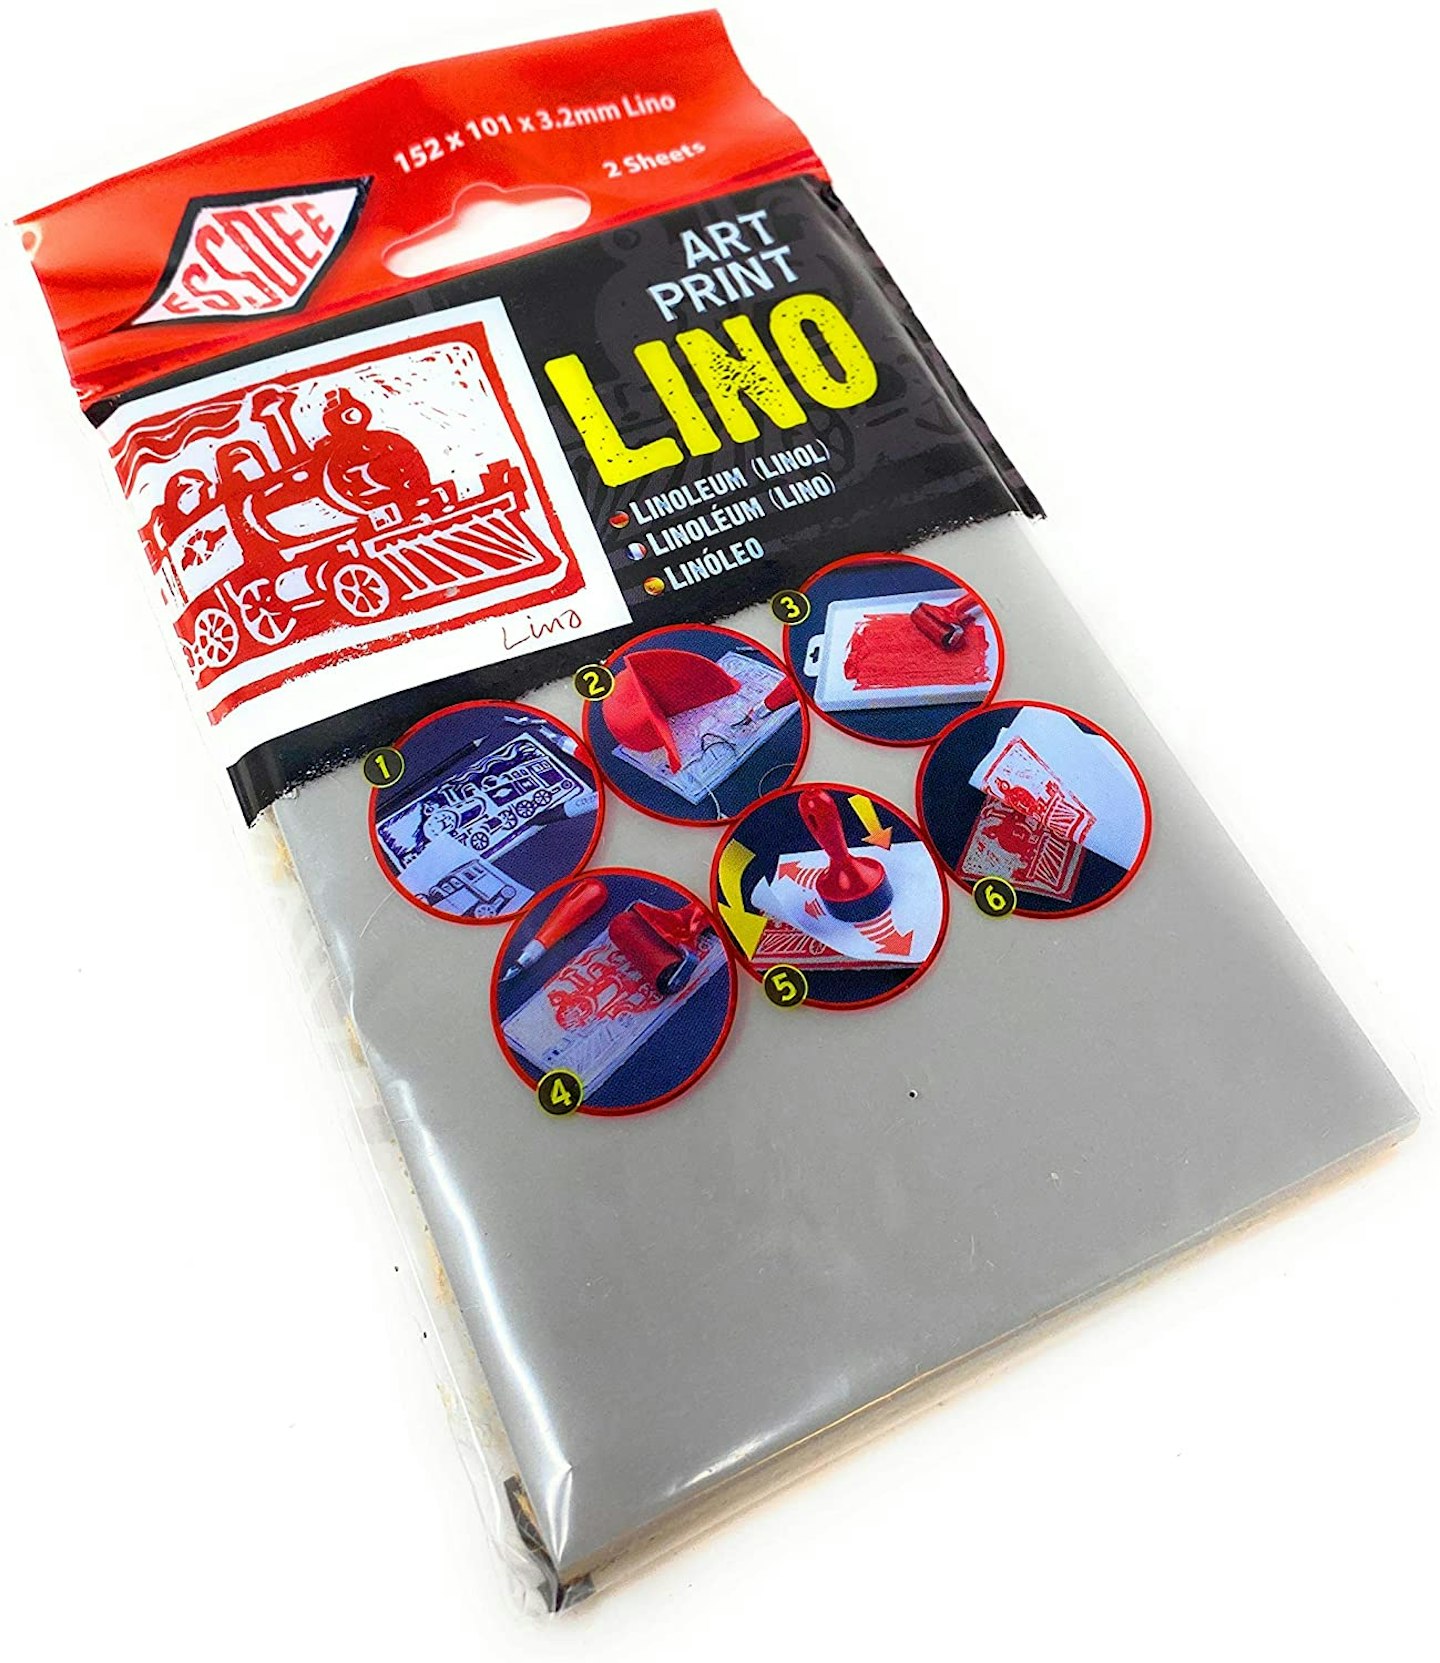
Specially made for block printing, this lino is great for crafts and the pack contains two large sheets.
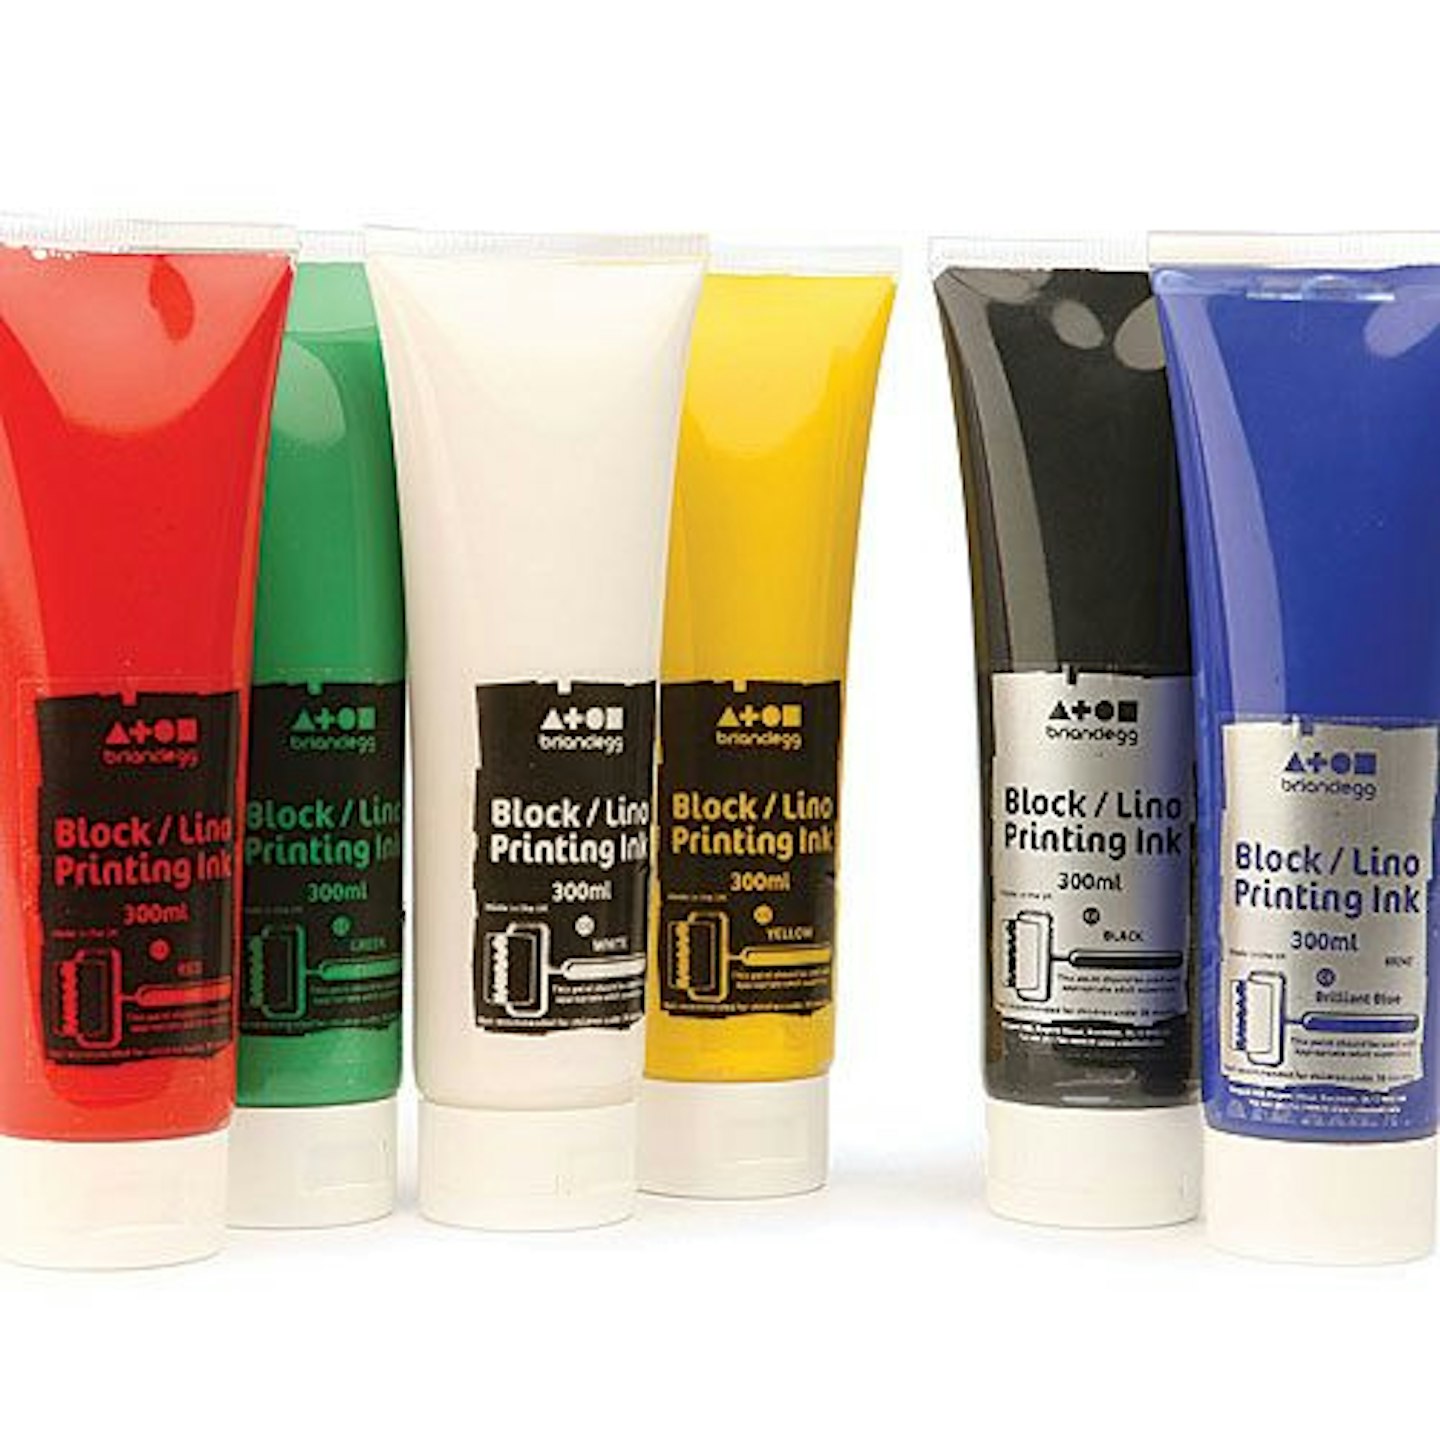
www.bakerross.co.uk
This pack of block printing paints can be used with any form of block printing as it has excellent transfer properties for a bright and clear design.
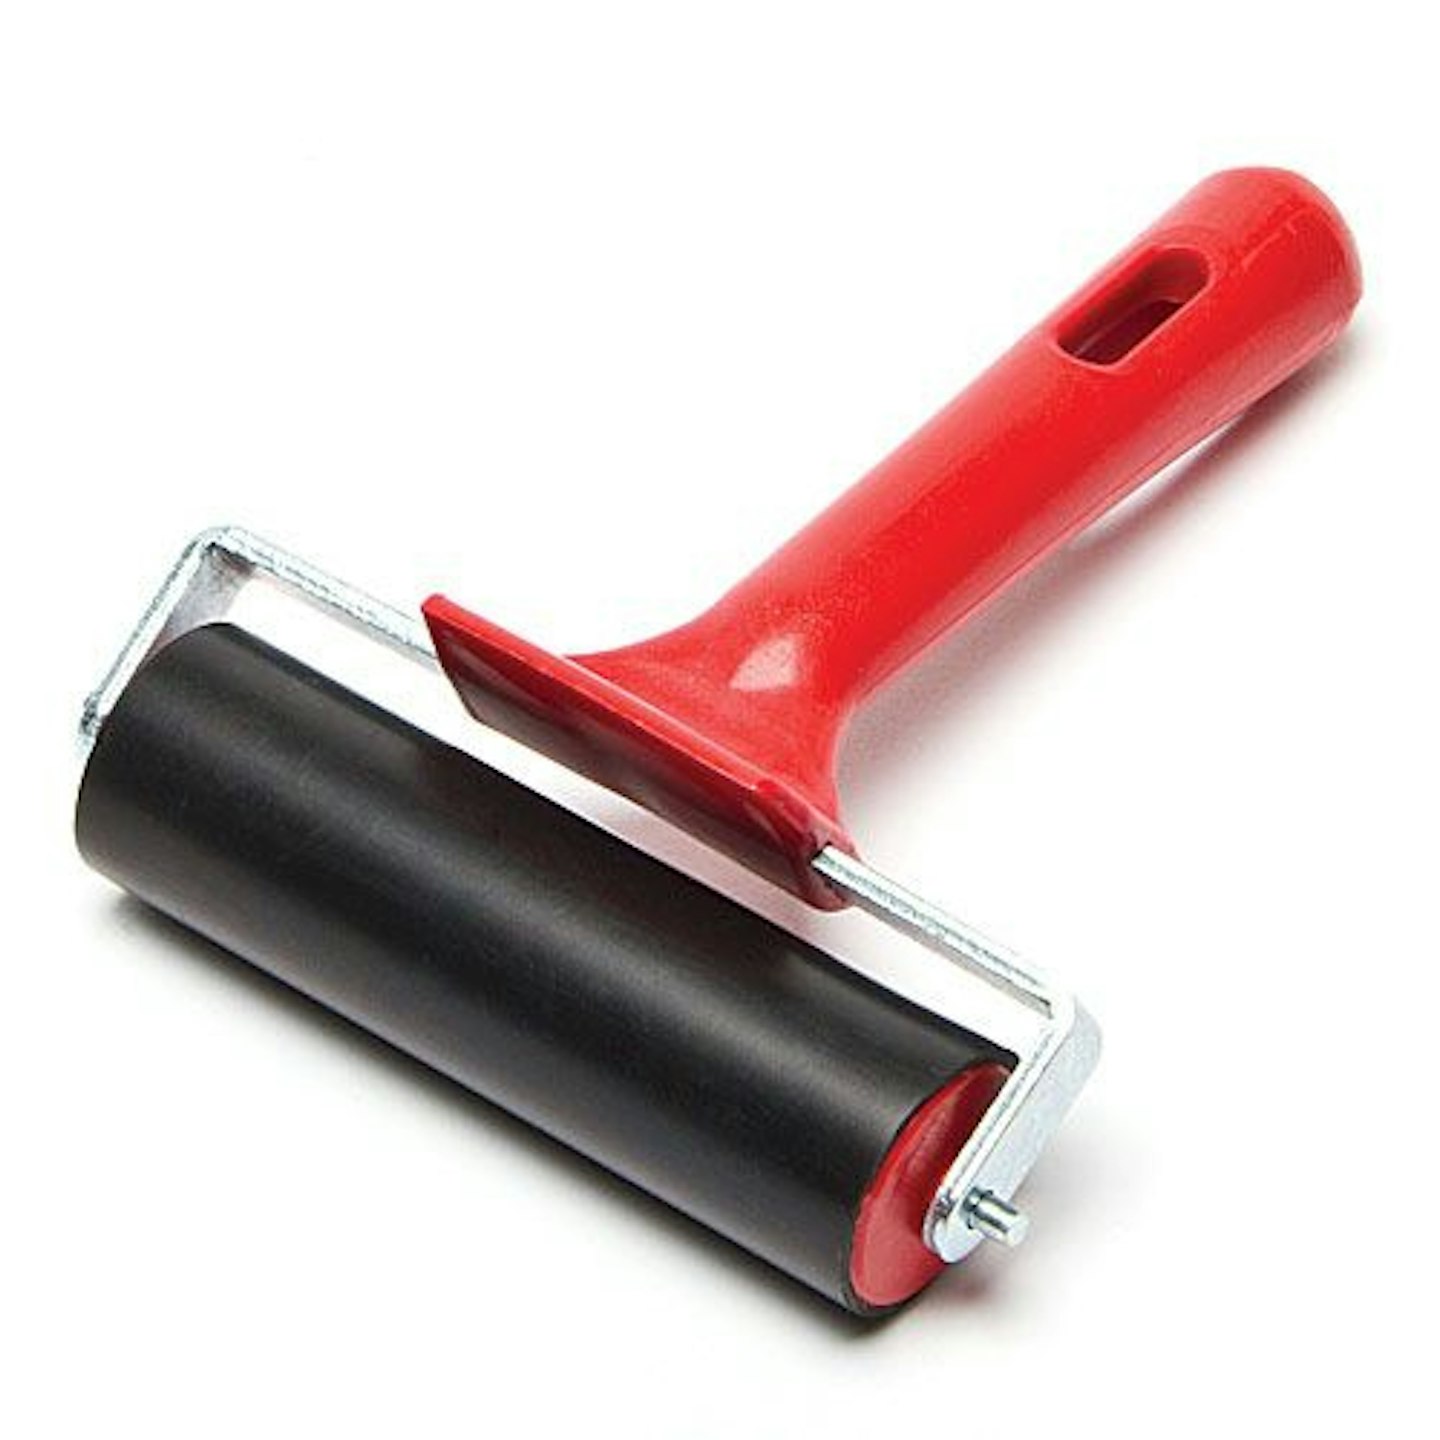
www.bakerross.co.uk
Get an even layer of paint with this smooth paint roller that is nice and small for the smaller designs.
How to lino print
Each lino cutter or blade will produce a different kind of cut, so before you get started, have a play on a scrap piece of lino to see what kind of cuts your tools make
First, draw your design out on a piece of paper as a practise. Once you're happy, draw the design out again in pencil on the piece of lino you choose. Once you're happy with your design, you can now start to think about which areas you want to carve away.
This could be anything you don't want to show up such as the background, any holes or gaps that you don't want printed. Get your carving tool of choice and begin to carve. Try turning your lino when you want to change direction rather than your tool for ease.
Once you're happy with your carving, squeeze out your paint and roll your roller in it ready for painting making sure you have a nice even and thin layer of paint on your roller. Once you've covered the raised areas in ink, pop a piece of paper on top to print. You can then use a tool such as the back of a spoon to rub the paper on the lino so the print shows.
Get creative by printing onto a canvas tote bag, home made greetings cards to let your friends and family know you're thinking of them, or simply display at home and let the compliments roll in.
