You may have heard of the ‘closing shift’ trend sweeping the internet. This entails cleaning your kitchen in the evening as if you’re carrying out a closing shift to make it as easy as possible for the morning shift. This gives your cleaning a purpose and gets you into the routine of doing a daily refresh. However, even if you have all the motivation in the world, you may find cleaning your kitchen daunting. This is a simple, step-by-step guide to cleaning each area and appliance in your kitchen, so you're equipped to make it sparkle from top to bottom.
1. How to clean your surface areas
It’s always best to begin with the ‘dry work’:
-
Sweeping the floors.
-
Clearing the crumbs off the counter.
-
Giving the room a quick hoover.
If you’re in the market for a new vacuum, we’ve already got a guide to the best vacuum cleaners to simplify the process.
You can also try the ‘laundry basket method,’ this involves grabbing an empty basket and walking around your home collecting everything that’s out of place. This can be stored out of sight out of mind until you get another spare second to return everything to its rightful place.
2. How to clean your sink
Once the dry work is done, it’s time to start the ‘wet work.’ Although there are a tonne of great products on the market, there are also plenty of homemade cleaning products for getting your house to sparkle.
-
For porcelain sinks, lemon juice or vinegar can be used, but this is not recommended for stainless steel or copper sinks.
-
For most sinks, you can try mixing about 30ml of bleach, 500ml water, and 1 teaspoon of washing up liquid soap. Scrub your sink with your mixture, but be sure to use rubber gloves to protect your skin from the bleach.
Don’t forget your kitchen drain, this is often the cause of kitchen odours. A tried-and-true method is mixing one part baking soda and two parts white vinegar.
-
First pour the baking soda down the drain.
-
Then follow it up by pouring your vinegar down the drain.
-
Wait until you see a reaction, and wash it down with boiling water. The water will clear away any residue as well as help get rid of pesky drain flies.
3. How to clean your fridge
The first step comes from the cleaning goddess herself, Martha Stewart, and if that doesn't guarantee results, we don't know what will.
-
Martha recommends sprinkling baking soda paste onto any areas of discolouration. This can be made by combining one tablespoon of water with two tablespoons of baking soda until it forms a thick paste.
-
If you also mix a cup of water and baking soda with lemon and peppermint oils, this will expel any unsavoury odours.
-
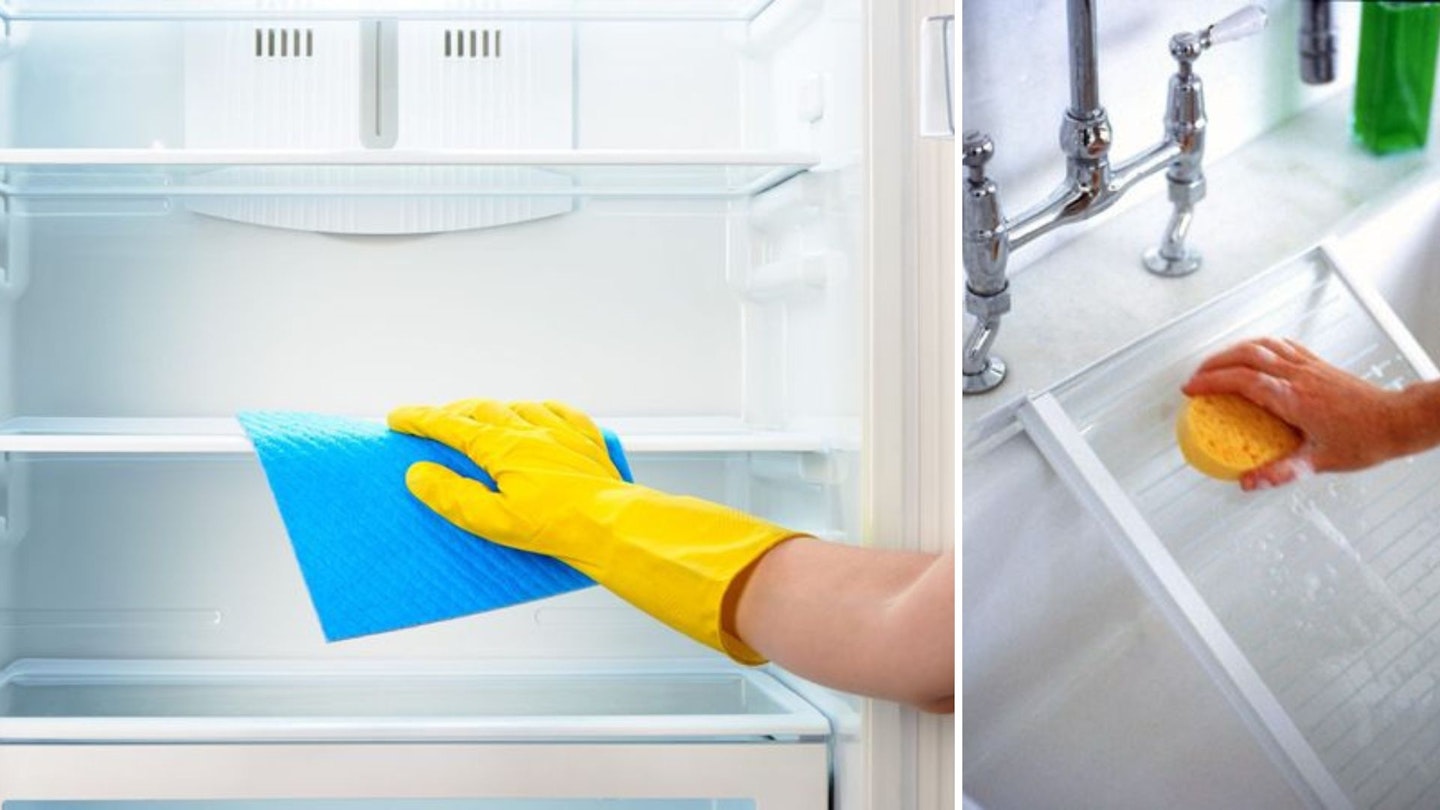
Remove any shelves or drawers and soak them in your sink with warm soapy water.
-
Finally, don’t forget to dust underneath and above your fridge as well.

4. How to clean your dishwasher
If your dishwasher has a build-up of gunk, unscrew the filter at the bottom of the dishwasher. Soak this in hot soapy water to remove any excess gunk, then scrub it with a toothbrush. Depending on your dishwasher model, you may be able to remove the arms at the roof of your dishwasher, and you can clean these like your filter. Finally, run a cycle with bleach and water to really clear it out.
5. How to clean your kettle
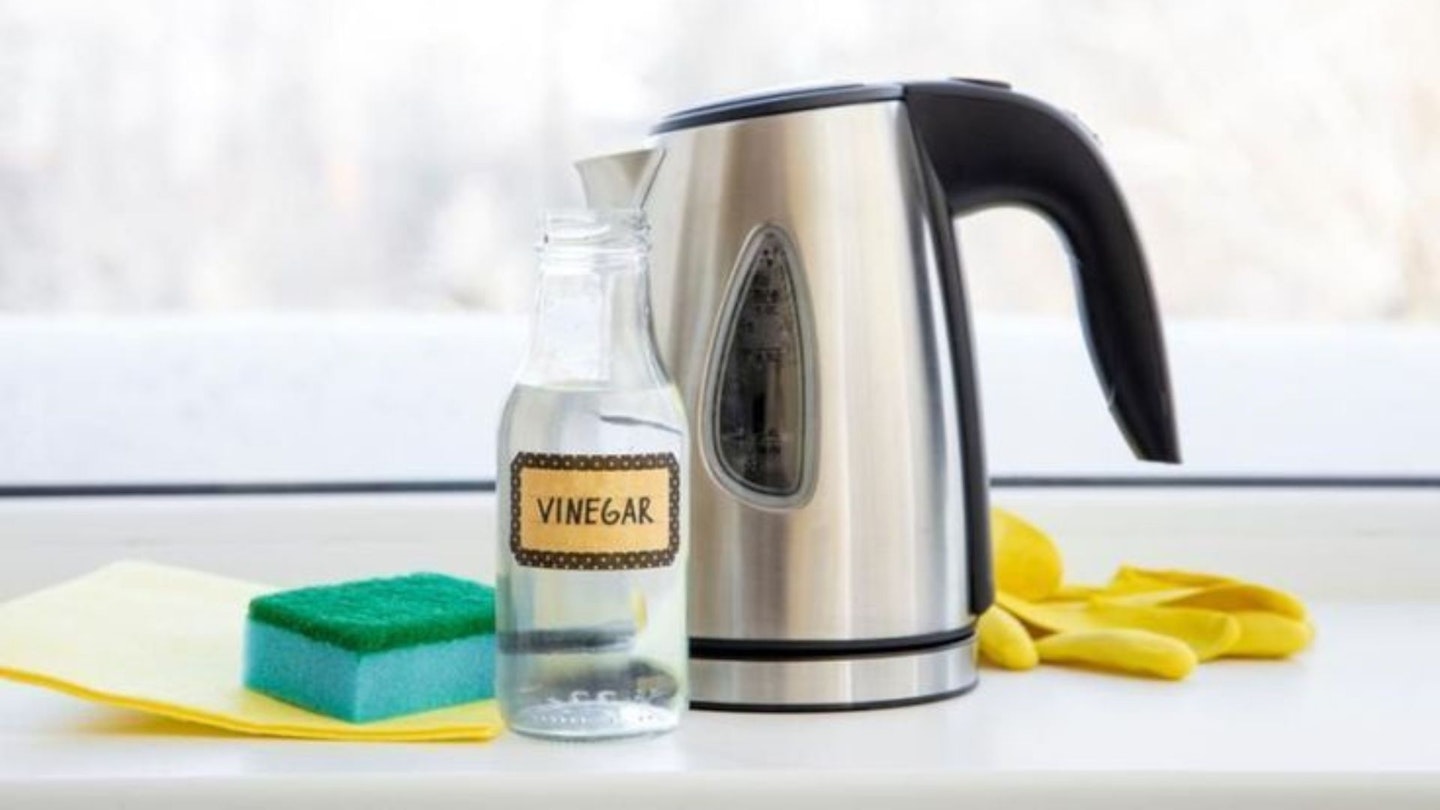
While limescale build-up is virtually inevitable, luckily it is fairly easy to descale your kettle. Fill your kettle with water and add a generous tablespoon of baking soda. Simply boil the kettle and leave to settle, then empty and rinse thoroughly. Alternatively, a mix of equal parts vinegar and water will also work.

6. How to clean your microwave
The magic ingredient, once again, is water and vinegar or lemon. If you’re noticing a trend in this article, don’t ignore it. One method is to squeeze lemon juice into a cup of water and let it run for a couple of minutes. This helps loosen up grease and removes any smells. To further break down grease, you can try using a cloth to work in a 50/50 mixture of vinegar and water, or for less stubborn stains, washing up liquid should work.
7. How to clean your toaster
Although this step is very straightforward, it is usually forgotten about. Unplug your toaster and empty it over the sink to get rid of crumbs. Then, while still unplugged, wipe down the exterior and the power cable to make it shine like new.
8. How to clean your oven
Once your smaller appliances are taken care of, it’s time to move onto the big one- your oven. We have a handy article on oven cleaning hacks, including what to use and how to use it. Unsurprisingly, one of the most effective home remedies for a dirty oven is baking soda, and water.
9. How to clean grout
Even if you clean every inch of your kitchen, discoloured grout can still make your space look dirty. One solution is to make a baking soda paste by mixing it with water and work that into your grout using a toothbrush. If your grout still looks stained, spray a layer of vinegar over this paste and tackle it once again with that toothbrush.
10. How to clean extractor fans
Extractor fans can have a lot of grease build-up, but they’re fairly uncomplicated to clean. Most extractor fans have clips either side and can be removed, which makes them much easier to wash. Don’t worry if yours cannot be removed, you can still use the same method. Water and soap or washing up liquid are perfect as they work best to break down grease. If you’ve got a heavy build up you can add, you guessed it, baking soda. This will ensure it looks brand new before it’s replaced.
11. How to clean pots and pans
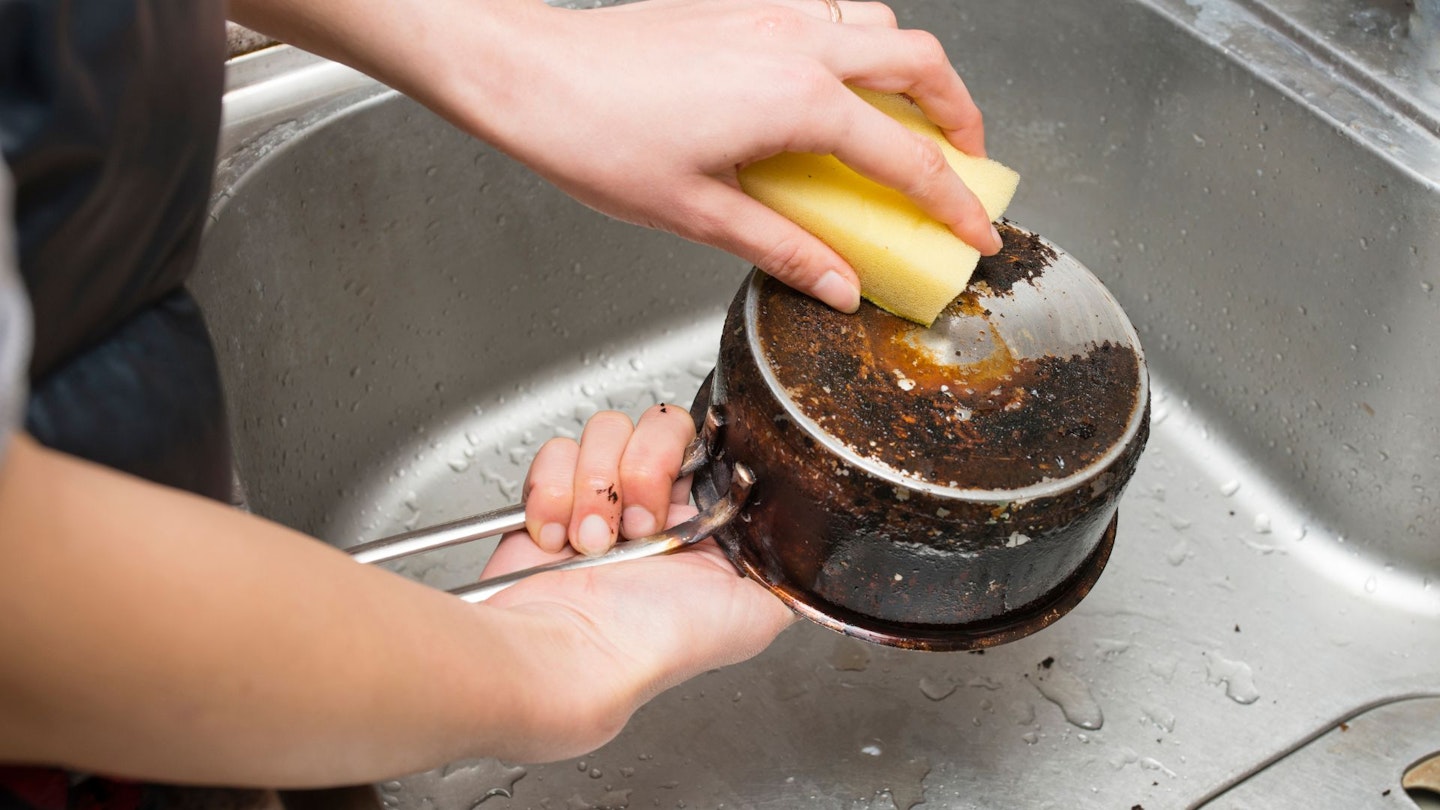
The different materials of your pans will affect how they can be cleaned, using the wrong tools or materials can damage your kitchenware. First, do your best to soak or scrape off any remaining food.
-
For stainless steel pans, you can afford to use a more acidic cleaning agent and tools like steel wool or a scouring pad. This will help with any burnt spots and leave your pan looking brand new.
-
For non-stick pans, you cannot use the same trick as it’s far too abrasive for the material. A small amount of baking soda and water combined with a soft sponge or cloth should do the trick.

FAQs
What not to do when cleaning your kitchen?
Southern Living published a list of things you should never do when cleaning your kitchen; including cleaning your sponge, using harsh chemicals on granite counters, and cleaning the kitchen floor first.
What is the hardest thing to clean in your kitchen?
Most people will admit that cleaning an oven is the most dreaded part of any kitchen clean. Although it’s not impossible, it does require a bit of elbow grease to get it looking new again.
What should I clean first in my kitchen?
The easiest way to begin a big clean is by clearing the counters. This will make the task seem much less daunting, and leaves you room to begin your deep clean.
Sarah O’Byrne has been an editorial assistant at heat, Closer and Yours since May 2023. She has a BA in English with Film and an MA in Literature and Culture - both from University College Dublin.
To enjoy more regular stories just like this, become a Yours subscriber and become part of our fun and friendly community of like-minded readers.

