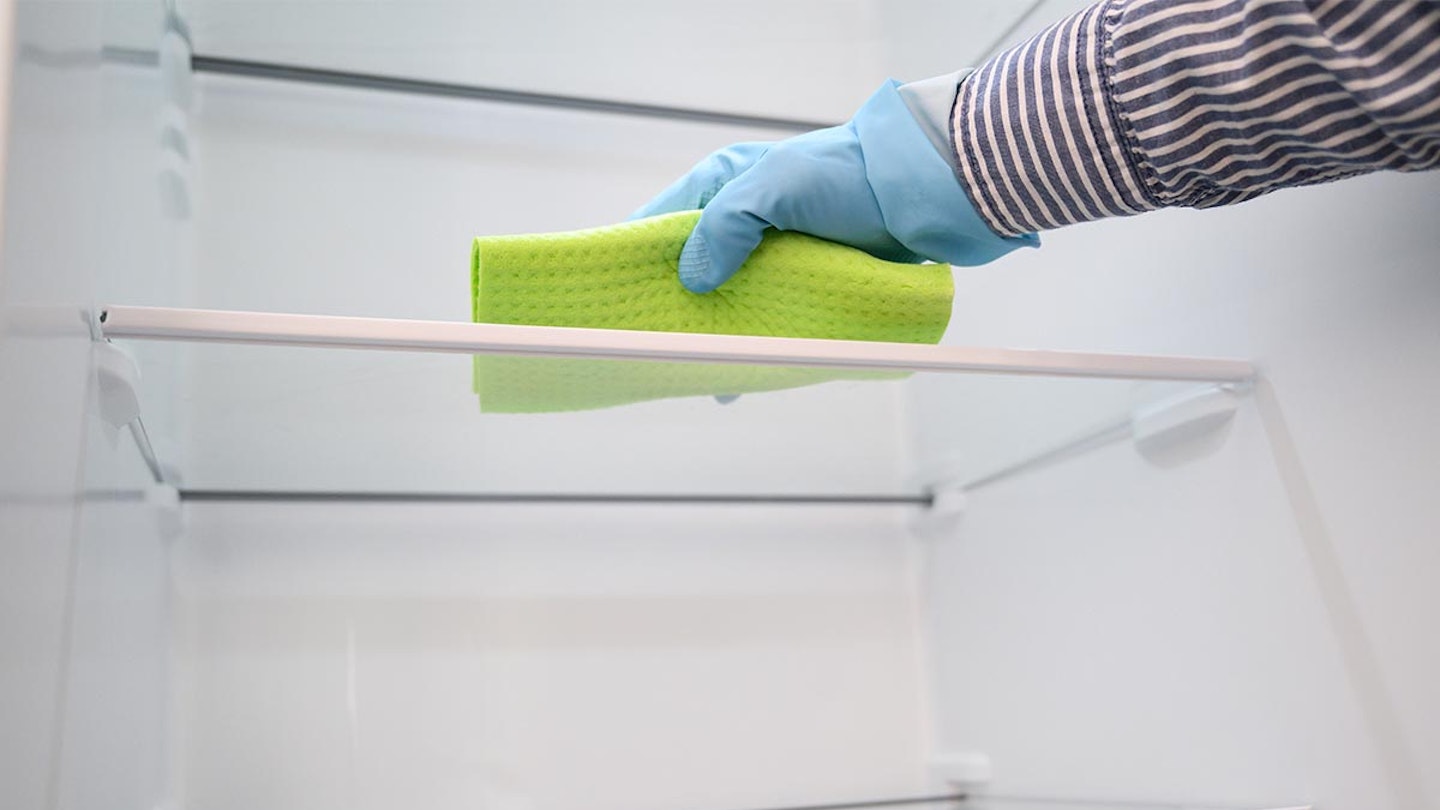
There’s nothing worse than opening up your fridge to be greeted by unpleasant smells which is why it’s important to know how to clean your fridge properly.
You don’t need us to tell you how important it is to keep any surfaces or cupboards that will come into contact with your food clean and germ free. Cleaning out your fridge will not only help with food hygiene, organising your fridge with clever storage solutions will keep your food fresh and allow you to see what ingredients you’ve actually got. Most importantly, it will help you reduce food waste too.
Whether you’ve been smelling some foul smells in your fridge or you’re struggling to fit all your food in after a big shop, cleaning your fridge is a job worth doing every couple of months. That’s why we’ve put together some handy cleaning tips and advice to make the job of cleaning your fridge a whole lot easier.
How often should you clean your fridge?
We’d advise giving your fridge a good clean every season, so every three months to be precise. It’s best to time this before you go and do a big supermarket shop, as it’ll be so nice to put all your food away into a clean and tidy fridge space.
How to prepare

Before we go onto how to clean your fridge, you obviously won’t want your fresh produce such as meat, fish and dairy items being left out at room temperature for too long, so we’d recommend popping these ingredients into a cool bag with some ice packs to keep everything cool and fresh while you’re cleaning so you don’t have to be in a rush.
Check the useby dates
Start by checking the useby dates on everything in your fridge and throwing away anything that is no longer safe to eat. For items you’re not sure about such as jars that have been opened but you don’t know how long they’ve been there, give them a good check, smell. If anything looks or smells off, then bin it.
Remove drawers and shelves
Start by removing all the drawers and shelves from your fridge so you’re left with a totally empty space. Depending on how much of a clean they need, you may want to soak them in your sink for a while before giving them a good scrub with washing up liquid and warm water.
If you’re not sure how to remove all the shelves and drawers and you’re worried about damaging things, you should give your fridge instruction booklet or the manufacturers website for full instructions and guidance for your specific refrigerator.
Washing your drawers and shelves
If you’re dealing with glass shelves, it’s advised to let them reach room temperature before you begin washing them with warm water in the sink to avoid them cracking. For hard to remove food or spillages, make sure you have a strong scrourer to hand.
Once washed, leave any shelves and drawers out to dry naturally on your kitchen side on a tea towel.
For any shelves you can’t remove, use a damp cloth to wipe up any food before using a disinfectant spray and cloth to make sure all surfaces are free from germs.
Cleaning the back and inside of your fridge
While the shelves and drawers are drying, you can turn your attention to the inside of your fridge. Instead of using a warm water solution that might alter the temperature of your fridge, opt for a sterilising solution that can be dissolved into cold water.
A cloth is useful for wiping down larger surface areas but a cotton bud or small old toothbrush is needed for those harder to reach, smaller areas such as small grooves where your shelves sit and the drip hole at the back which can become clogged with dirt easily.
Once it’s clean, dry the inside of your fridge with some paper towels or clean tea towels.
Cleaning the outer fridge

Now it’s time to give the handles, door surround and seal folds and surfaces a good wipe. Again, you can use the sterilising solution to wipe these areas before drying them after with a clean tea towel.
Locate your condenser coils
Condenser coils should be cleaned once per year if you can get to them to avoid them getting clogged with things like dust and pet hair. If they get clogged up, your fridge will have to work harder which can not only increase your energy bill but it can also shorten the lifespan of your fridge.
If you can reach yours, start by switching off your fridge and use a vacuum cleaner to remove any dust from the coils.
Check the temperature
Once everything is dry and you’ve popped all your shelves and drawers back in, check your fridge thermometer before placing any food back in. You’ll want to make sure it’s below 5 degrees before putting your food back in.
Keep your fridge smelling good
Although fridge deoderisers are very popular, it’s easy to make your own at home fridge deoderiser by putting some bicarbonate of soda in a small dish such as a ramekin and leaving in your fridge. This should help your fridge to smell fresh for up to three months.
Lorna White is a Senior Digital Writer at Yours.co.uk and MotherandBaby.com. She was previously a writer at Yours Magazine writing features and news stories before joining the digital team. Lorna loves the great British countryside and likes to spend her spare time out and about in her home of Nottinghamshire walking her dog, Pippin.

