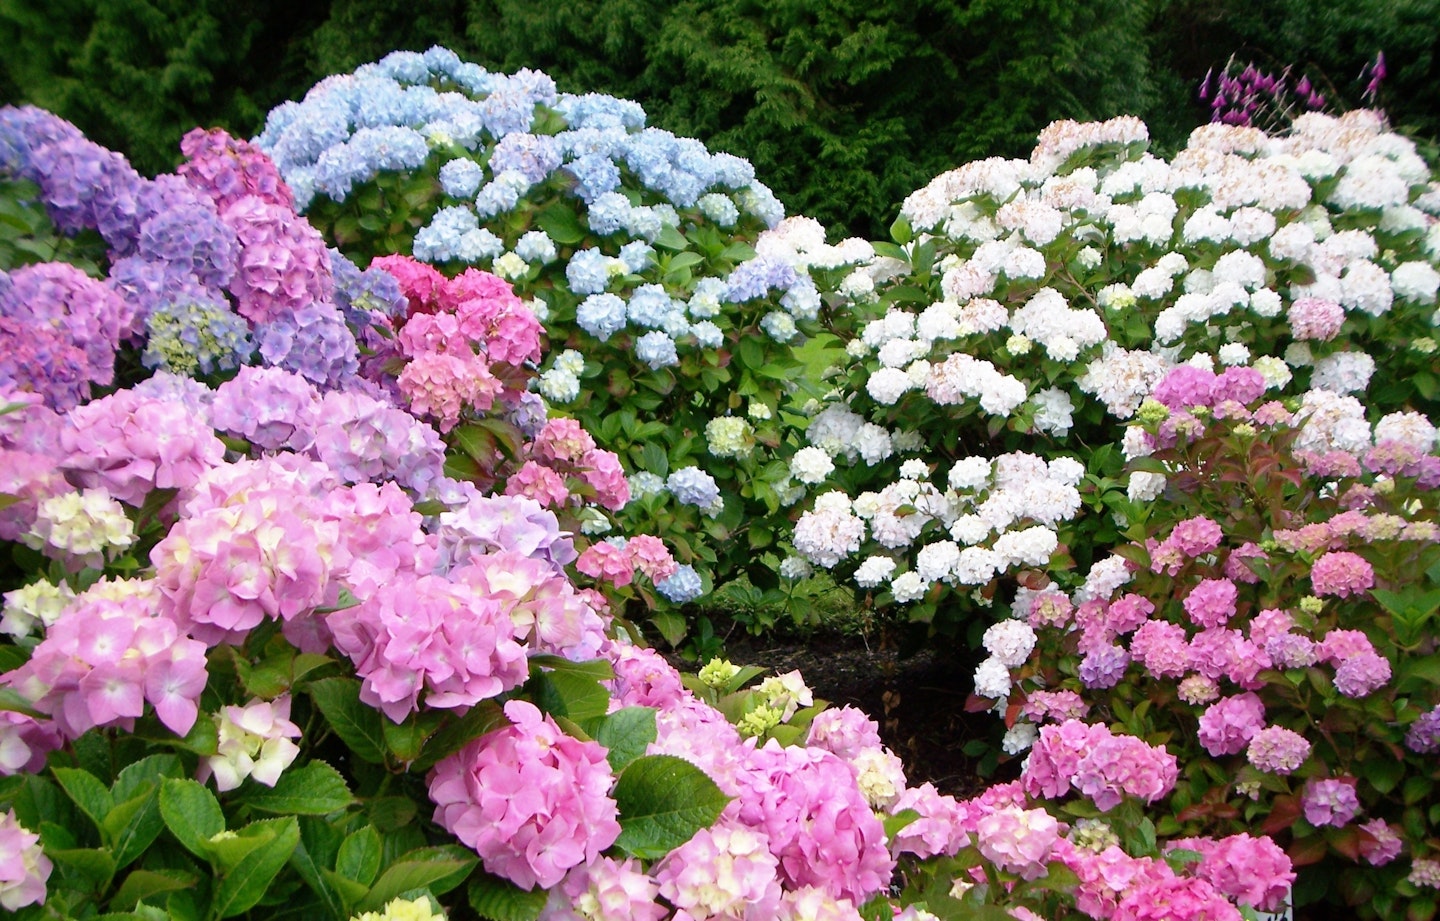
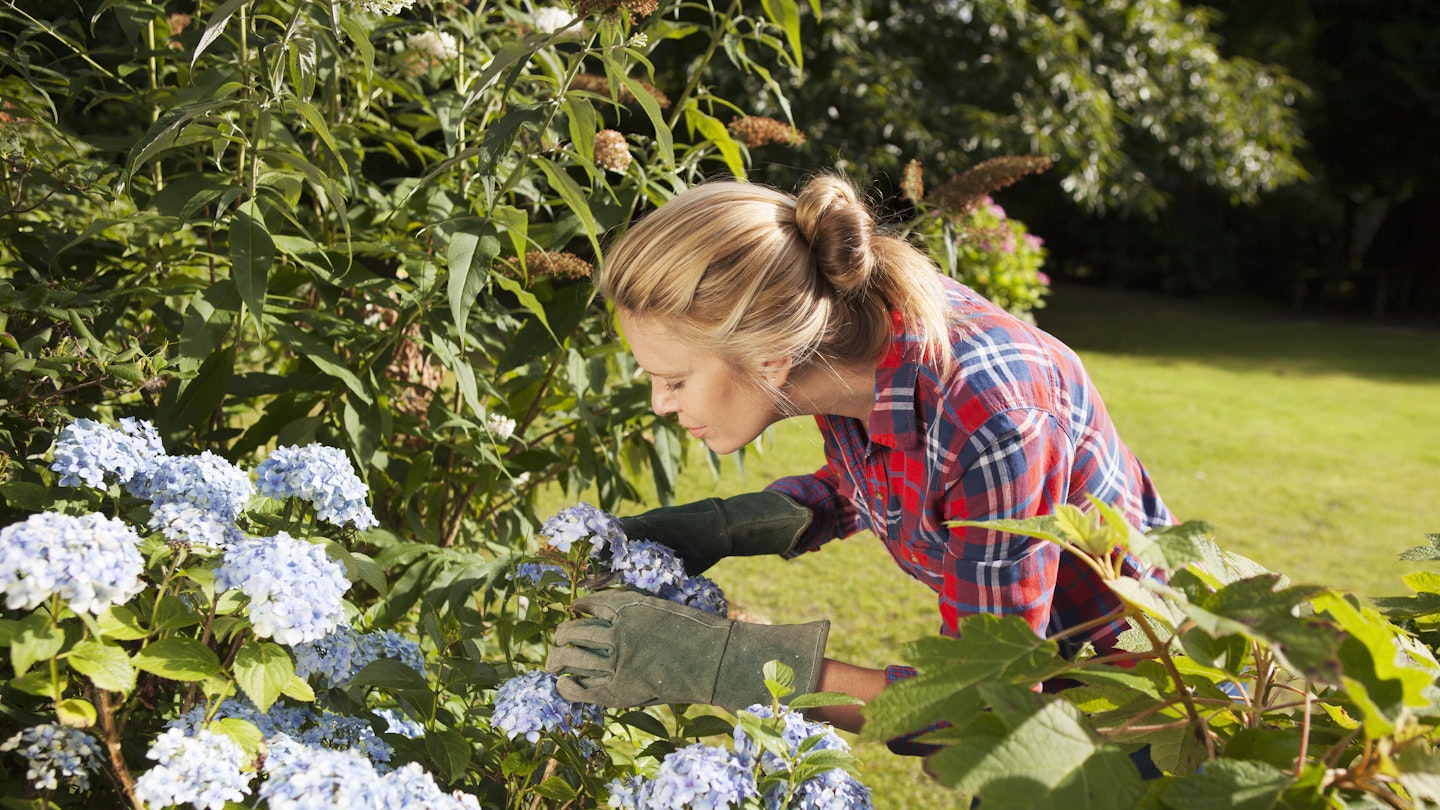
As we delve deeper into the summer season- with warmer days fast approaching, you’re probably beginning your search for elegant components to add to your garden. And what could be better than a gorgeous array of hydrangeas to inject some character into your garden this summer?
The best time to plant Hydrangeas
The best time to plant your shrubby hydrangeas, like most shrubs, is typically in spring or autumn as this allows the plant enough time to fully establish itself.
But, fear not- for your hydrangeas can be planted at any time of the year, and if you’re planning on planting in the summer this just means you’ll need to take extra care of them to ensure they thrive.
The best place to plant Hydrangeas
Hydrangeas thrive the most in well drained, but moist soil, placed in slight shade- ensuring their spot is not too sunny, but not too shady.
The best place to set a hydrangea is in a sheltered location where the stunning flora can enjoy the rays of the morning sun, but remain shaded in the afternoons. You can find these spots on the north or south side of your home.
What soil should Hydrangeas be planted in?
A soil containing a variety of organic elements is the go-to for ensuring your hydrangea gets the best care possible. A simple organic blend, or top soil will simply do the trick!
It’s crucial that your hydrangea is planted with good drainage. The dazzling shrub loves moist soil and they’ll certainly need a frequent moist base to thrive throughout the warmer months. However, you do not want to waterclog the plant for they simply cannot tolerate it, and a poor draining soil will cause root rot.
Important note: In just a few weeks, your hydrangea can die due to poor maintenance, so these weeks are the most precious to make certain your hydrangeas are receiving the best possible care!
Top tip: If you find that your soil is rather heavy, gardening products manufacturer Gilmour.com suggests mixing in plenty of compost before planting to guarantee the soil quality is improved.
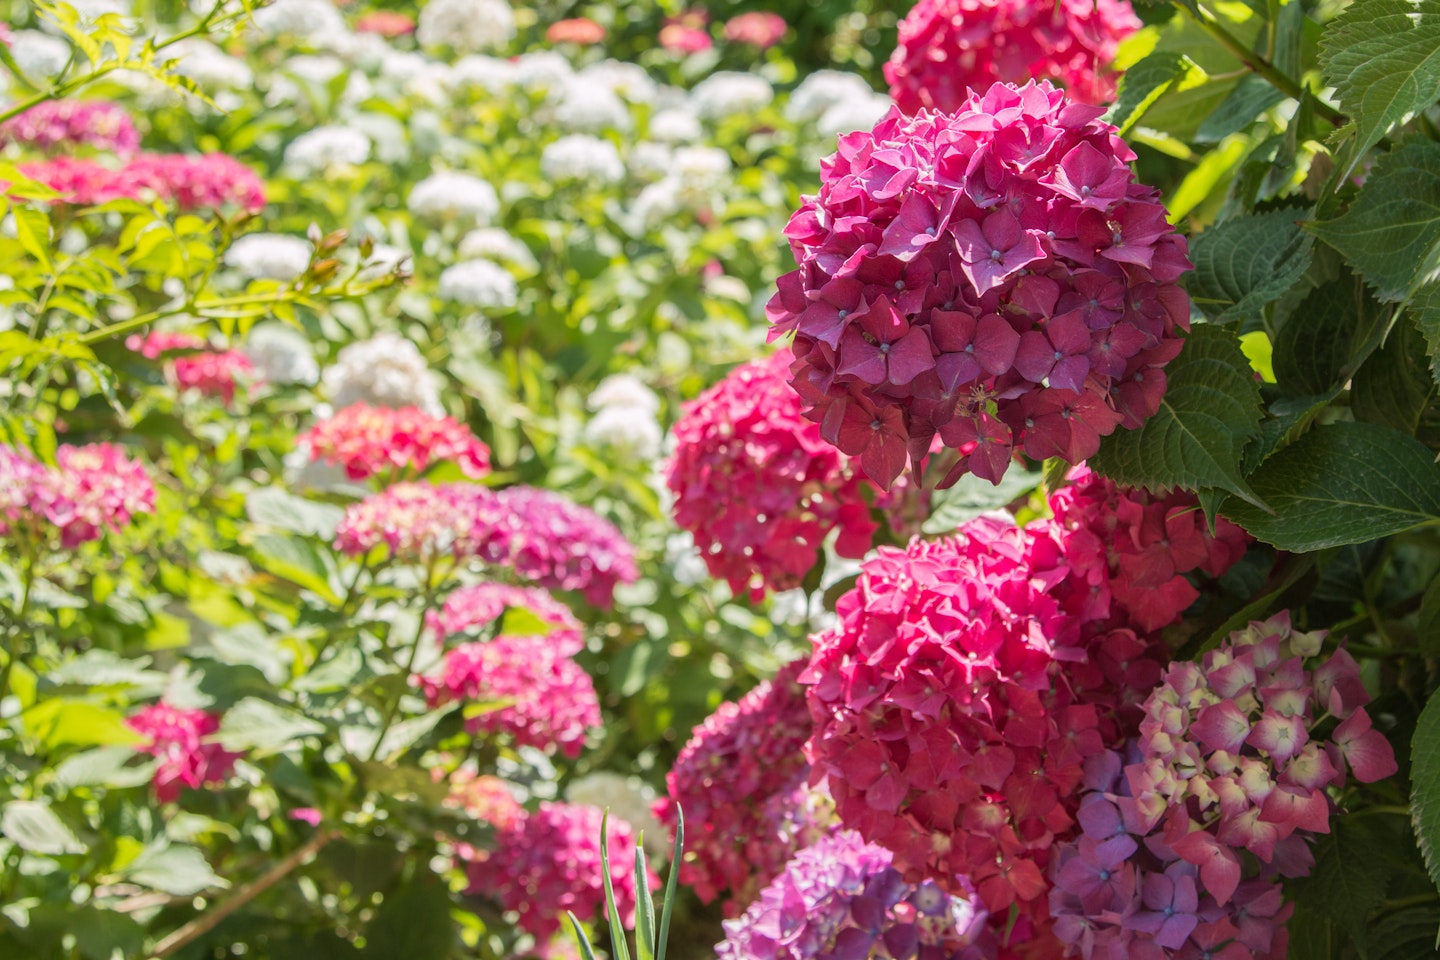
Here are some products we recommend for ensuring your Hydrangeas receive the right care and effortlessly thrive:
Hydrangea care tools
 1 of 5
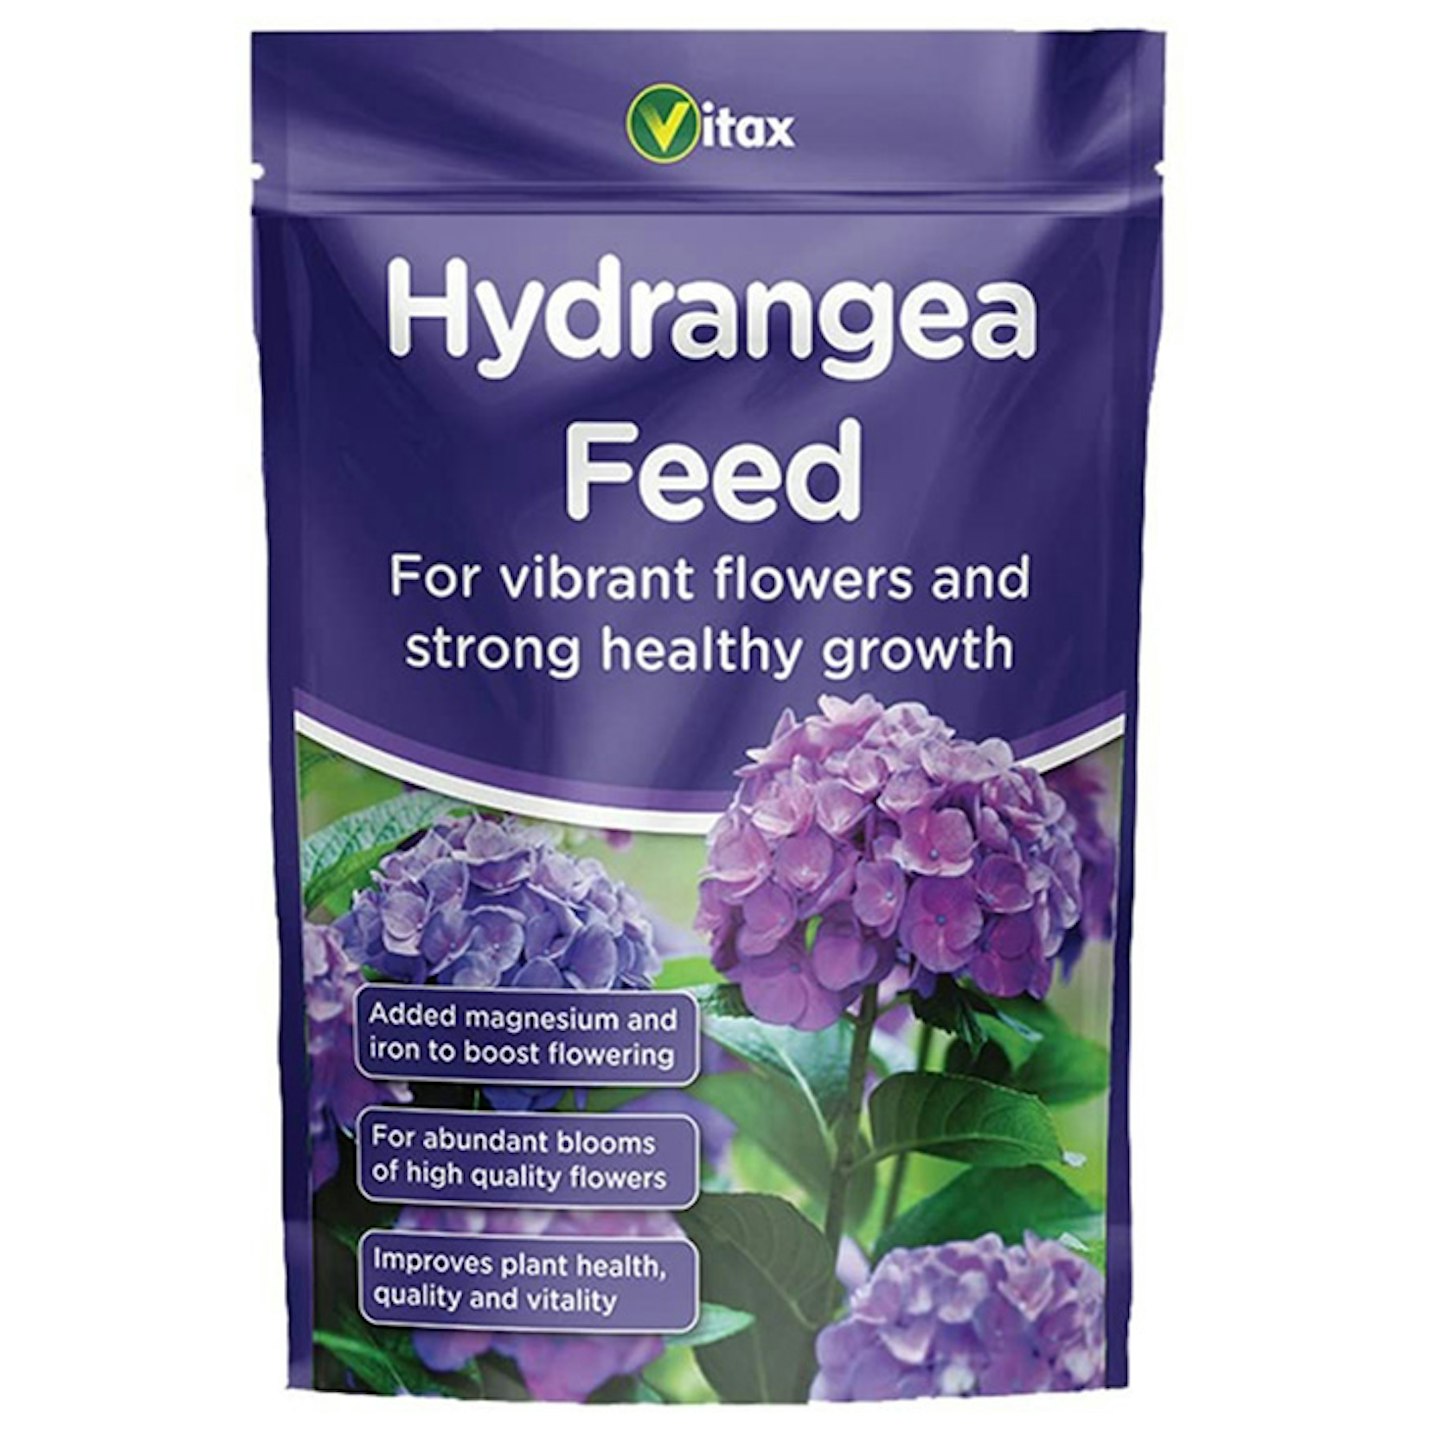
Vitax Hydrangea Feed
Vitax Hydrangea feed with added magnesium and iron promotes full blooms and adds an extra boost of health, quality and vitality to give a stunning display all season long.
 2 of 5
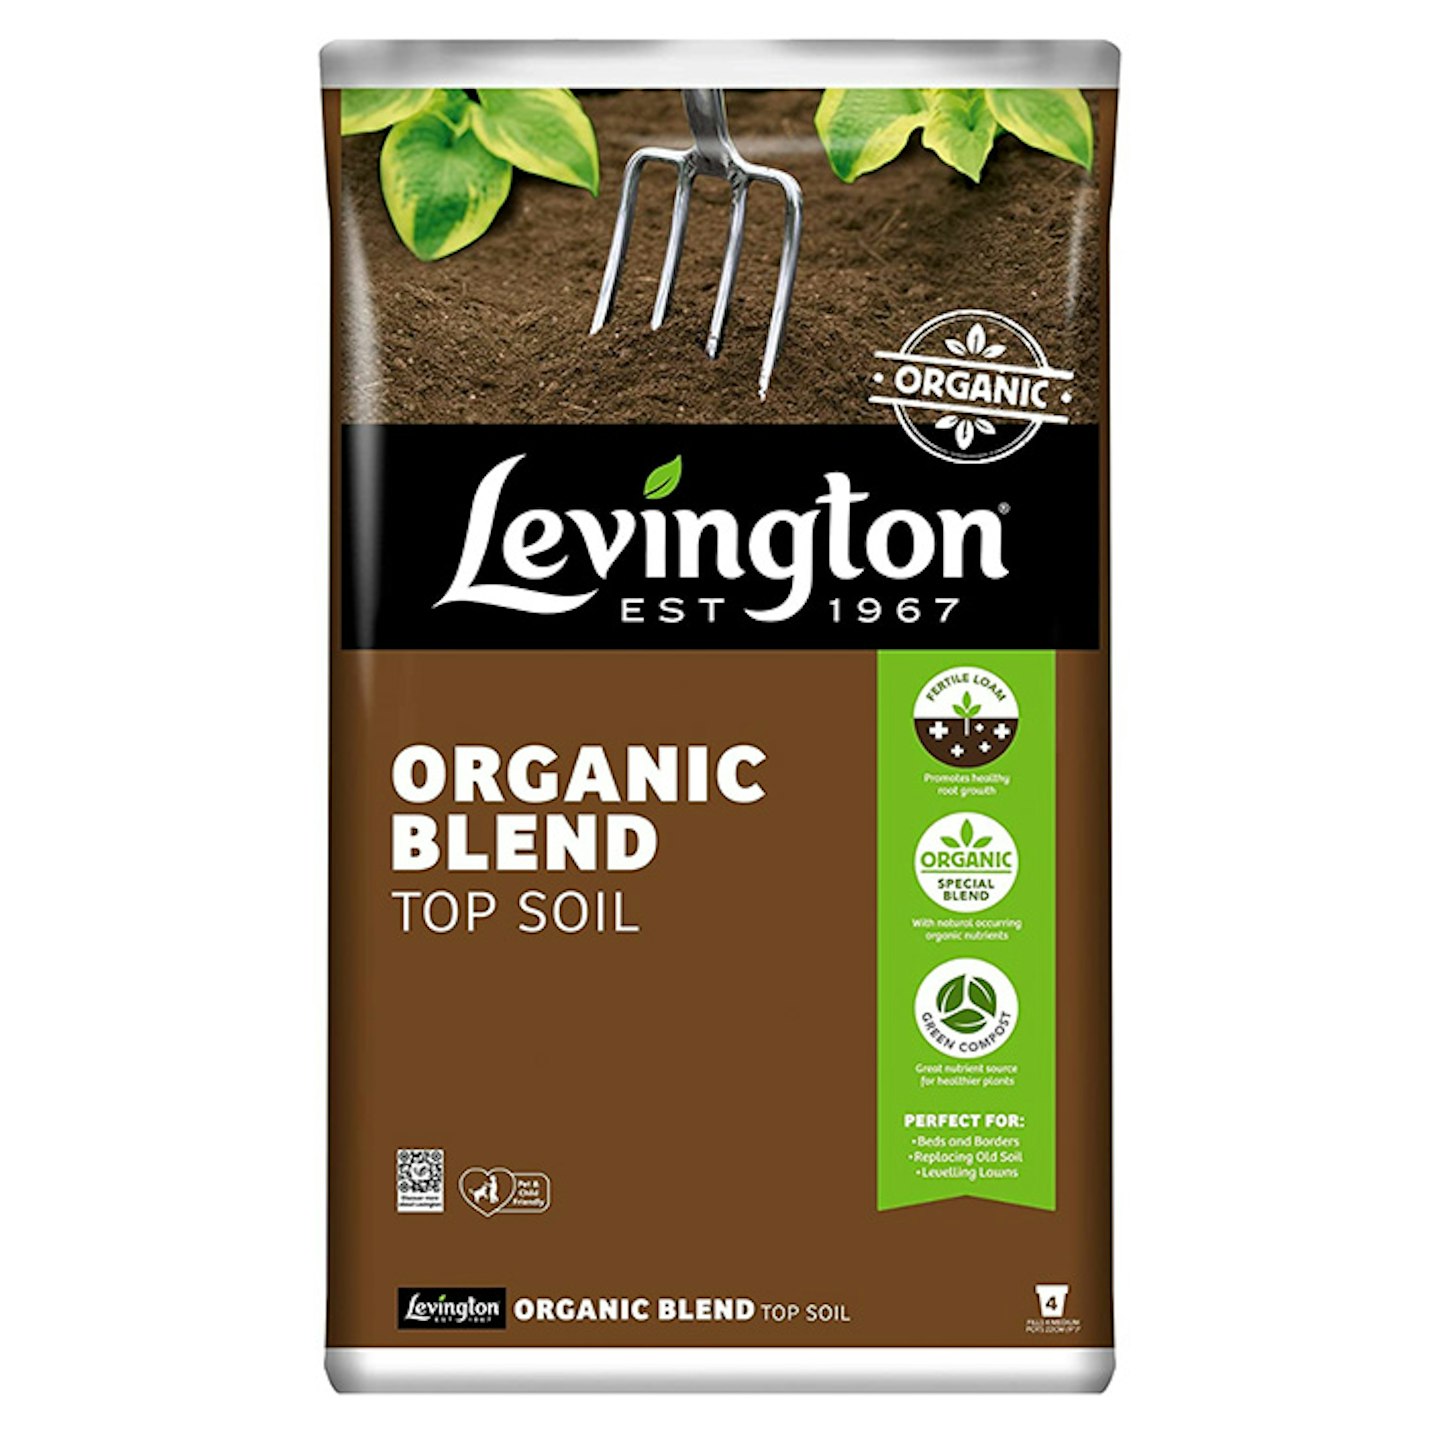
Levington Organic Blend Top Soil
This organic blend of top soil contains a high content of organic matter, it is perfect for bedding new soil and new plants, or it can immediately improve the quality of pre-existing poor soil. It's a must-have if you want high quality plants.
 3 of 5
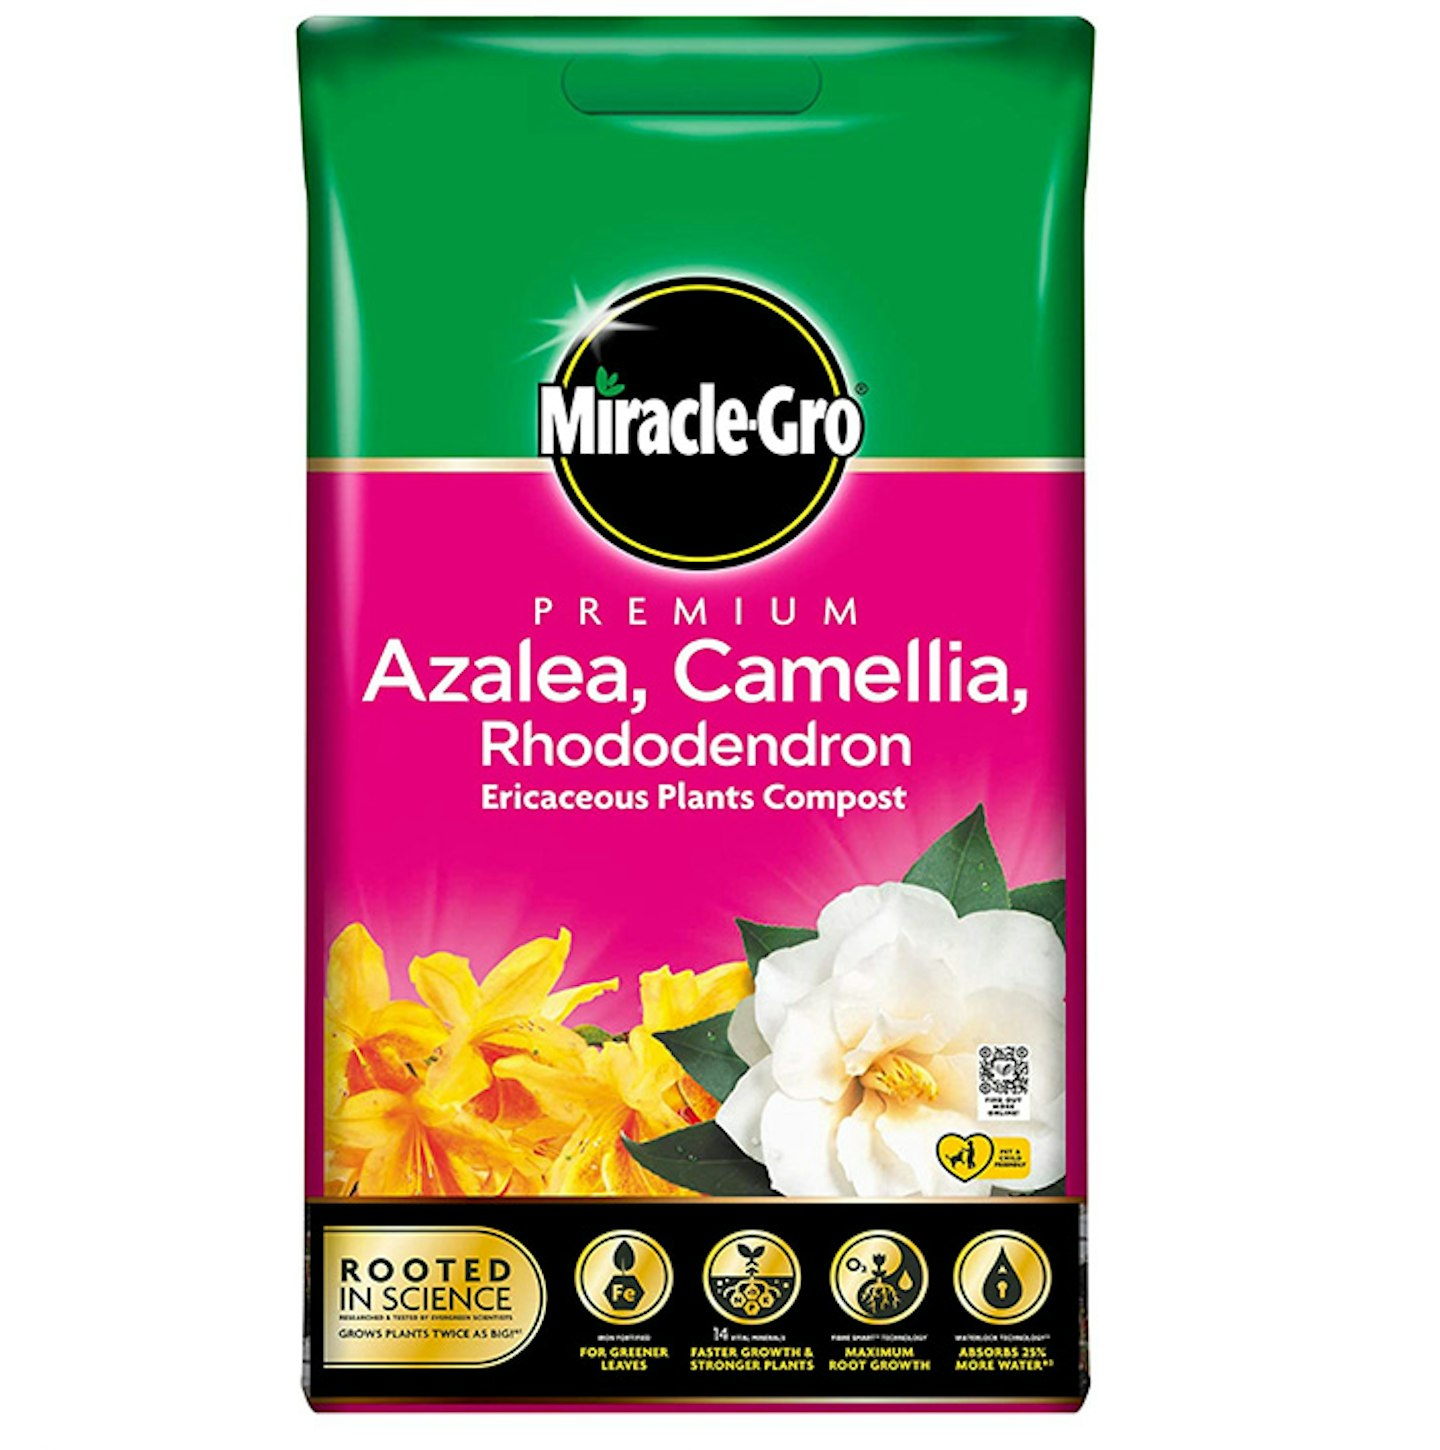
Miracle-Gro Eracacious Compost
Ideal for beds, borders and baskets is this compost that promotes extra growth and feeds your plants for 3 months, whilst keeping them fully hydrated with smart Waterlock Technology.
 4 of 5
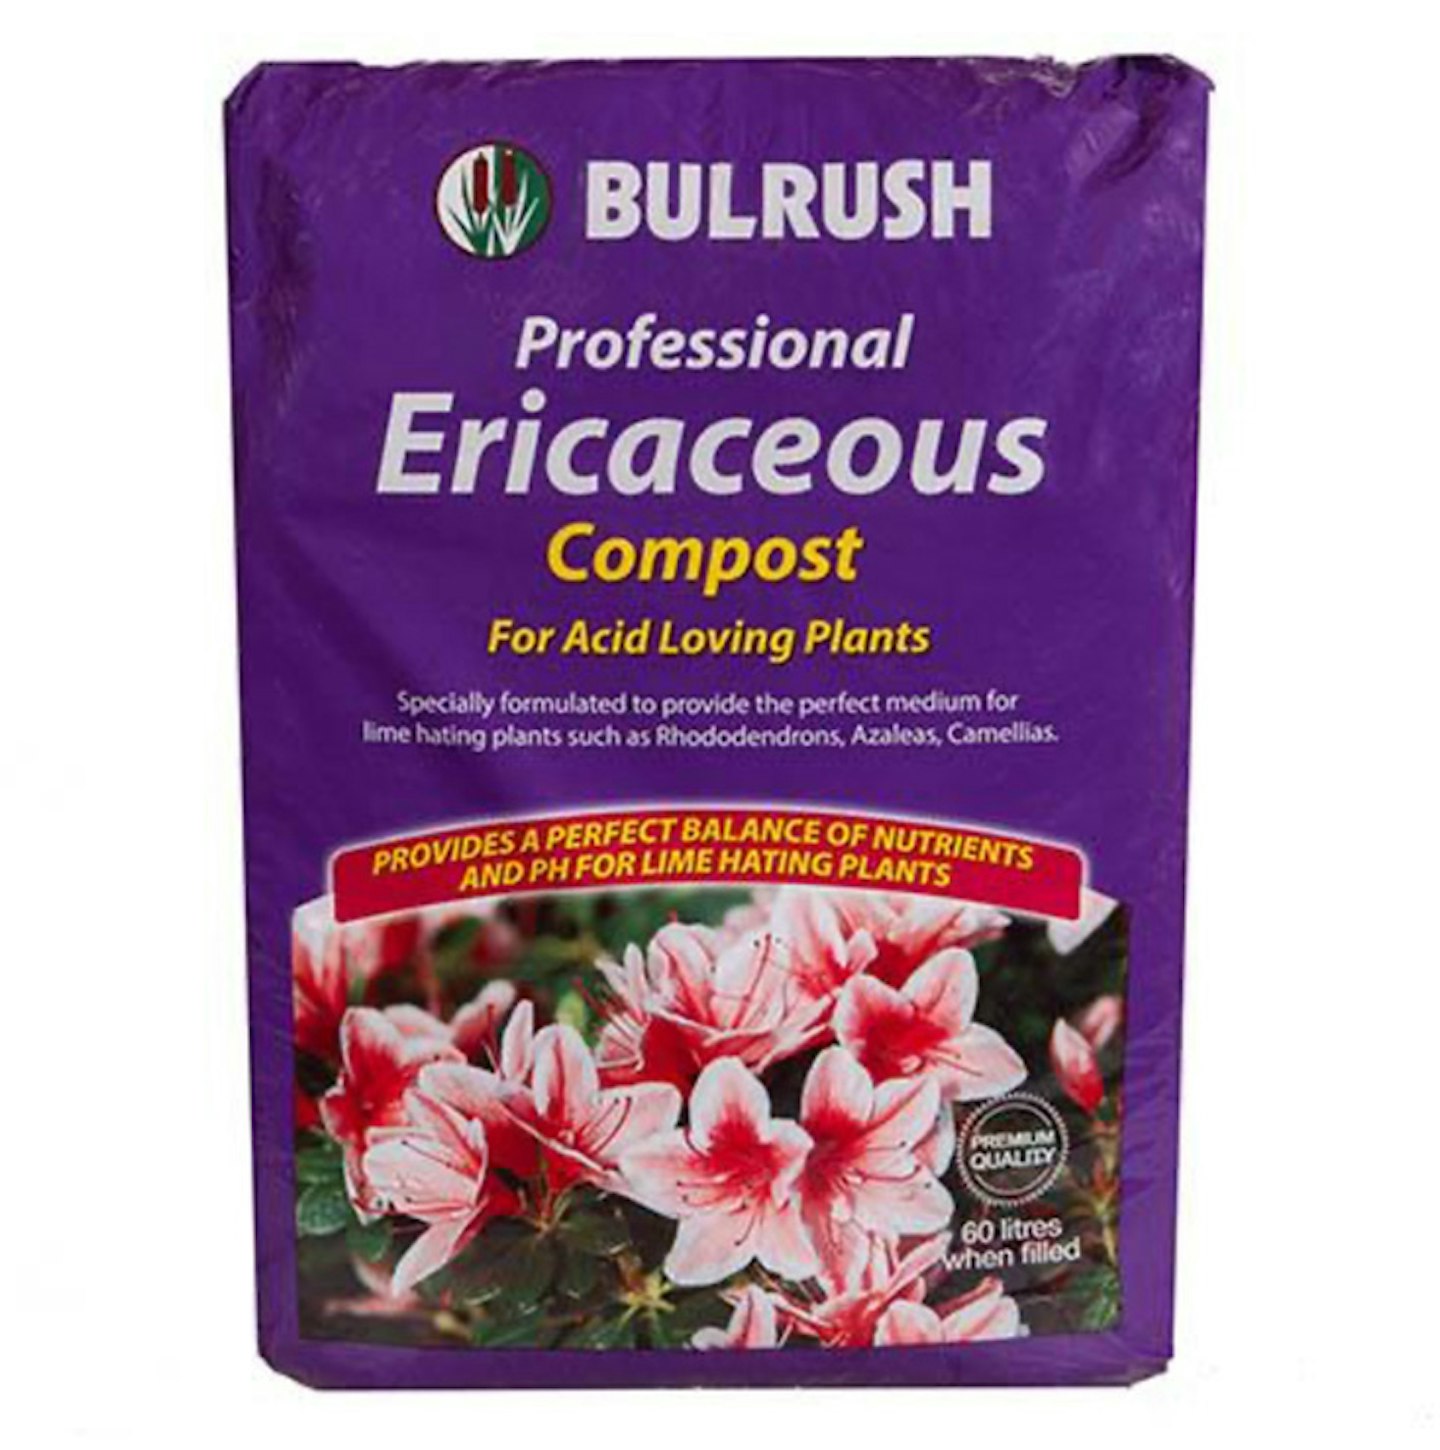
Ericaceous Compost
This compost has been blended to provide the right acidic soil conditions needed for optimum growth, making certain that you'll see fully developing flowers with next-to-perfect health!
 5 of 5
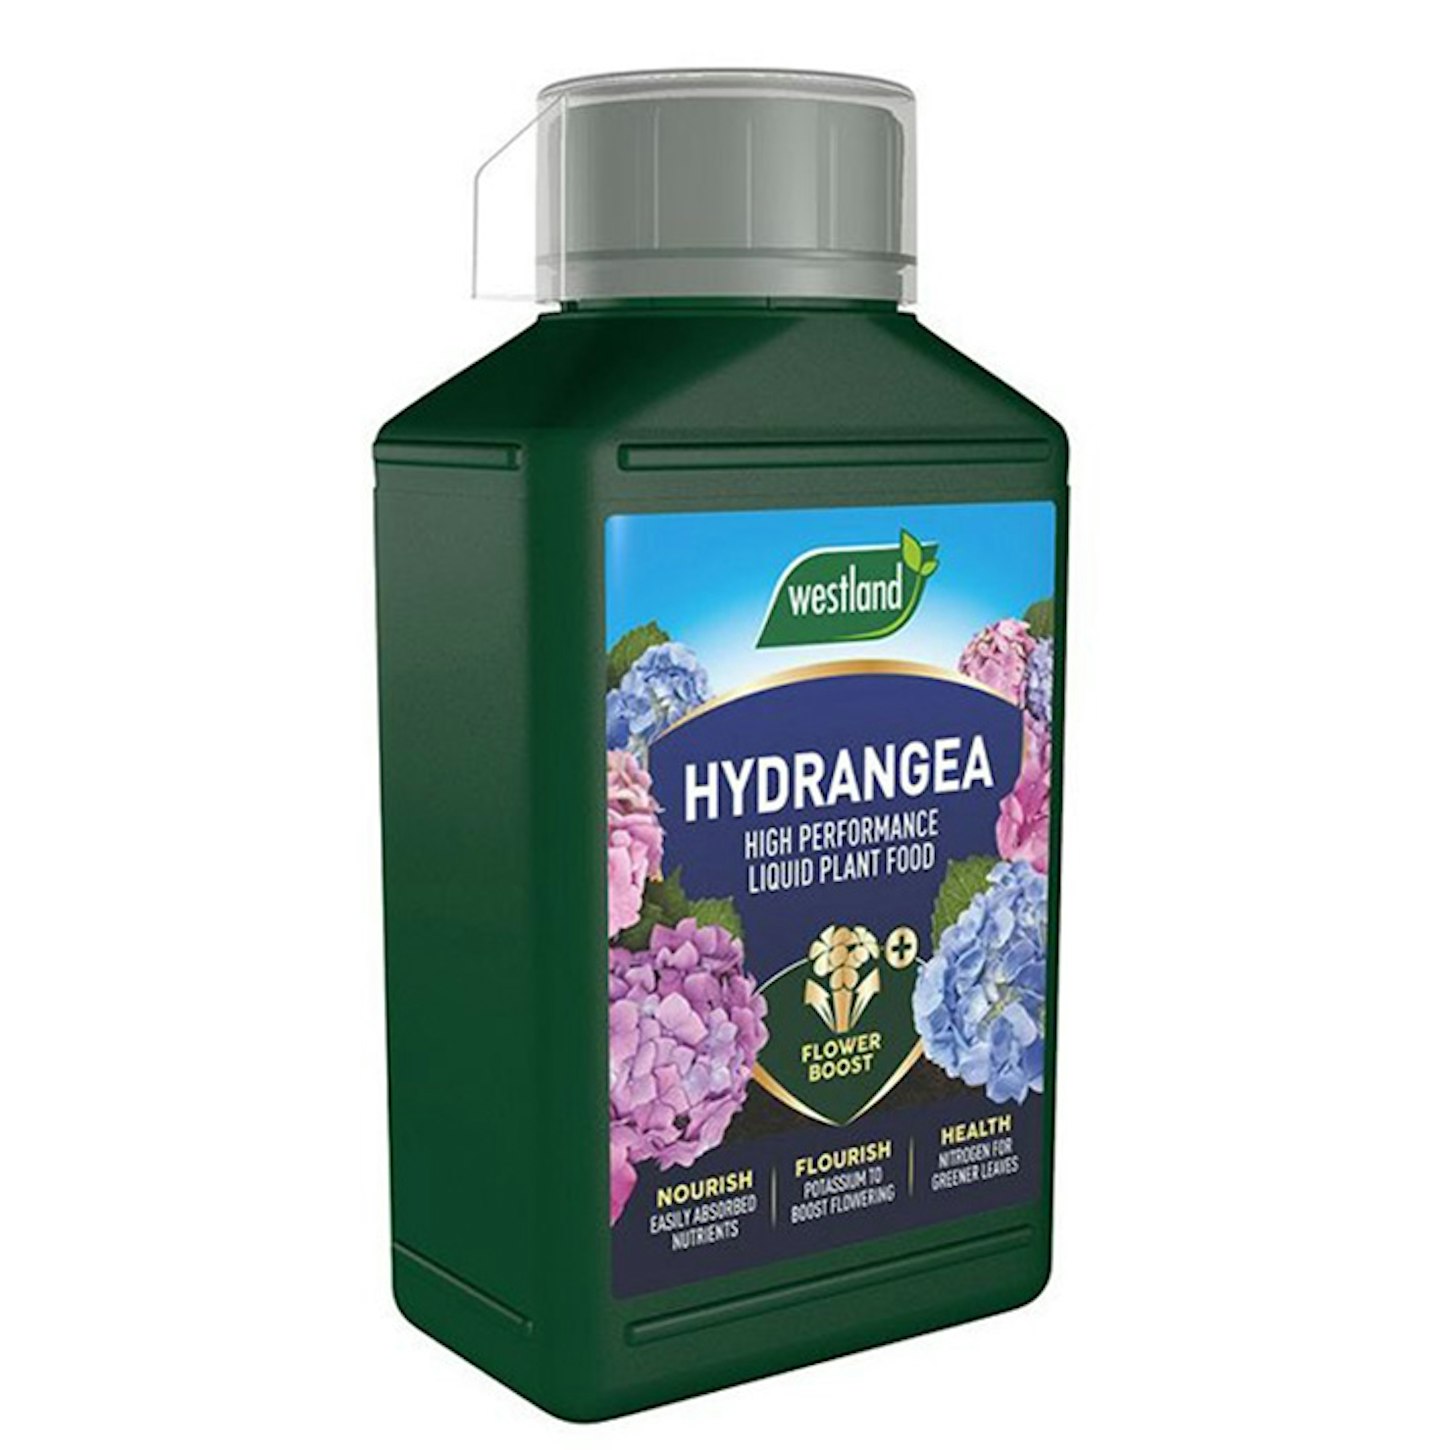
Westland Hydrangea High Performance Liquid Plant Food
This liquid plant food has been specially formulated to provide the essential nutrients needed by hydrangeas to make sure they can flourish beautifully; provided with all the nutrients and minerals they need.
Prepare the soil!
Hydrangeas thrive in evenly moist soil. So, before planting the plant, it would be worth digging in some organic soil improver, garden compost or hydrangea care compost. For the best results, The RHS recommends adding a bucketful per square metre (yard).
How to plant the Hydrangea
1. Water the plant throughly before planting.
2. Make your planting hole as deep as the rootball, and then three times wider than that.
3. Put your hydrangea into the hole, ensuring that the surface of the compost in the pot is level with the surrounding soil to avoid planting too deep.
4. Make sure the soil around the rootball is firm! You can do this by pressing the soil well with the heal of your boot/shoe.
5. Layer on top a soil improver leaving a 10-15cm (4-6in) gap around the base, in order to reduce the drying out of the soil
6. Water in to help plant establishment and aim to keep the soil damp in the next few weeks.
And voila- watch your Shrubby Hydrangeas bloom and blossom.
