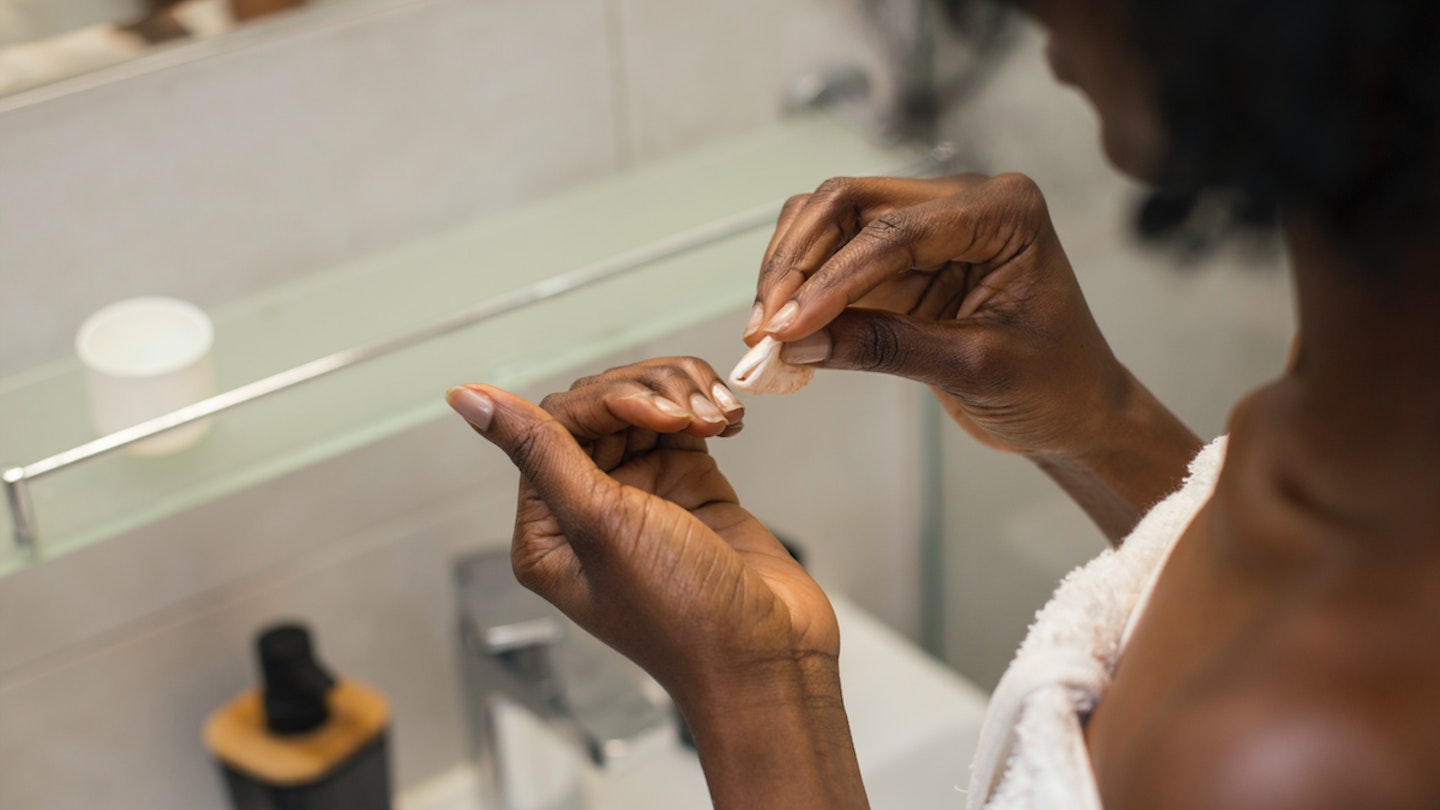
Having an at-home manicure or at-home pedicure is a great way to treat yourself without spending a whole heap of cash.
There's never a bad time to learn how to give your nails a proper pamper, especially at the end of a stressful day or before a special event. You may even need to remove your acrylic nails at home before giving your natural nails some nourishment.
It's a good idea to have all the essential kit sorted before you start - you'll need nail varnish remover, cuticle sticks, cotton pads, hand cream, a base and top coat and of course your colours. Other handy bits include nail clippers, a nail file, nail buffer and hand scrub.
Now you're ready to do your home manicure, you could even light a few scented candles or put on some calming music to create a salon or spa like feel.
With a little practice and the right step-by-step tips, you'll be able to create gorgeous nail results in your own home.
Our step-by-step guide to a salon-worthy manicure at home
How to do a home manicure
 1 of 8
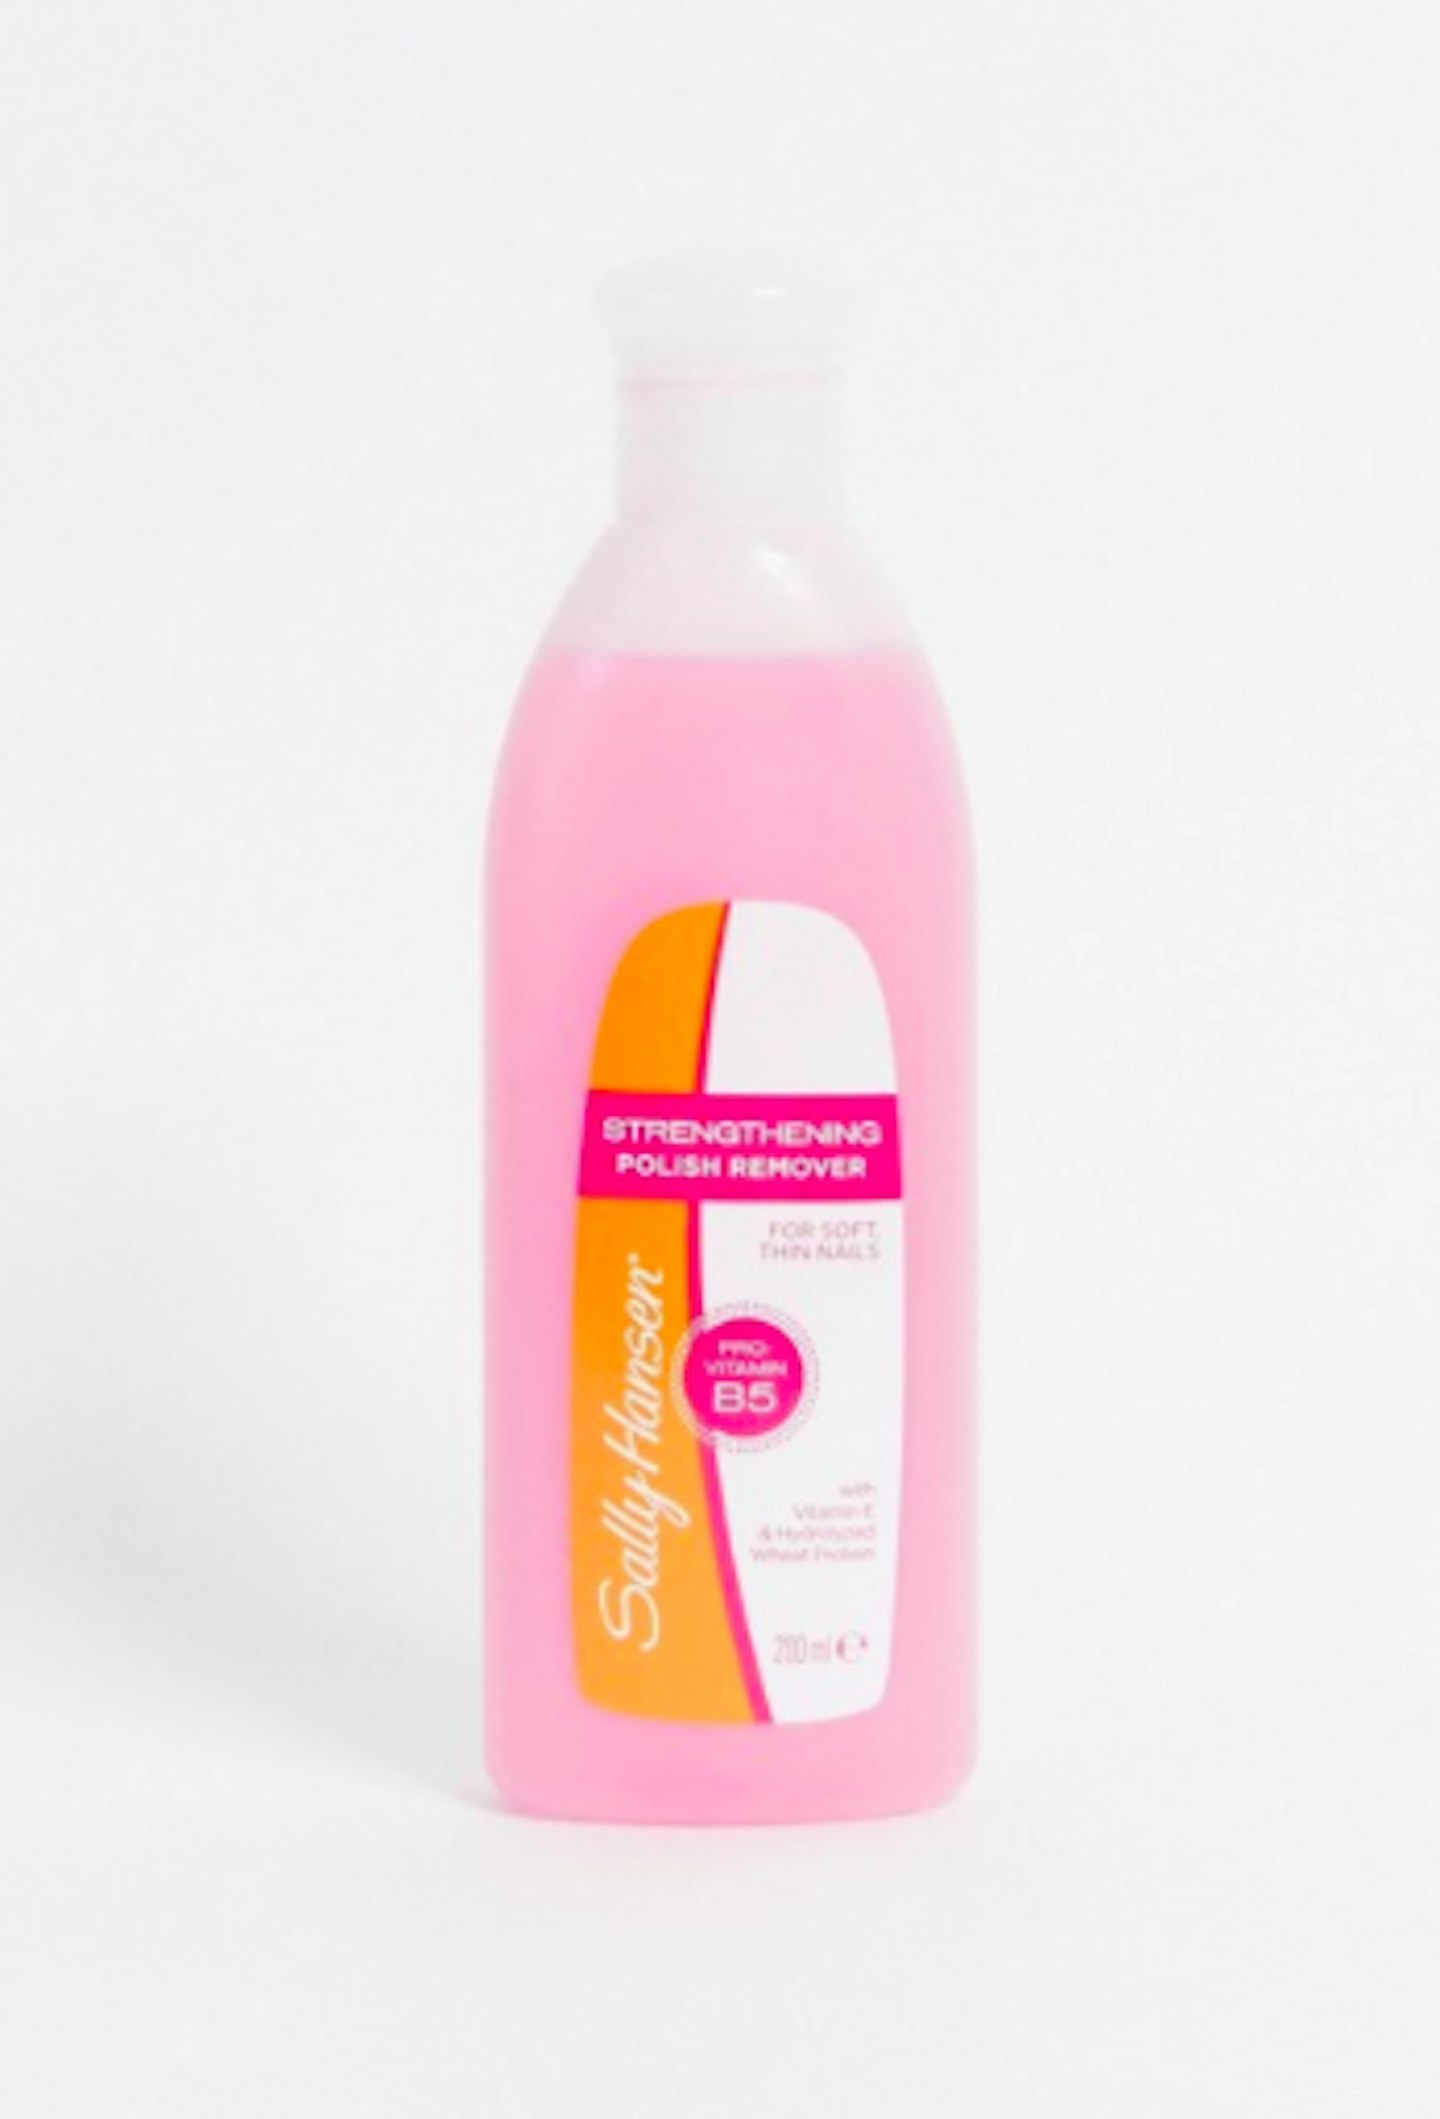
Step 1: Clean your nails with nail varnish remover
Prepping your nails is just as important as painting them, so make sure to remove any traces of old polish with a good nail varnish remover. This one from Sally Hansen strengthens and moisturises your nails too. Don't forget to wash your hands in a bowl of warm soapy water afterwards.
 2 of 8
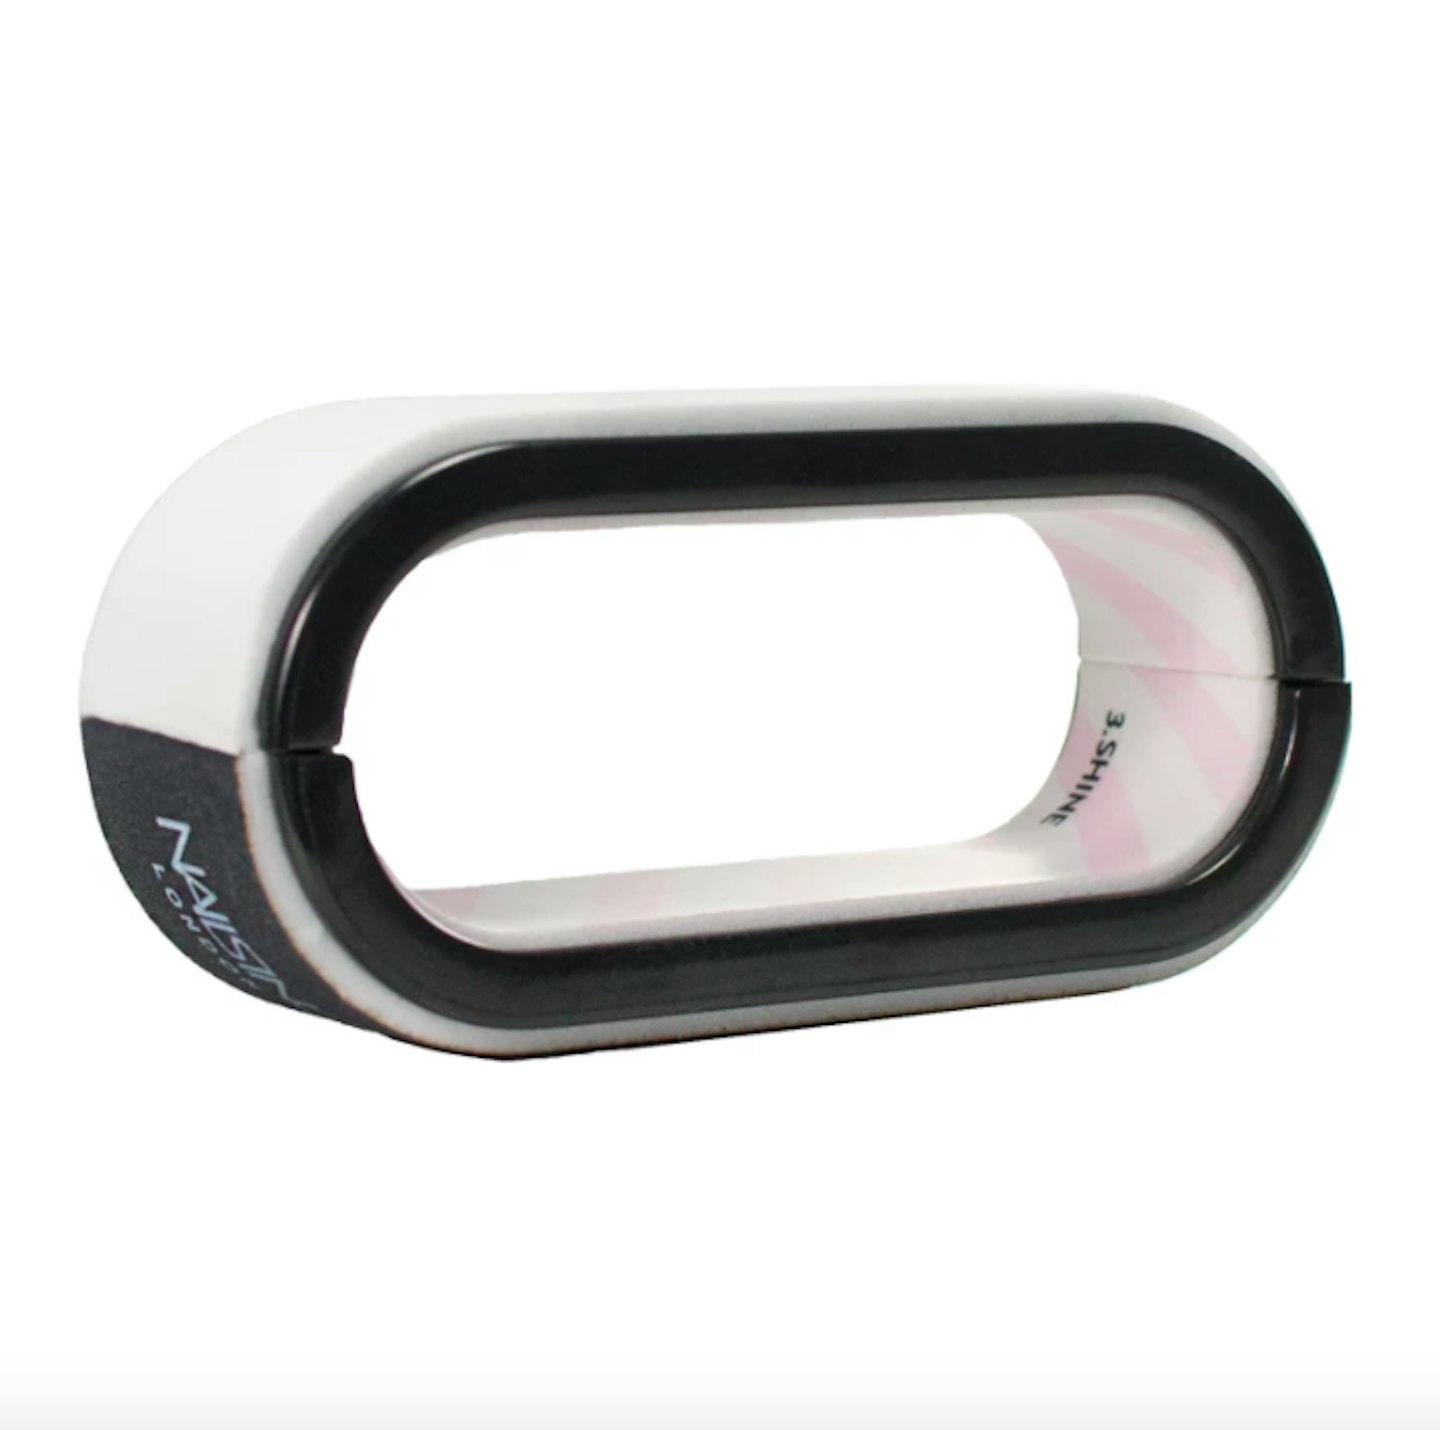
Step 2: File, Buff and Clip
If your nails are longer than you'd like, clip them to your desired length, then file gently in one direction. Filing in all directions can cause breakage and flaking, so make sure you're filing smoothly in one direction. Finally, buff the tops of your nails to create a smooth surface for the polish.
 3 of 8
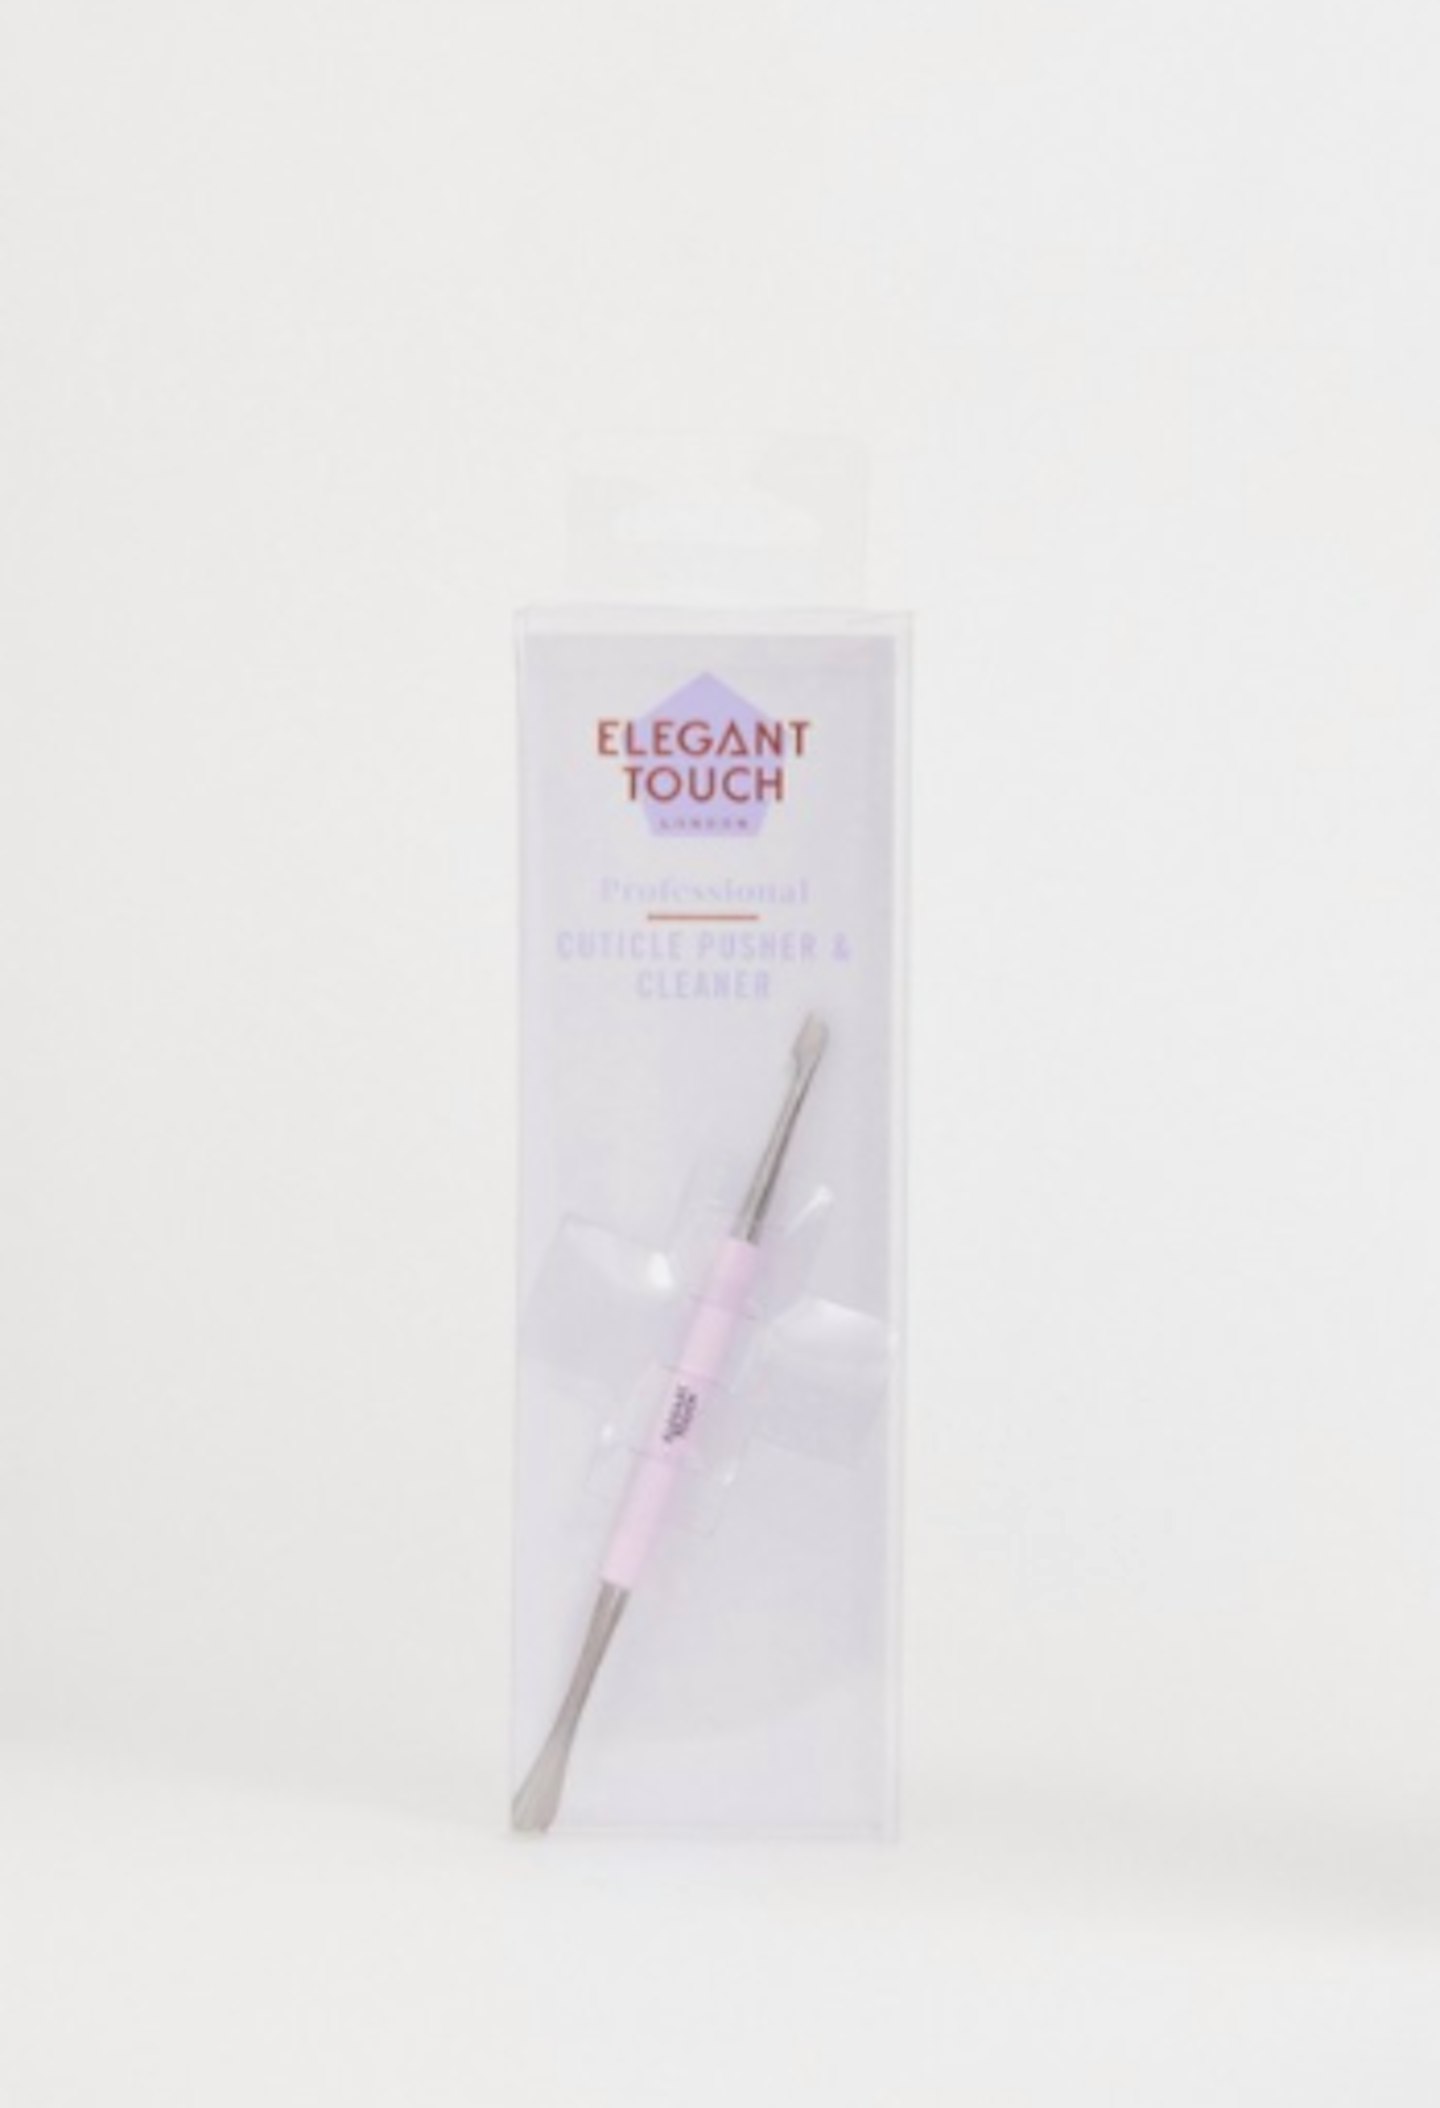
Step 3: Push back your cuticles
Prep your cuticles with a cuticle remover, then use a cuticle stick to push them back. Avoid cutting them if you can, because cuticles protect your nails from bacteria and keep them soft.
 4 of 8
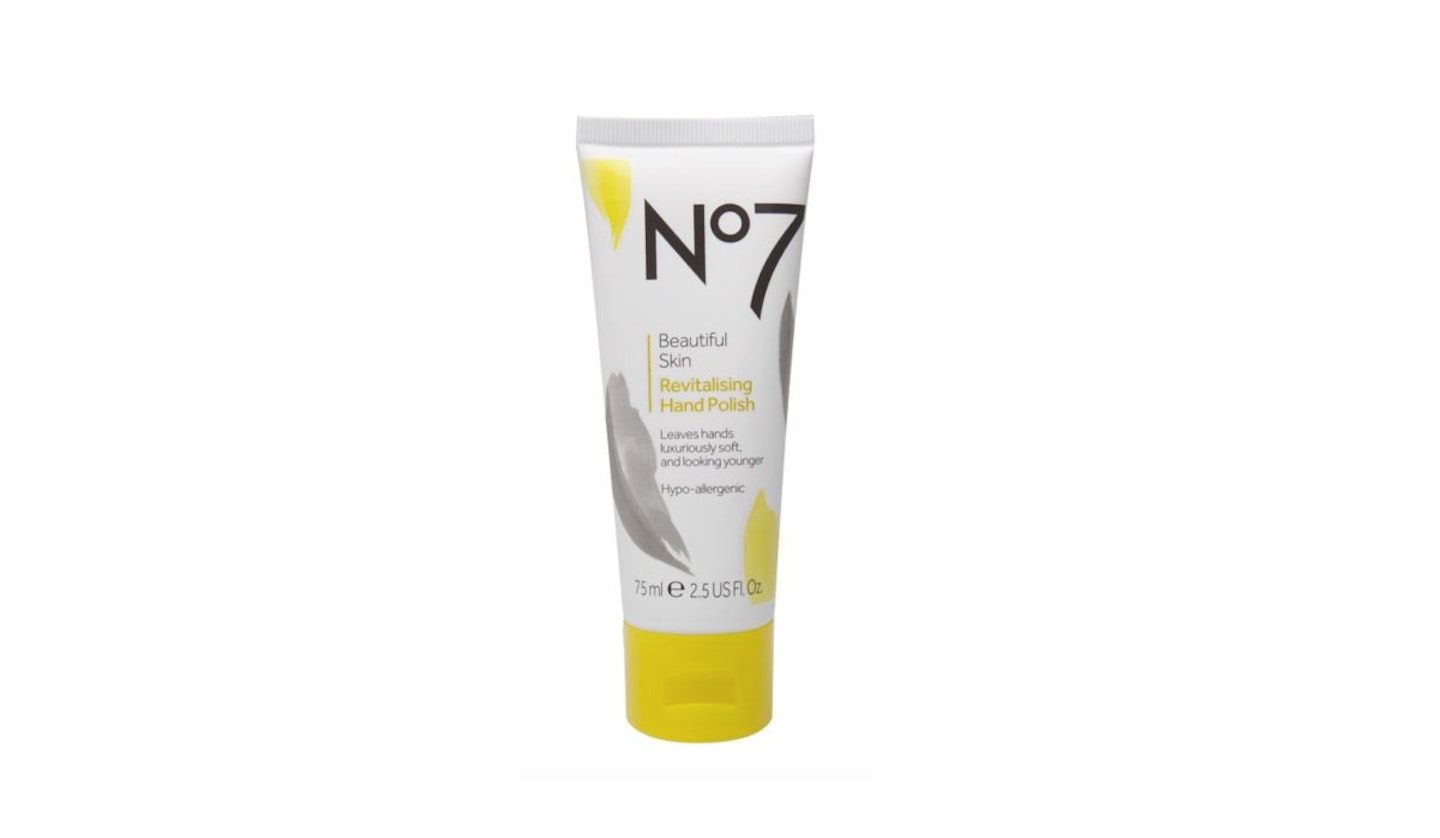
Step 4: Exfoliate your hands
Exfoliate your hands, wrists and forearms with a nice hand scrub, like this one from No 7. Then wash off with warm water and a moisturising soap.
 5 of 8
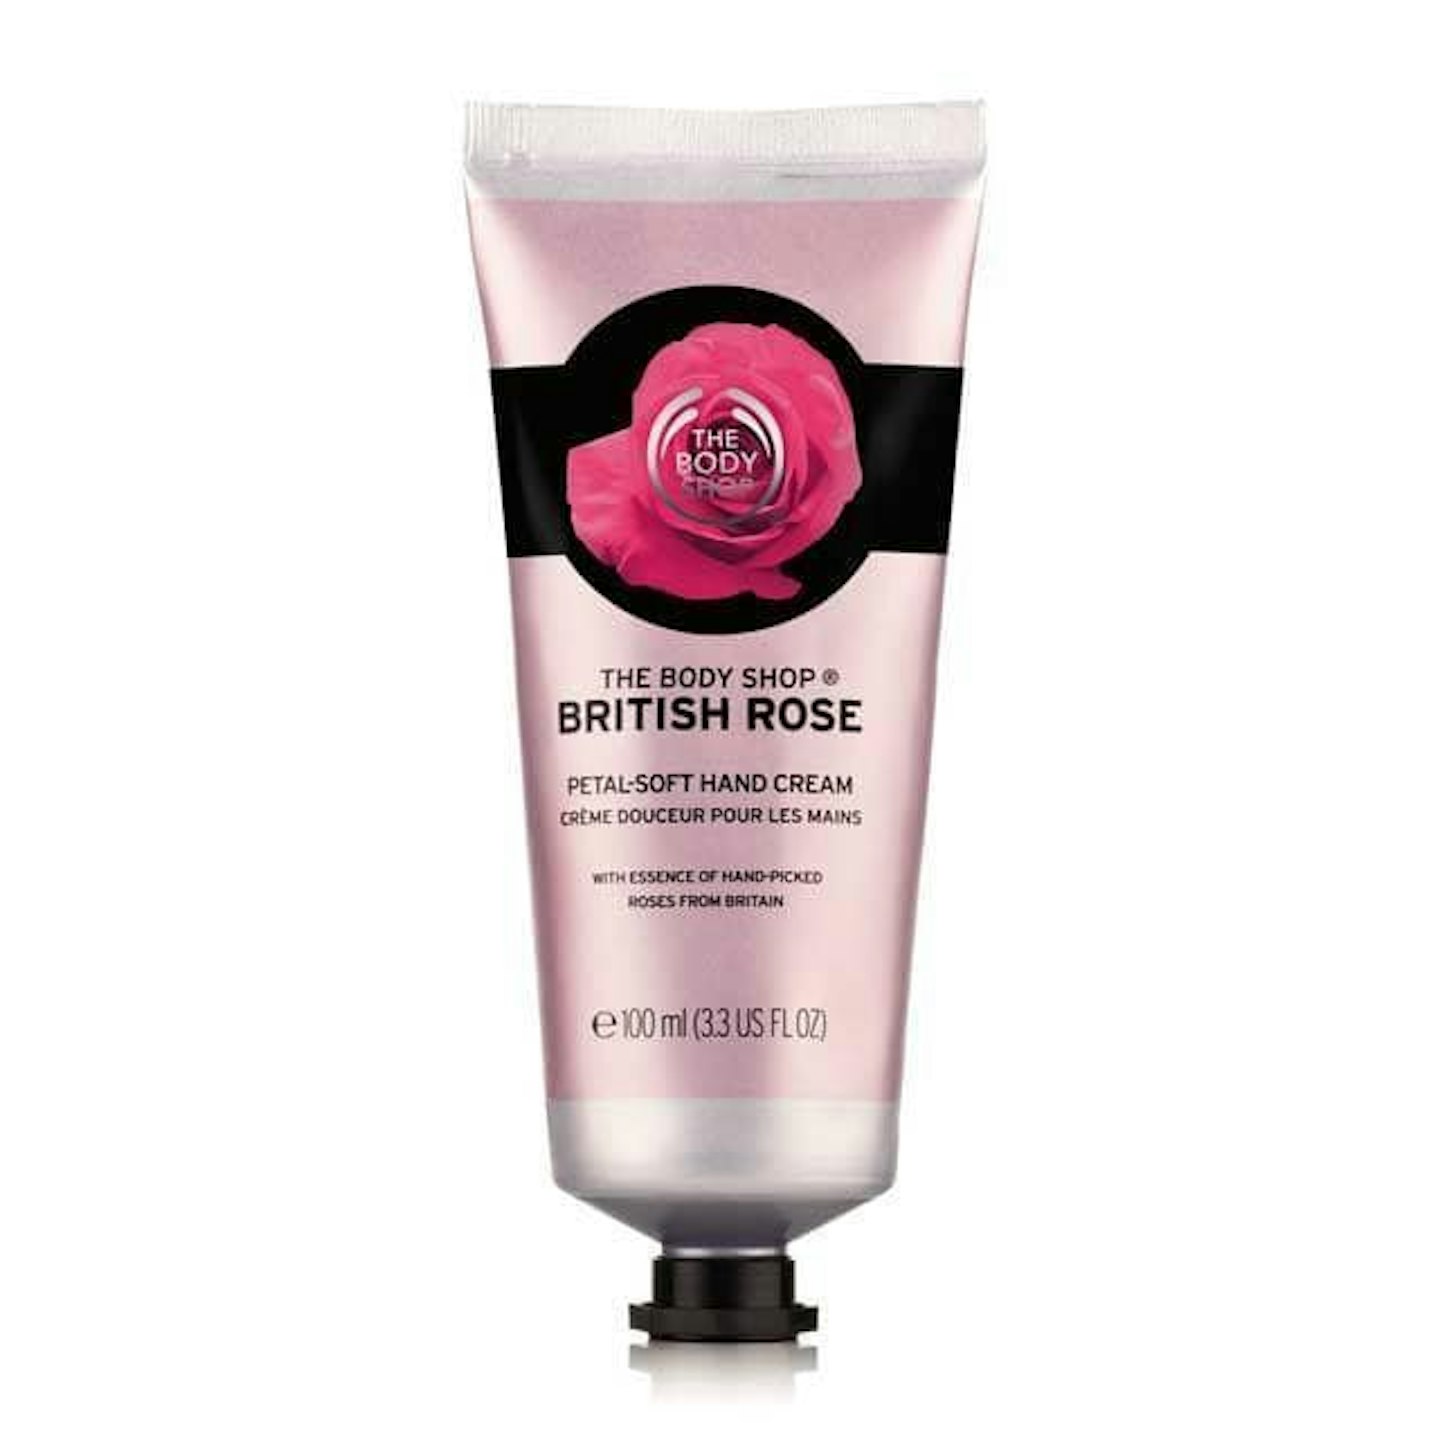
Step 5: Moisturise your hands and cuticles
Now it's time to moisturise. It's better to do this step now so that you don't smudge your nail polish later on. We're loving this rose scented cream from The Body Shop.
 6 of 8
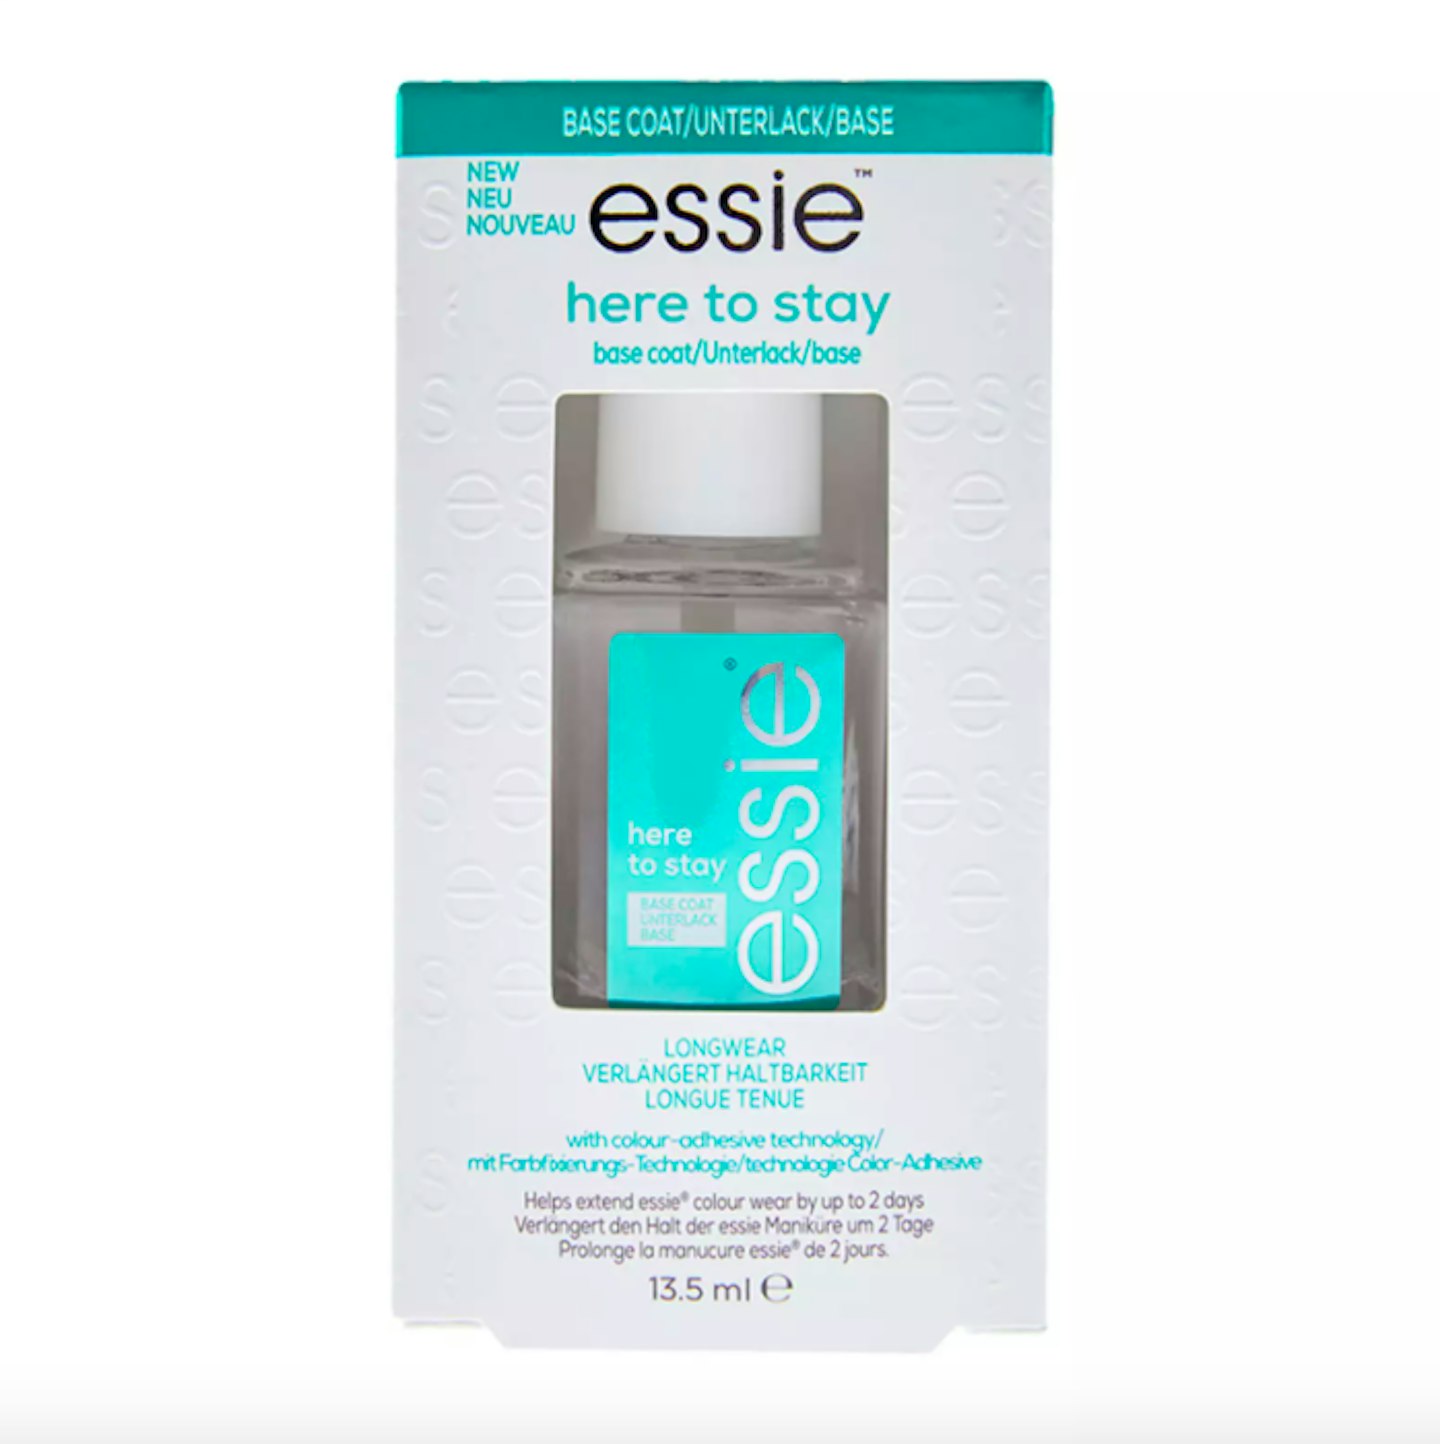
Step 6: Apply a base coat
Using a strengthening base coat to hydrate your nails, give your colour staying power and prevent chipping. You just need one coat, and you'll need to leave it to dry for a few minutes before applying your top coat.
 7 of 8
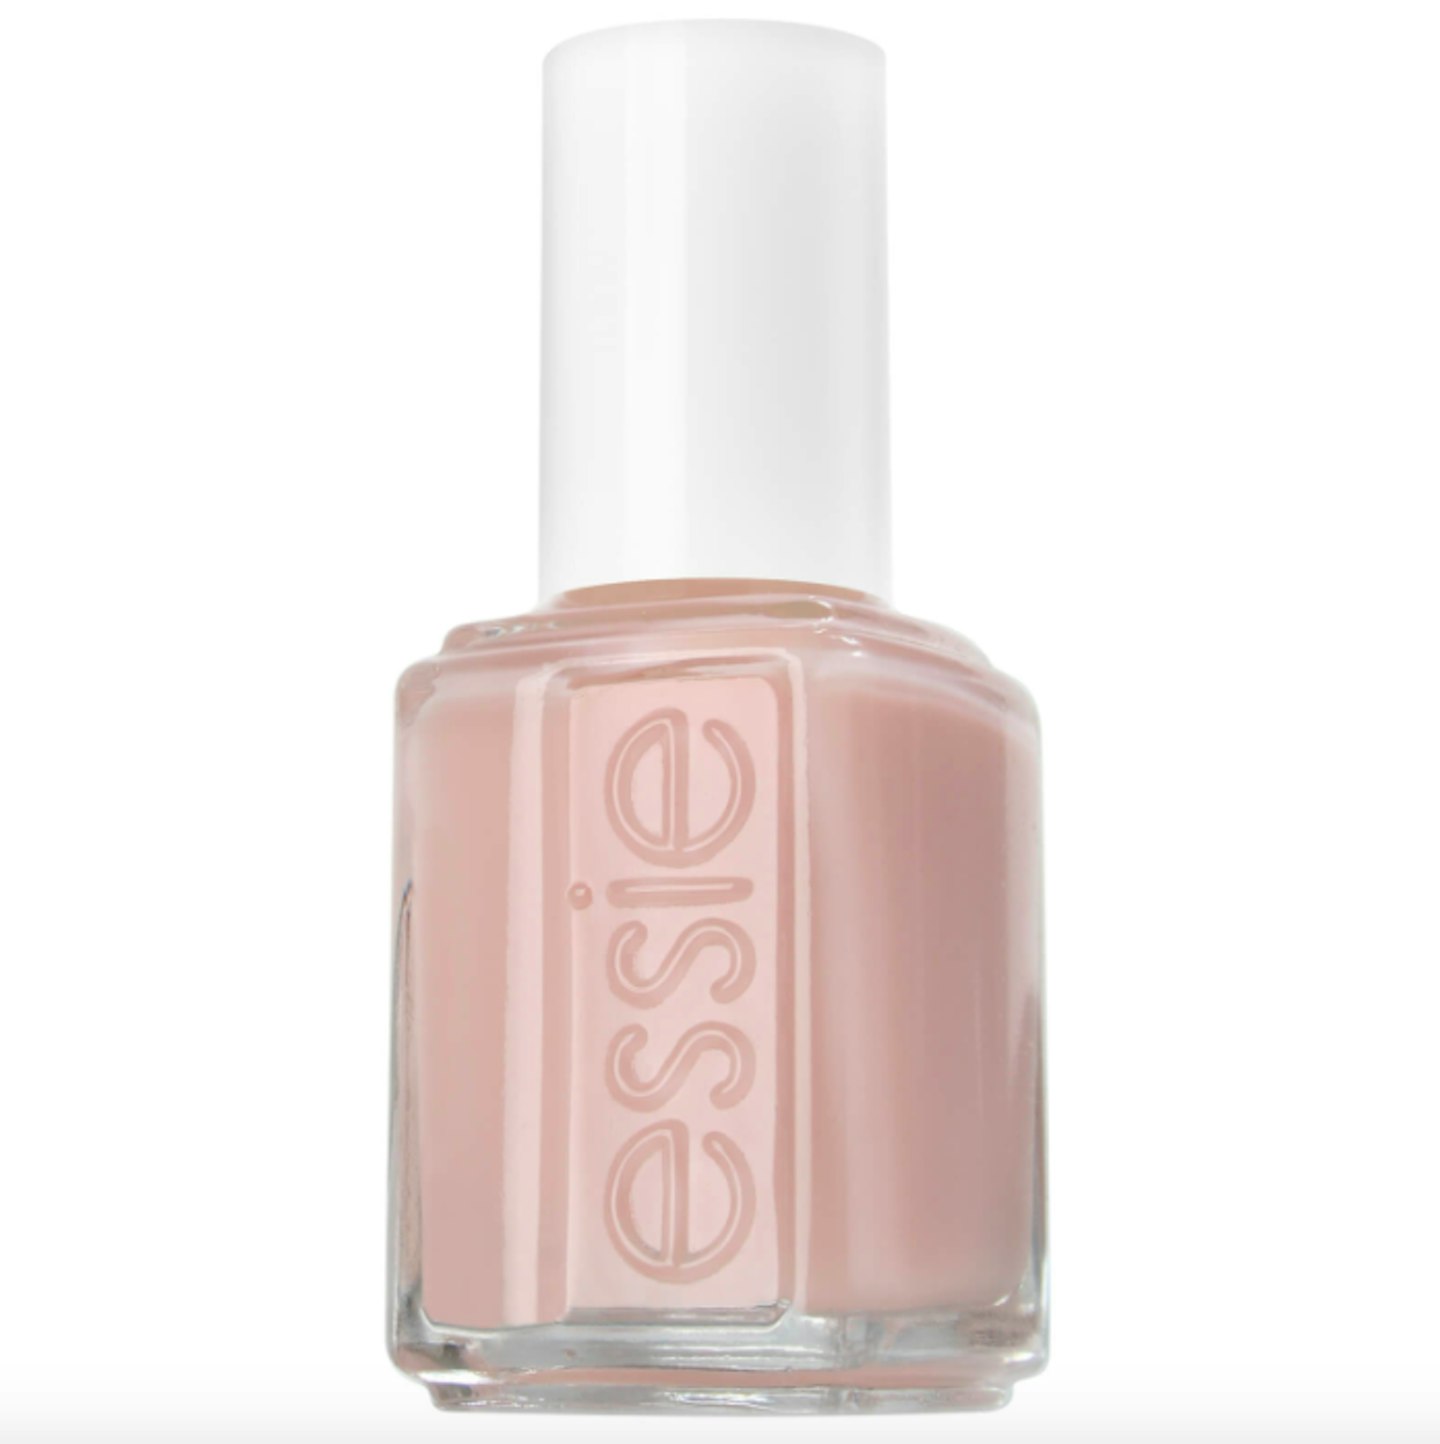
Step 7: Apply your colour
Now for the fun bit - apply your colour on top of the base coat, making sure you get the brush all the way down to your cuticle and up to the corners of your nails. Try not to overload the brush with polish, and apply just enough to cover the nail. We love this perfect nude colour, "ballet slippers", from Essie. Then, apply a second coat of colour when the first one is dry.
 8 of 8
Step 8: Apply a top coat
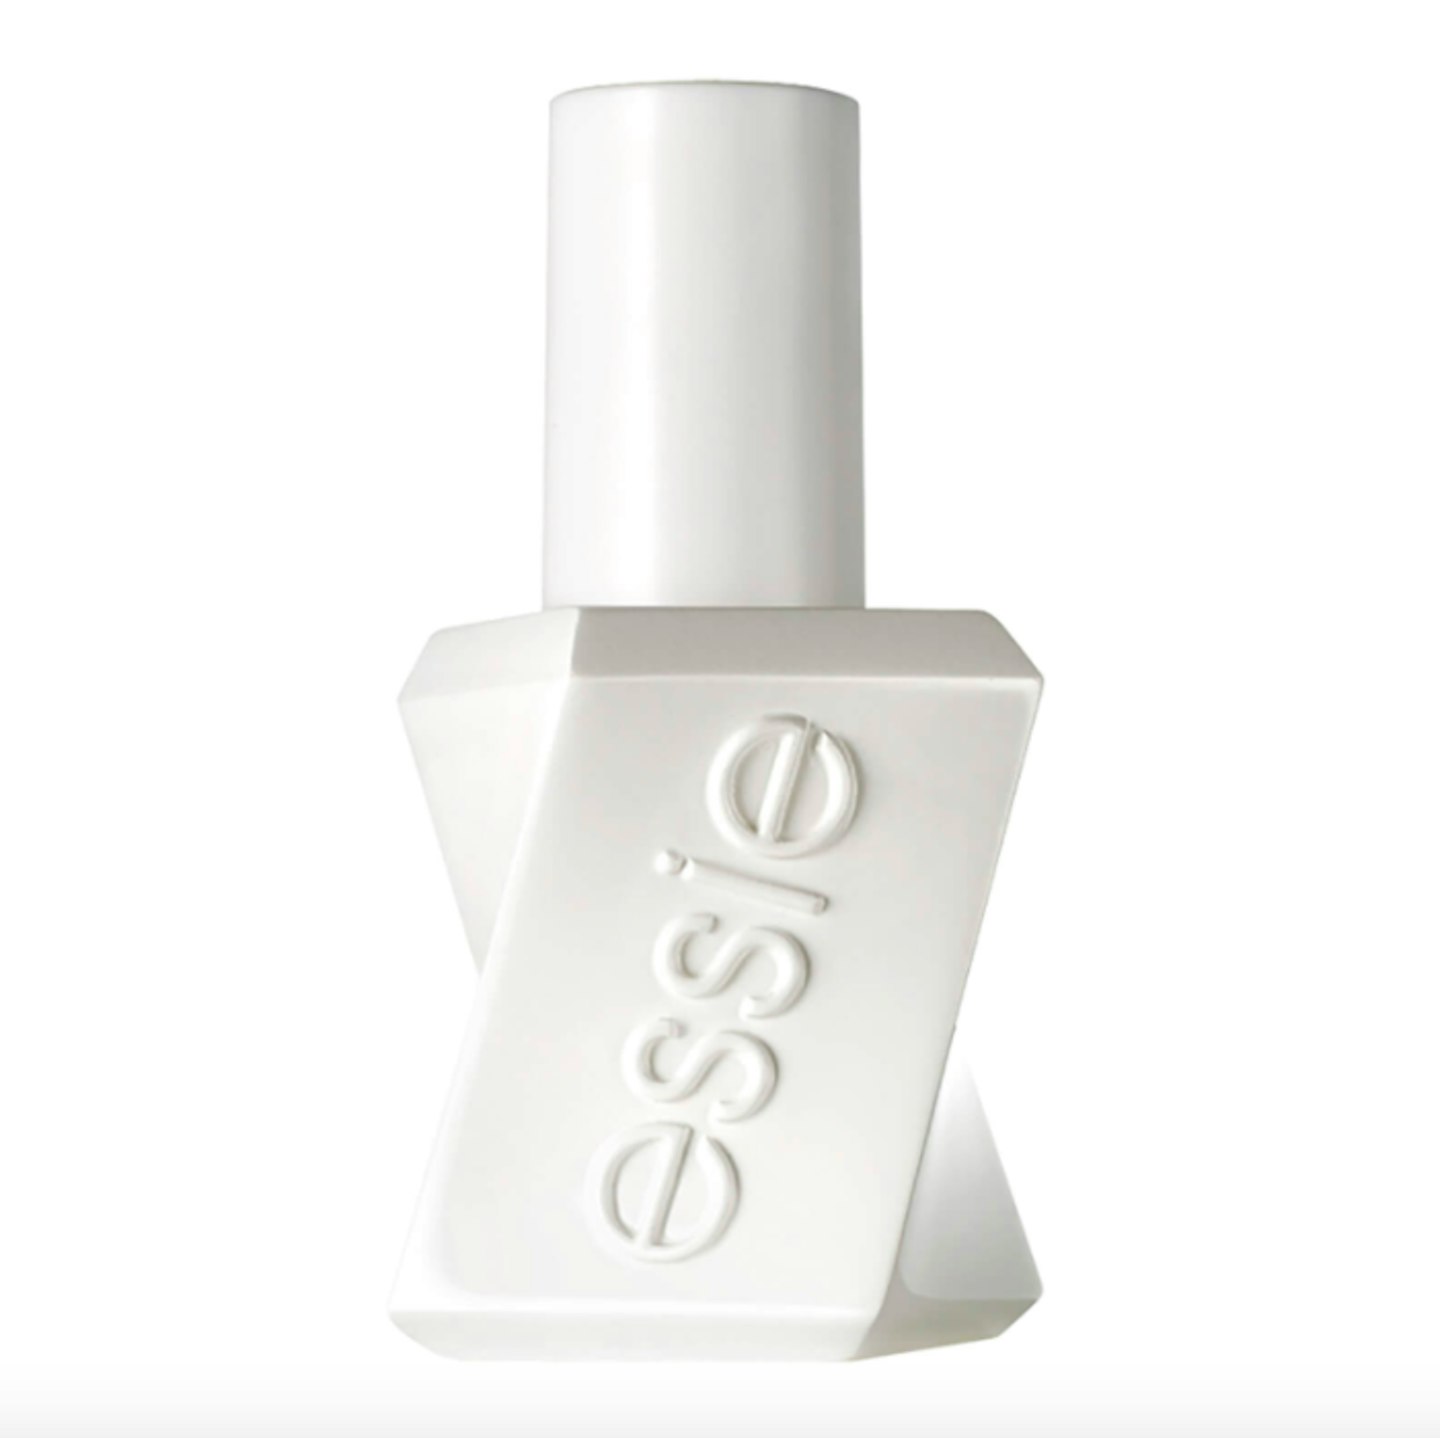
Applying a top coat like this Essie one will protect your manicure from chipping and undoing all that hard work. Apply a light layer of top coat for extra protection and shine.
