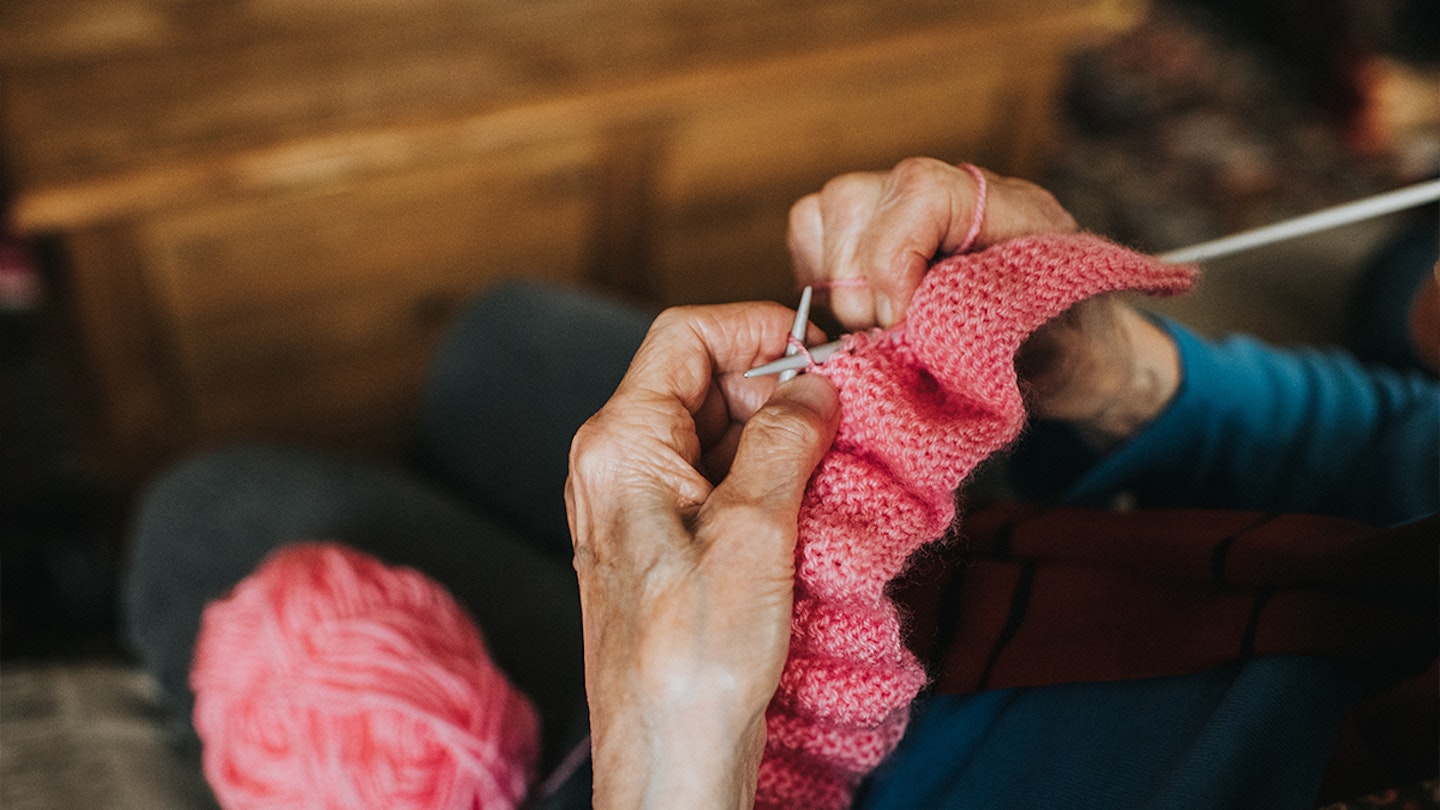
One of the first things you learn when you are beginning to knit is how to cast on. Casting on is a number of techniques used for adding new stitches that do not depend on earlier stitches, in other words, it is the opposite of binding off which is used to define the final edge of a knitted fabric.
There are many different ways to cast on knitting, but in our guide below, we will show you how to do two simple methods: the knit-on method (also known as the English method) and the thumb method.
The knit cast-on is ideal for beginners as you learn how to form knit stitches as you go and add the stitches to the needle. Casting on is the first row of loops on a knitting needle.
What you'll need:
• Knitting needles
• Yarn
Just so you know, while we may receive a commission or other compensation from the links on this page, we never allow this to influence product selections.
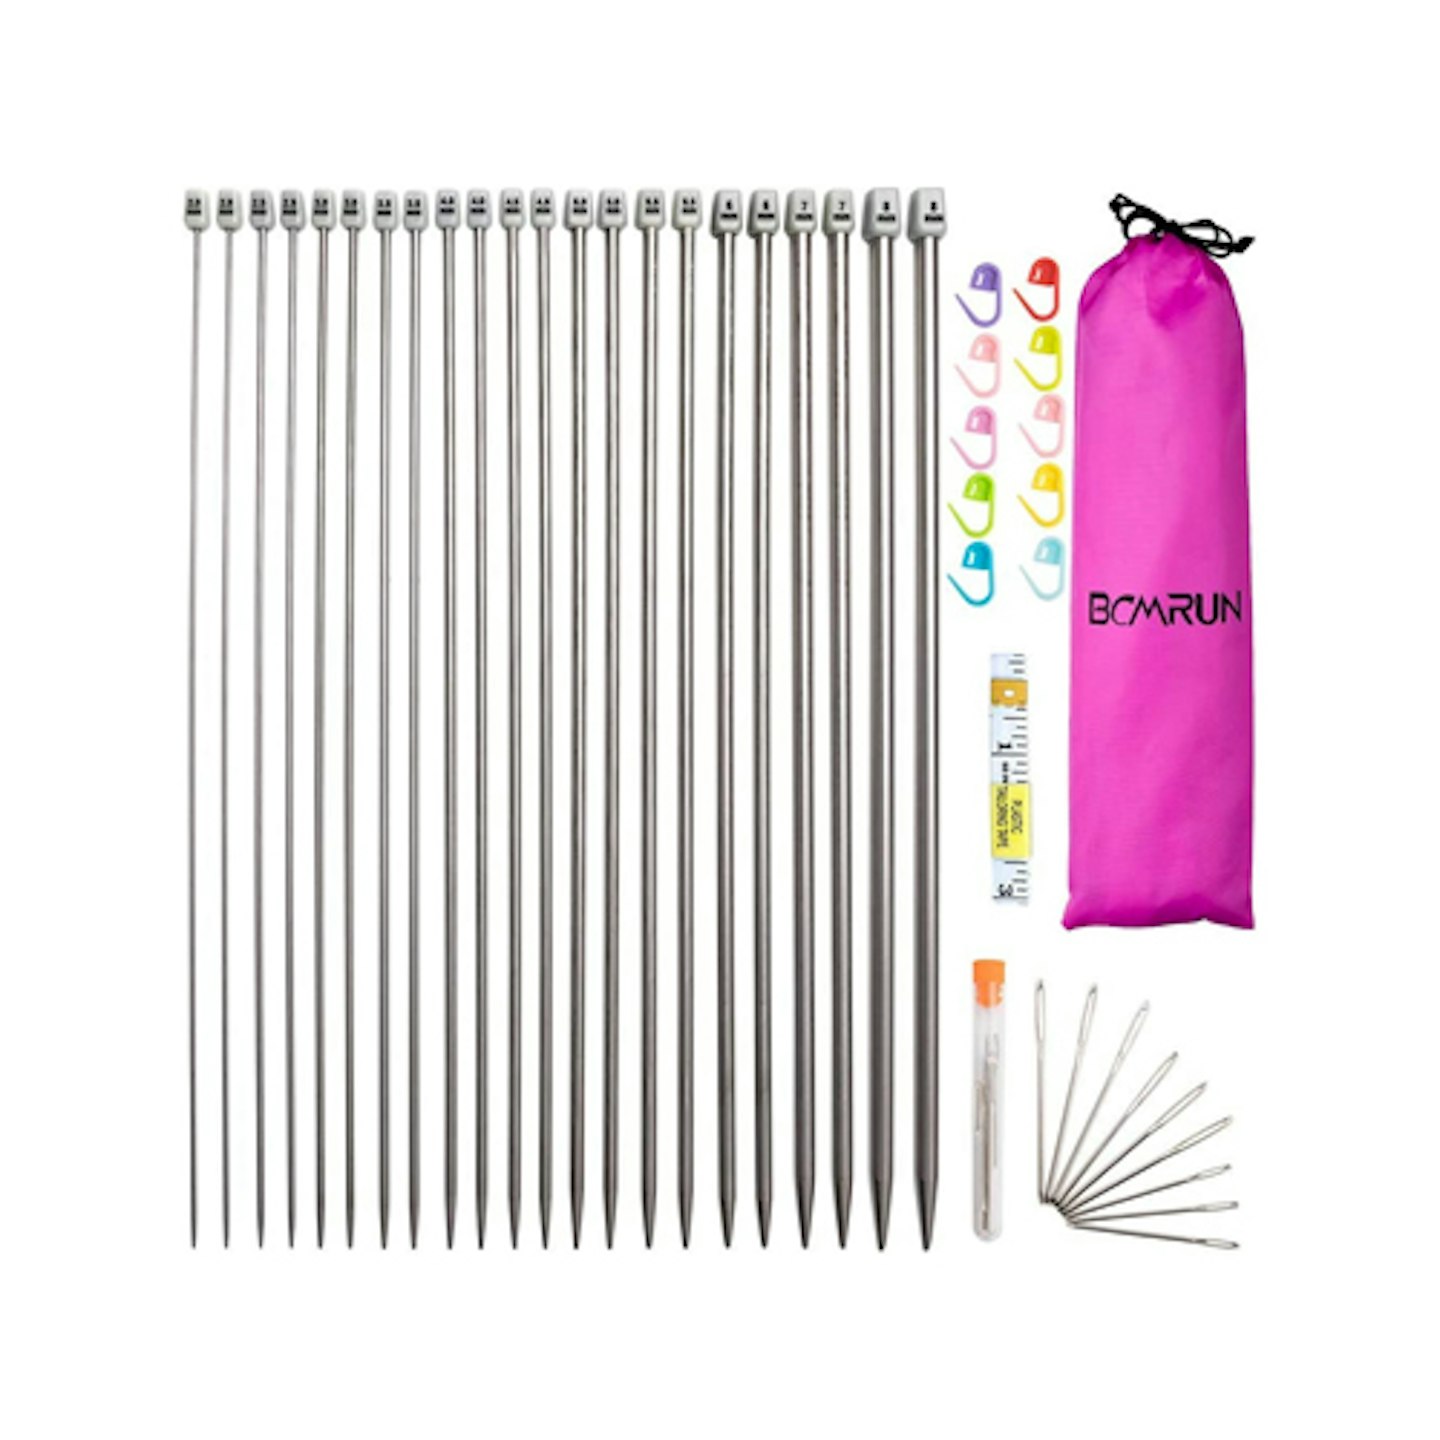
A 22 pack of full size knit needles in a variety of widths. Comes with 9 large-eye blunt needles, 10 knitting stitch Markers, a knitting needles bag and a measuring tape.
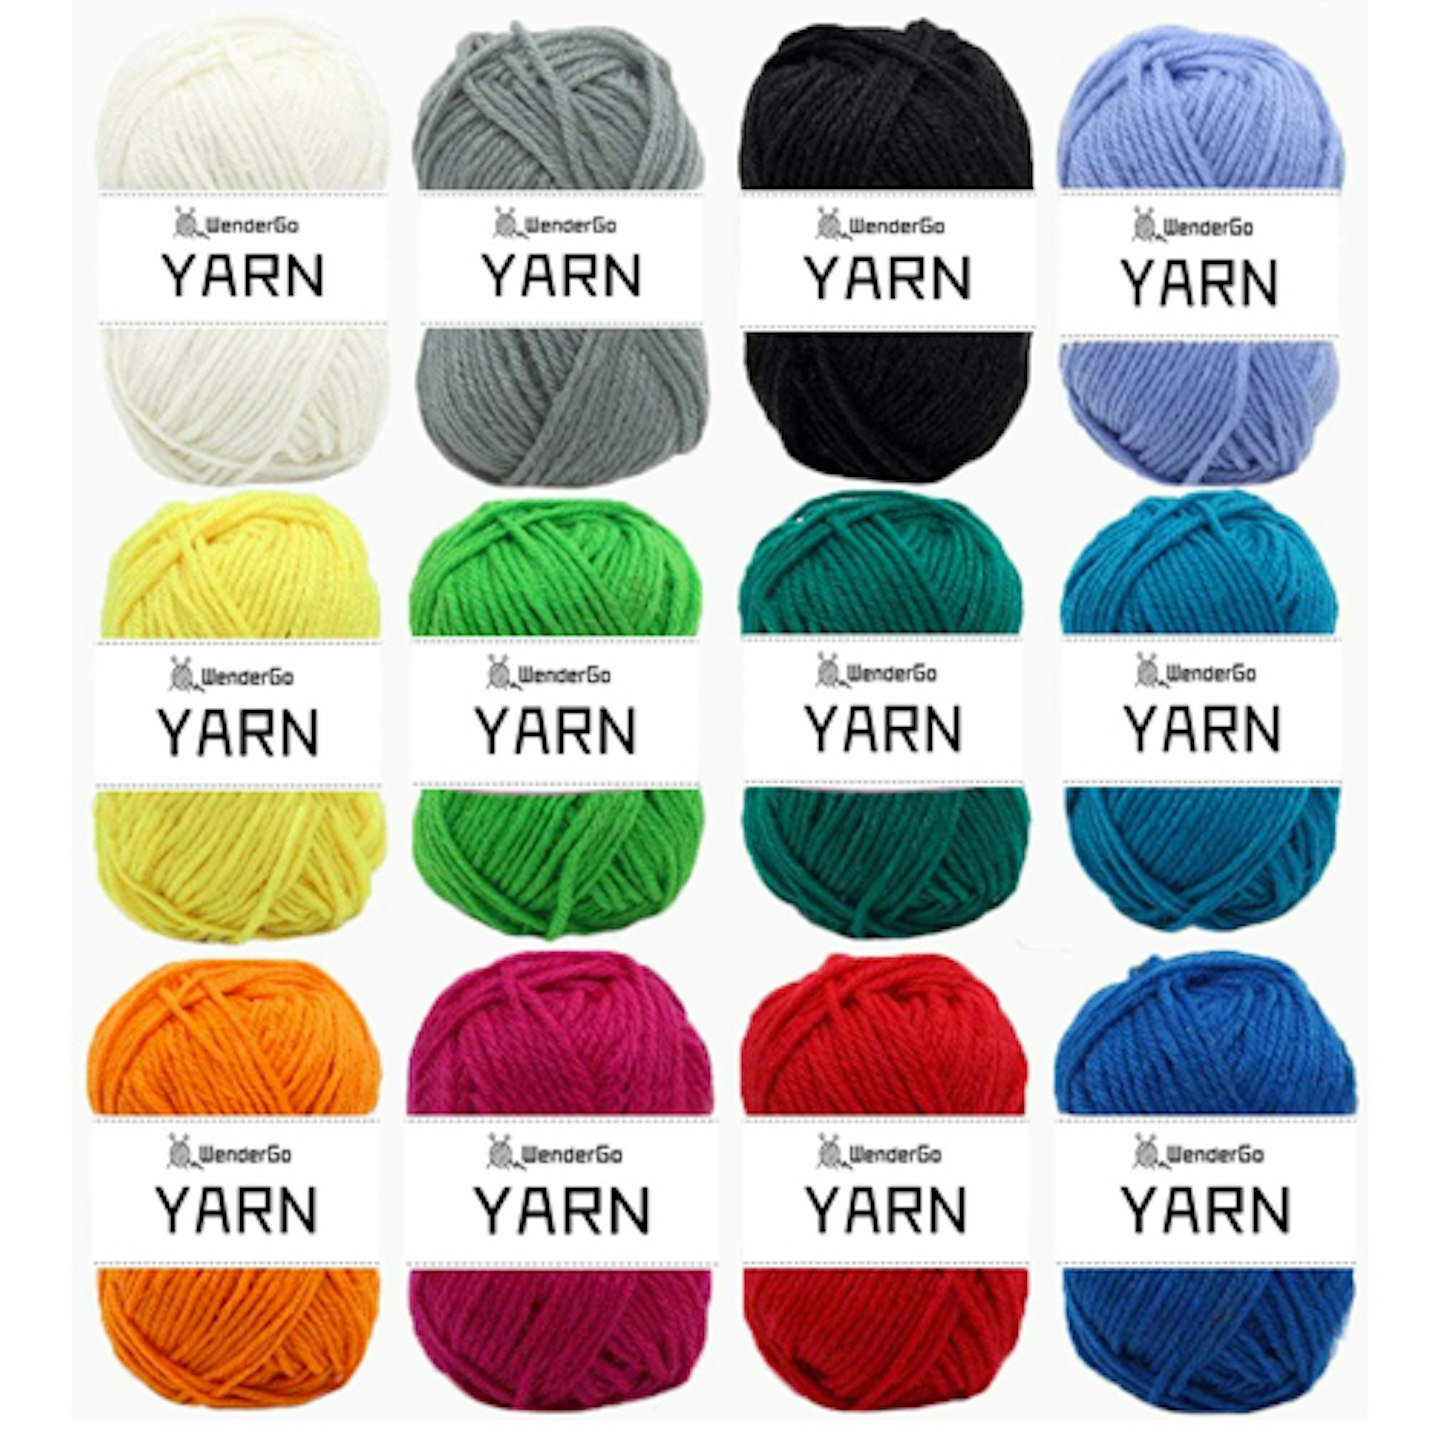
These yarns are made of 100% acrylic material, 50g of per ball, soft and durable and comes in 12 colours.
How to cast on knitting: step-by-step guide
There are many methods for casting on, here is how to do one of the easiest techniques, the knit-on method. This method is not only good for beginners but can be used for many other things such as adding stitches in the middle of a row. Perhaps your project requires you to make something that needs a little stretch in the first row such as hats and sweaters.
Step 1) Insert the needle
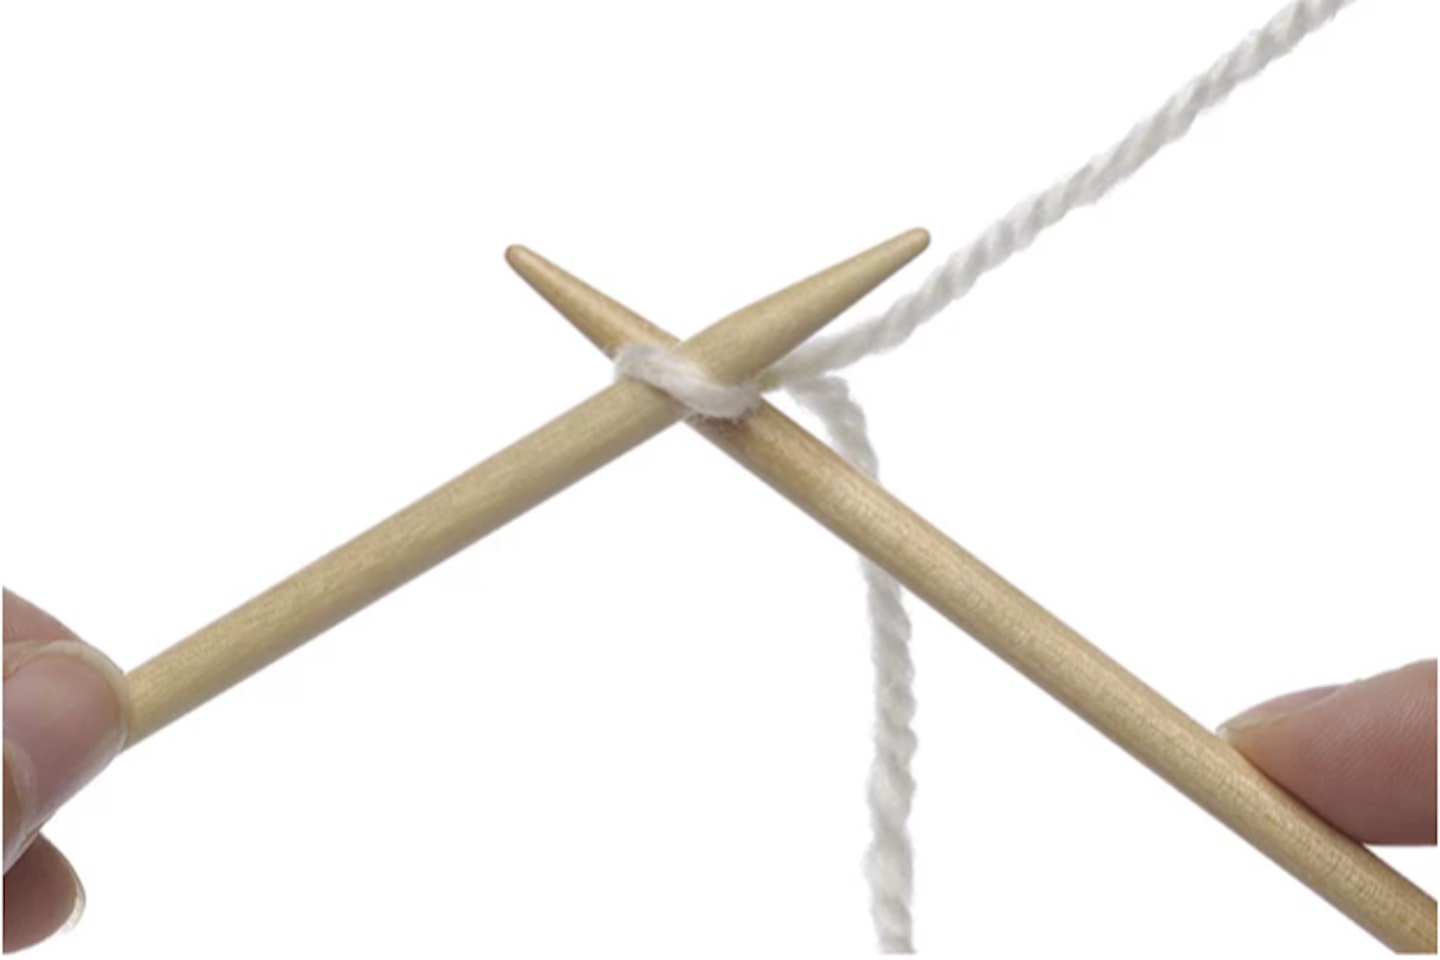
Start by making a slipknot. Then insert the right-hand needle into the slipknot, as if you were about to knit. Then insert the tip into the front of the stitch, from left to right.
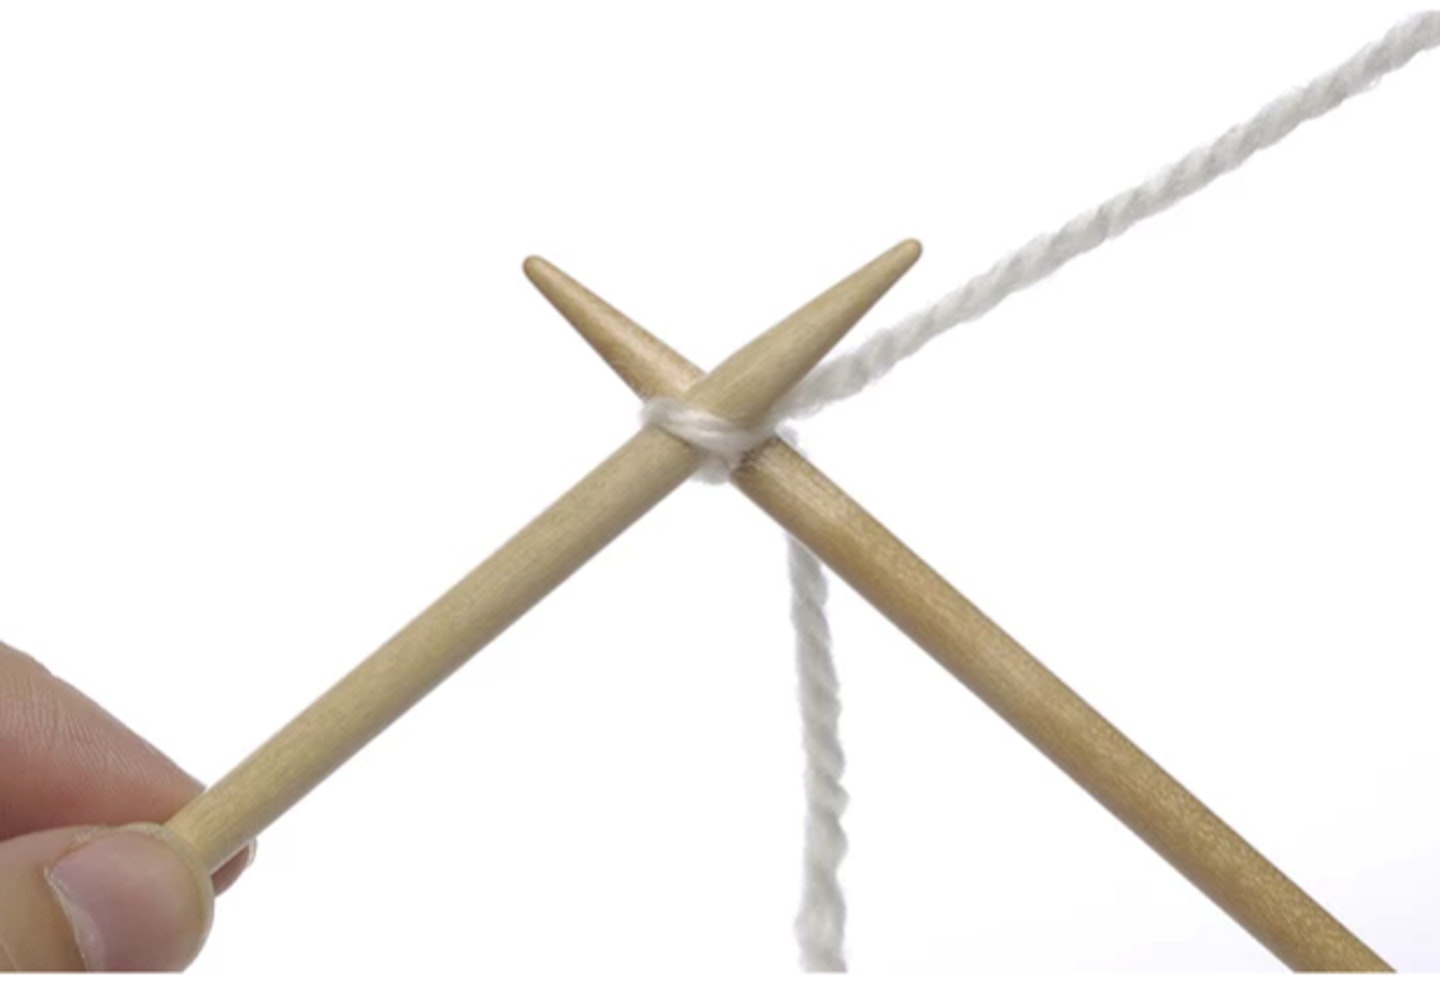
Step 2) Wrap the yarn.
Next wrap the ball end of the yarn anti-clockwise around the point of the right-hand needle.
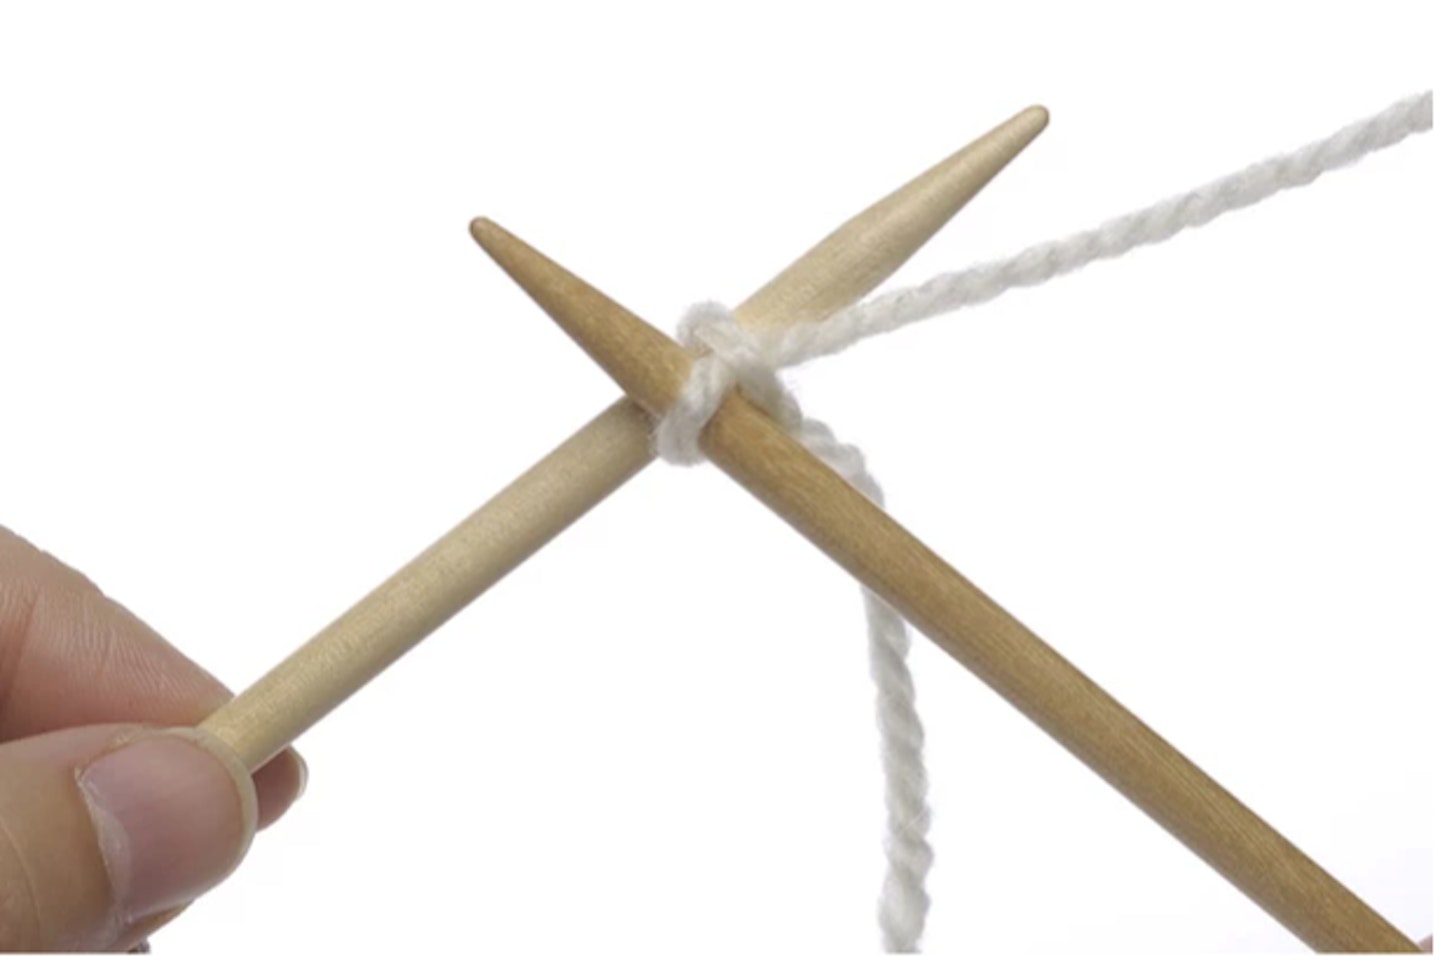
Step 3) Pull the loop through
Pull the loop of yarn through the slipknot you have made with the right-hand needle. Then slip this loop over the tip of the left-hand needle.
Step 4) Repeat the steps
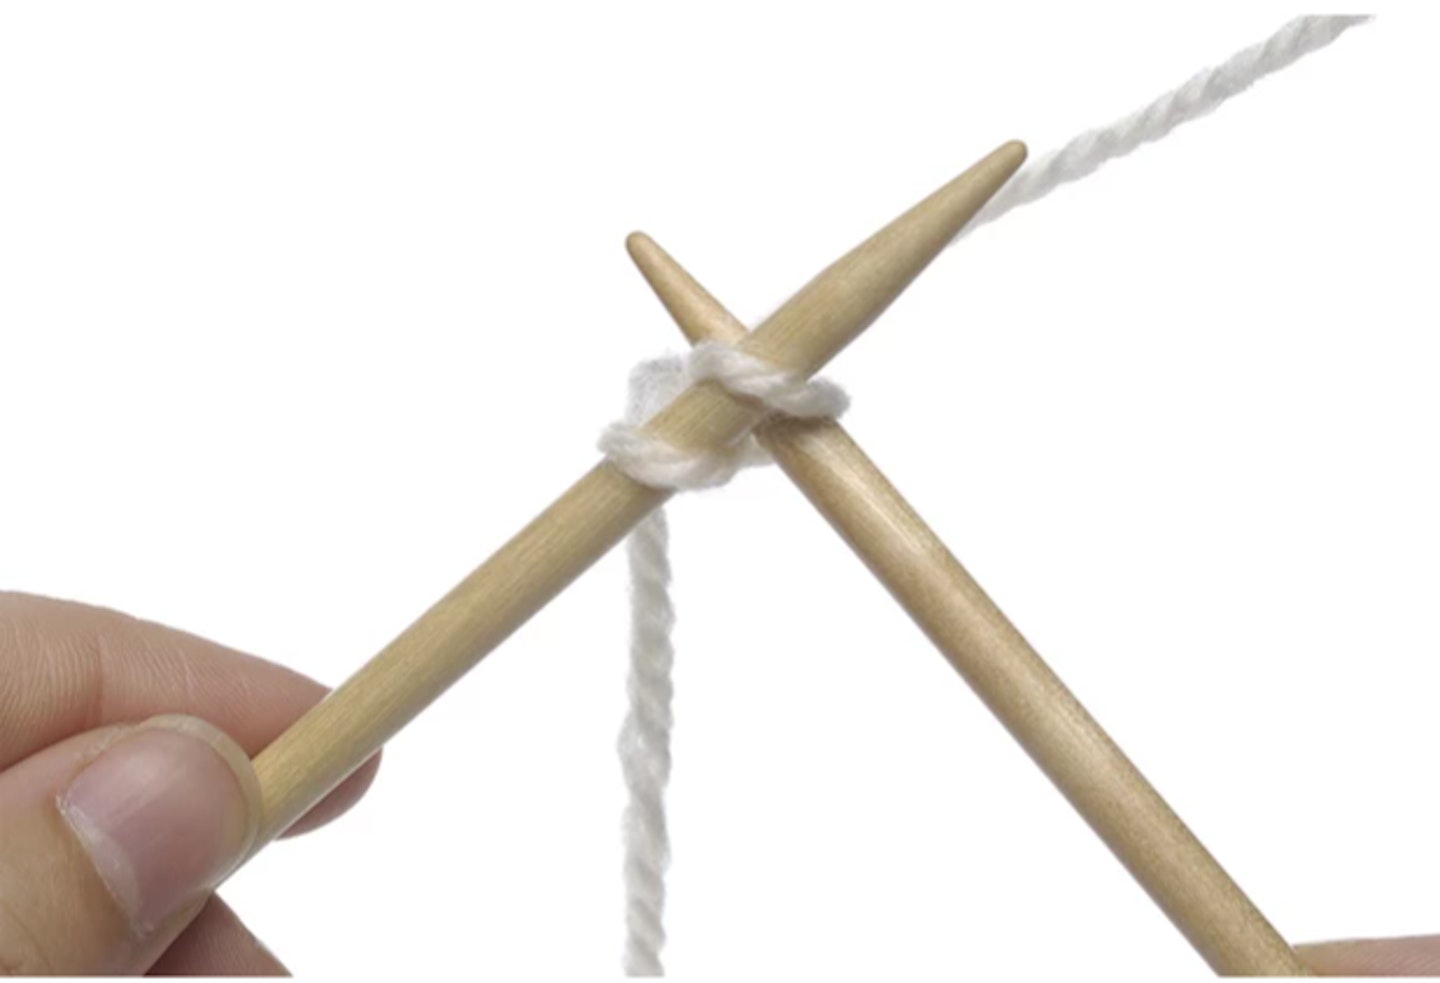
After you have done this, repeat steps 1 and 3 by inserting the needle into the newest stitch, until you have the right number of stitches. It is best to start with 22 stitches.
How to cast on knitting: Thumb method
This is another very quick cast-on technique that is used to create a stretchy edge. This technique is best used for children’s clothes, or socks and hats.
Step 1) Begin with a slipknot
Start by making a slipknot. Then insert the right-hand needle into the slipknot, leaving a long tail. A length about three times the width of the project you want to make will be ideal. Then wrap the yarn around your thumb.

Step 2) Open the loop and create a cross
Hold the long tail in your left hand with your thumb sticking up. Then make a circle anti-clockwise with your thumb. You should end up with a cross on the front of your thumb.
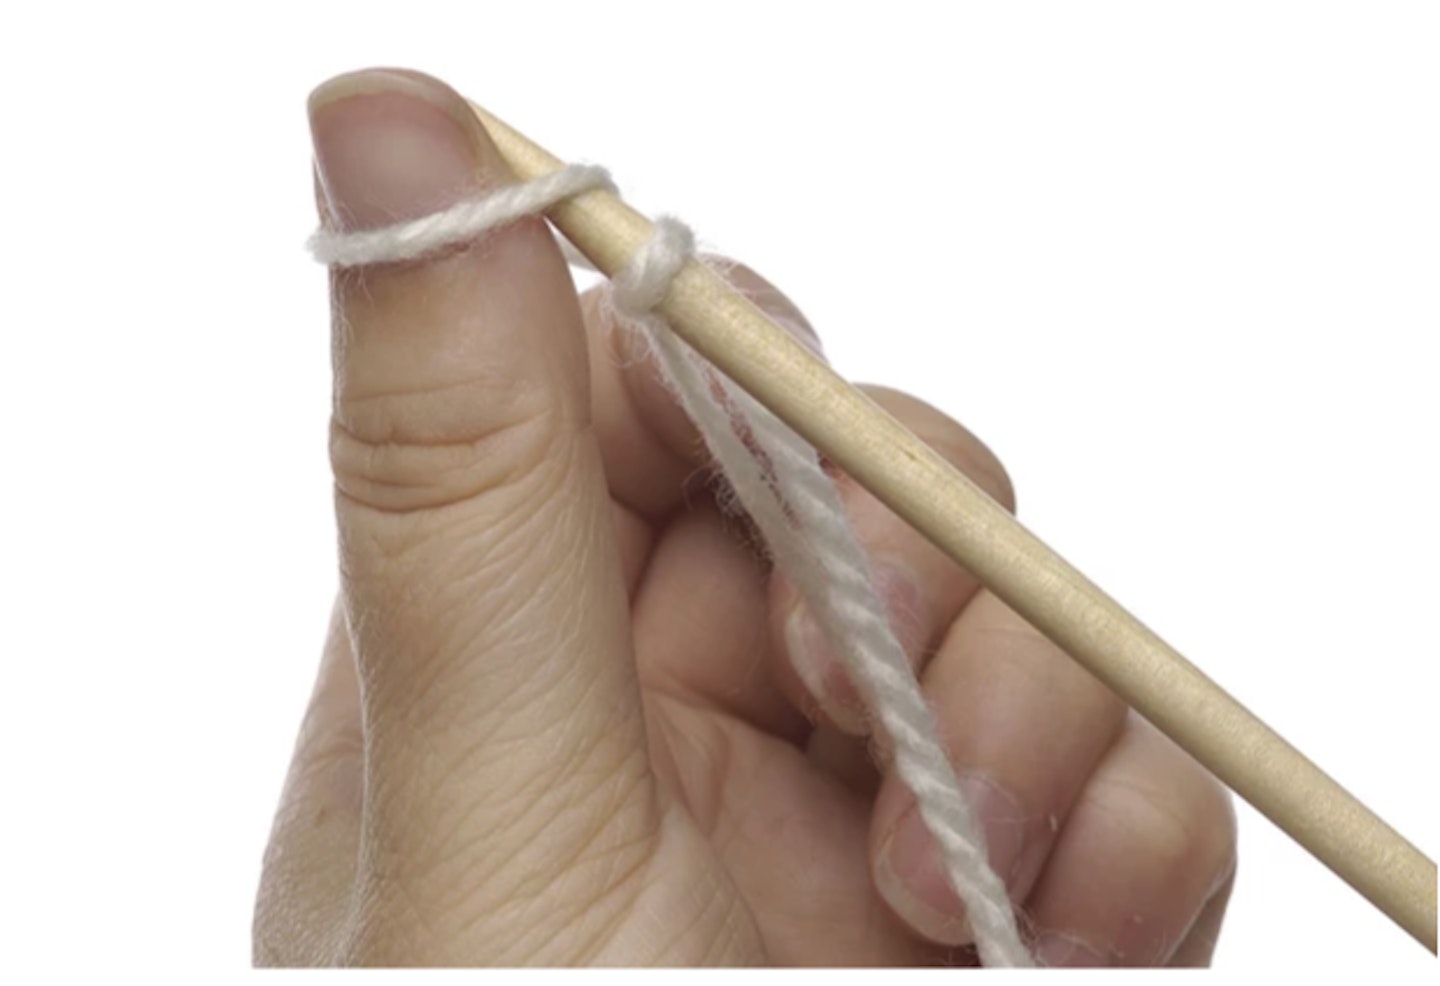
Step 3) Wrap the yarn
Push the needle tip up along your thumb so it passes through the loop. Wrap the yarn anti-clockwise beneath the tip of the needle then dip the tip of the needle between the arms of the cross.

Step 4) Tighten the stitch and repeat
Slip your thumb out and pull to tighten the stitch on the needle. Keep doing the same action - sliding each stitch up so it sits comfortably next to the previous one. Continue until you have the number of stitches you need.

Does it matter how you cast on in knitting?
It depends on what you are making. Try out different methods and you will learn which technique you are most comfortable with.
What are some other cast-on knitting methods?
There are many methods such as the knit-on method, thumb method, cable cast-on method, german twisted cast-on method and the long tail cast on method. Methods depend on your project or personal preference.
Popular articles to read next
[Free charity knitting patterns](http://Free charity knitting patterns)
