
If you’re not familiar with it, the Cricut Joy Xtra is a smart little die-cutting machine designed to help you create personalised designs for everything from T-shirts and cards to party décor, stickers and more. It cuts through all kinds of materials like vinyl and cardstock and lets you design everything on your phone, tablet or computer using Cricut’s Design Space app. For someone like me, who’s never touched a die-cutting machine before, it sounded a bit daunting at first. But I was curious to see whether this compact gadget could turn me from clueless to crafty.
I'll be honest, when I first unboxed the Cricut Joy Xtra - I had absolutely no idea what I was doing as I was a complete novice to crafting. However, when my best friend (and former Yours deputy Editor), Lily, asked me to be a bridesmaid for her upcoming wedding and organise a hen do for 15 people, I decided to go out all and try something totally new. I'd heard about Cricut machines from the craftier people in my life, so with a whole hen party to plan and a brain full of hen party inspiration I'd seen on TikTok, I figured it was the perfect time to test one out. Spoiler alert: I made everything from personalised prosecco glasses to a custom T-shirt for the bride. And somehow, it actually worked.
In this review, I’ll take you through exactly how I used the Cricut Joy Xtra to create a whole host of unique and personal touches for Lily’s big weekend. From making sparkly place cards to designing my own game of “Pin the Ring on the future Mrs Pring” (inspired by "Pin the Tail on the Donkey" and Lily's new last name), I truly tested the machine to its limits (and mine). So, if you’re wondering whether a complete beginner can pull off Pinterest-worthy projects using a Cricut, keep reading to find out how it went and whether it’s worth taking the creative plunge yourself.
Cricut Joy Xtra review
 Cricut
cricut.com
Pros
- Compact and stylish design
- Easy to set up and use
- Works well with various materials
- Works with Smart Vinyl so eliminates the need for a cutting mat
- Great for small, personalised projects
Cons
- Adjusting the rollers for card projects can be stiff
- Smaller machine so can't make huge projects
- Cricut Joy Xtra machine
- Premium Fine-Point Blade + Housing
- Cricut Joy™ Fine Point Pen
- Cricut Mini Weeder
- Welcome card
- Power adapter
- Free trial subscription to Cricut Access (for new subscribers)
- 50 free, pre-designed projects in the companion app
- Materials for a practice cut
- Cricut Joy Xtra™ Light Grip Machine Mat
- Cricut Joy Xtra™ Standard Grip Machine Mat
- Cricut Joy Xtra™ Card Mat, 4.7 in x 6.6 in
- Portable Trimmer, 13 in (33 cm)
- Basic Tool Set
- Printable Sticker Paper – A4 (8 ct)
- Printable Vinyl, Gold – A4 (10 ct)
- Cricut Joy™ Gel Pens 1.0 mm, Teal/Purple/Pink (3 ct)
- Cricut Joy™ Permanent Markers 1.0 mm, Red/Blue/Green (3 ct)
- Cricut Joy Xtra™ Smart Iron-On™ Sampler, Classics (3 ct)
- Cricut Joy Xtra™ Smart Iron-On™ Sampler, Holographic (3 ct)
- Cricut Joy Xtra™ Smart Vinyl™ Writable Vinyl – Removable (3 ct)
- Cricut Joy Xtra™ Smart Label™ Paper – Permanent (4 ct)
- Cricut Joy Xtra™ Smart Vinyl™ – Permanent, Pinwheel Sampler (3 ct)
- Cricut Joy Xtra™ Smart Vinyl™ – Permanent, Roller Skate Sampler (3 ct)
- Cricut Joy Xtra™ Transfer Tape (3 ft)
- Cricut Joy™ Insert Cards, Glitz and Glam Sampler R20 (10 ct)
- Cricut Joy™ Insert Cards, New Romantic Sampler A2 (12 ct)
- Cutaway Cards, Corsage Sampler - R20 (8 ct)
Build
As someone who had never used a crafting machine before, I was initially intimidated by the Cricut Joy Xtra. However, upon unboxing, I was pleasantly surprised by its compact and sleek design. It’s small enough to fit on a desk without taking up too much space, which is ideal for someone like me who doesn’t have a lot of room at home, let alone space to have a dedicated craft area. However, it's bigger than the Cricut Joy, so you can tackle larger projects.
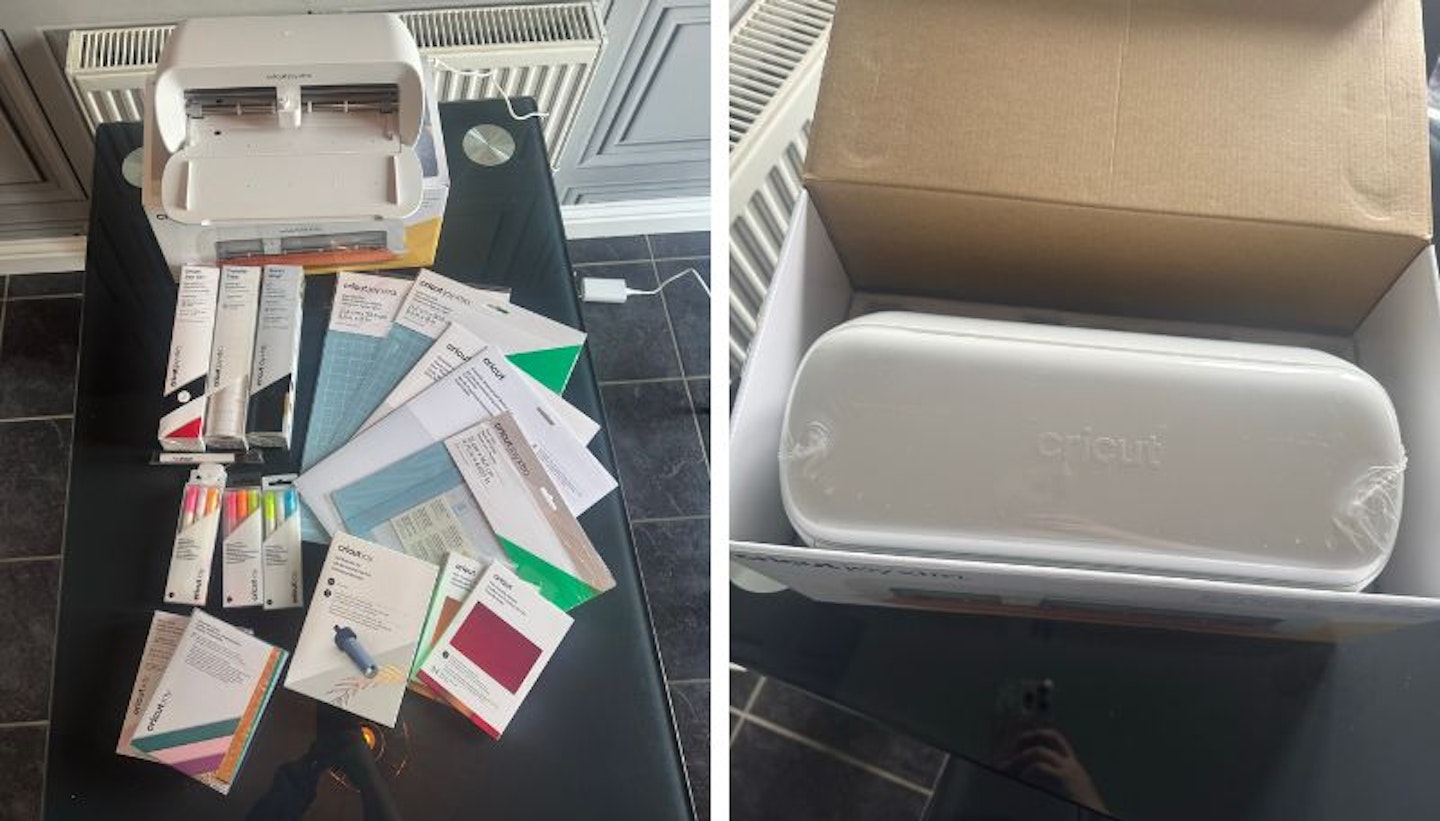
The build quality feels solid, and the machine itself has a modern, stylish look. The lid lifts smoothly, revealing the blade holder and rollers. Setting it up was straightforward, too. You simply plug it in, connect it to the Cricut Design Space app, and you’re good to go. You can also do a test cut to make sure it's all calibrated properly. This was a slight fail for me as I loaded the material in the wrong way round but I soon realised my mistake and redid the test cut with the material loaded horizontally rather than vertically, and it worked perfectly.
The materials it can work with - vinyl, cardstock, heat transfer vinyl, and more - can be easily loaded into the machine. Smart Vinyl is my favourite out of all of them because it doesn't require a cutting mat, and you can simply feed it directly into the machine, making the process even simpler. If you're not working with smart materials though, you just pop these onto a cutting mat where it's separated into grids that you can match up with what's on your screen to know exactly where your design will go. I'm not the most technical minded, and while you definitely don't need to be to use one of these machines, it can help with using the cutting mats and smaller scraps of material to know exactly where you've loaded them on your cutting mat so you can make sure the Cricut Joy Xtra cuts exactly there.

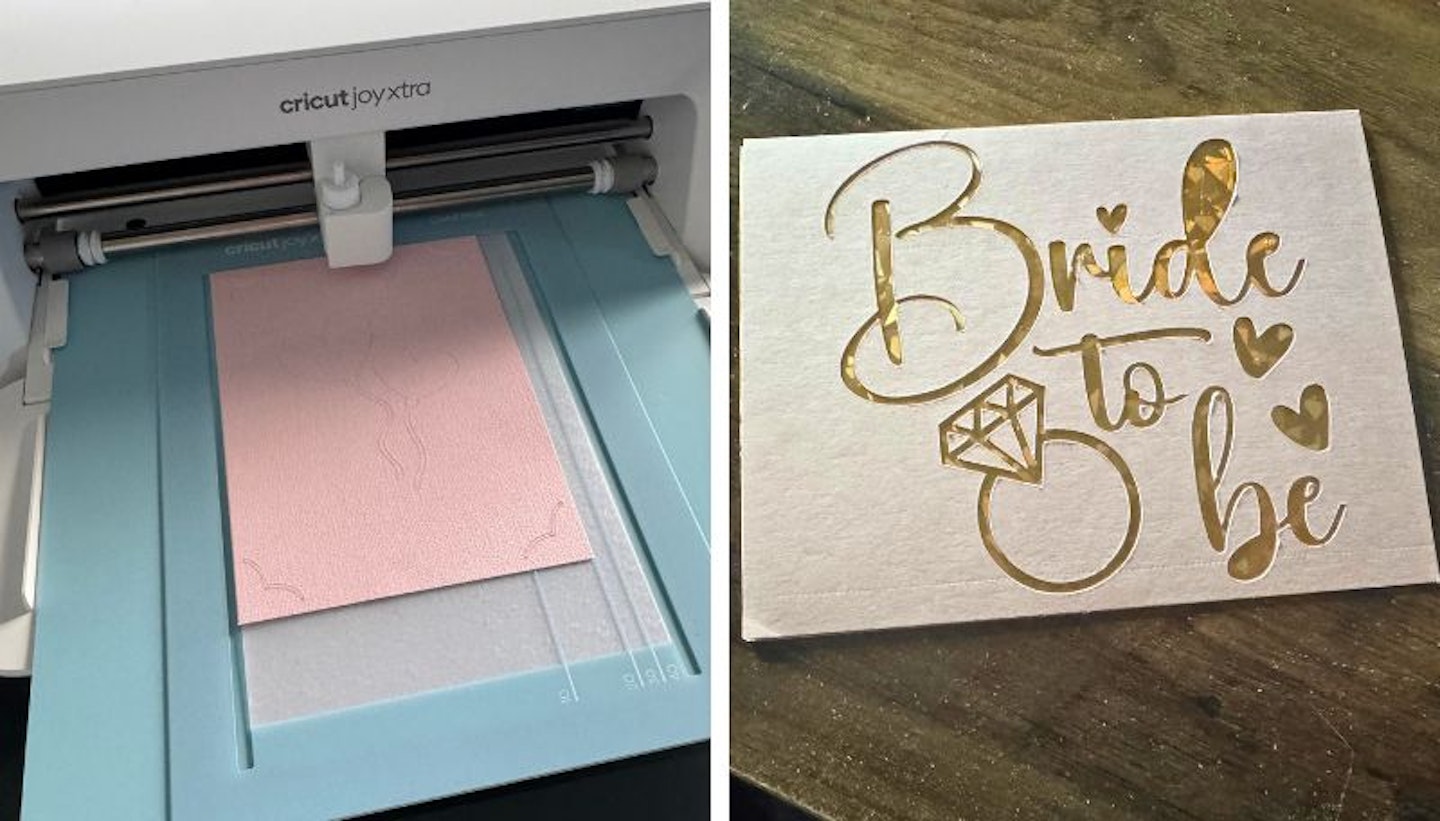
When working with cardstock, I was advised during my one-on-one session with a Cricut ambassador to move the rollers to ensure smoother feeding. However, I found these quite stiff, and they were tricky to adjust (especially with my acrylic nails). This resulted in slight “tyre marks” on the bride-to-be cutaway card I made when I didn’t move them. This isn't something that bothered me as they're not massively noticeable on the card I made, but it could be an issue if you're a complete perfectionist.
Shop this product
Performance
The Cricut Joy Xtra performs impressively well for such a compact machine. It handled all the different materials I threw at it - Smart Vinyl, Permanent Vinyl, Cardstock, and Heat Transfer Vinyl - with precision and ease.
One key tip I picked up was adjusting the pressure setting to “More” when setting up a cut. This ensured clean, crisp cuts, particularly on vinyl. However, for more delicate materials, like thin card, I would recommend keeping it on the default setting or even changing it to the "Less" setting to avoid damaging them.
Being a bridesmaid and organising a hen do for 15 people, I put the Cricut Joy Xtra hard at work to create a variety of personalised items, including:
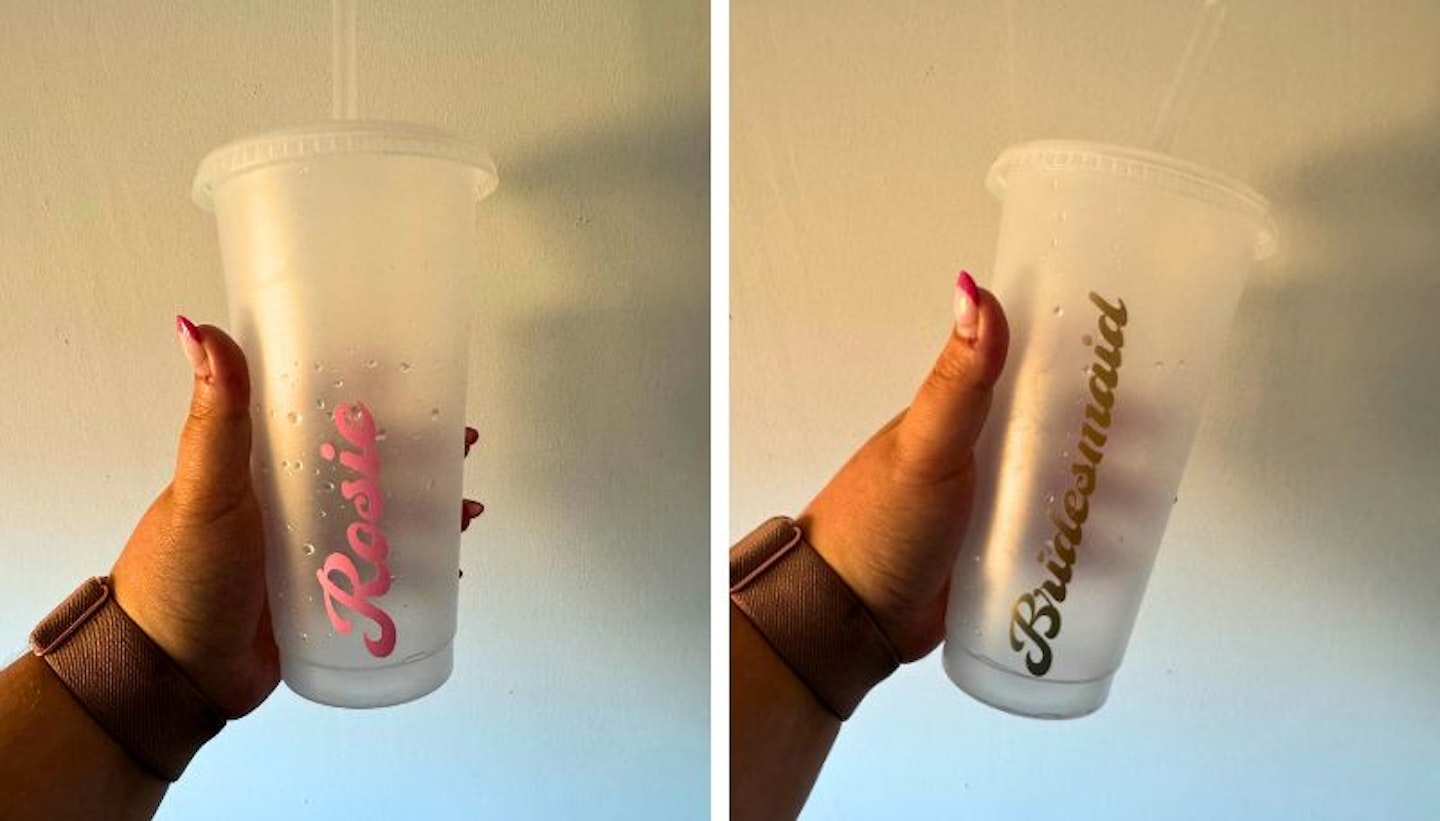
• Prosecco glasses and drinks tumblers (Smart Vinyl and Permanent Vinyl)
• Place cards, room signs, and decorations (card stock)
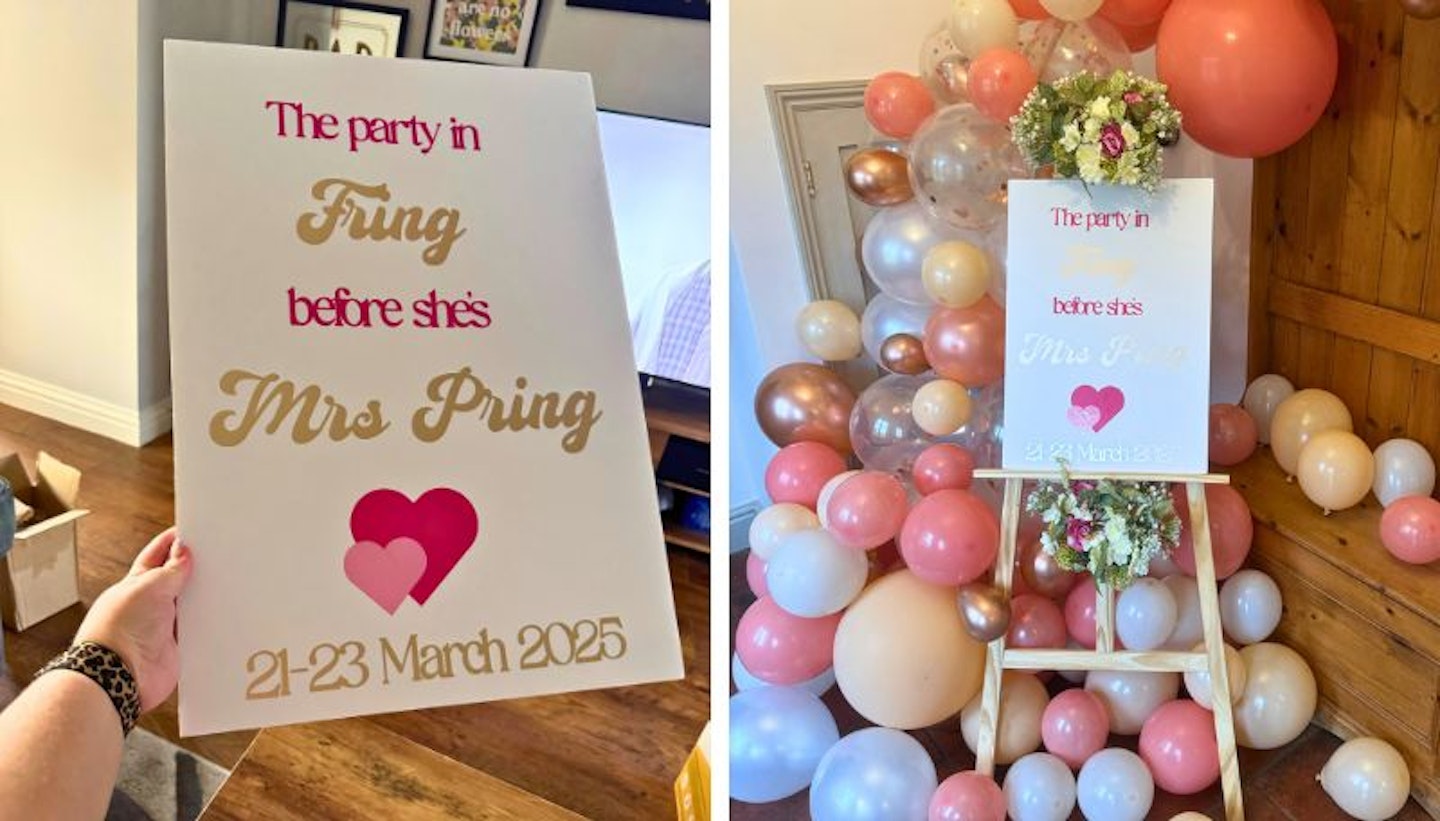
• A welcome sign (Smart and Permanent Vinyl on foam board)
• A personalised T-shirt for the bride-to-be (Heat Transfer Vinyl and the Cricut EasyPress 3)

Each material worked differently, but overall, the Joy Xtra delivered excellent results. Smart Vinyl was by far the easiest to work with since it feeds directly into the machine, but you can also load different material on cutting mats, so you're not limited to just Smart materials.
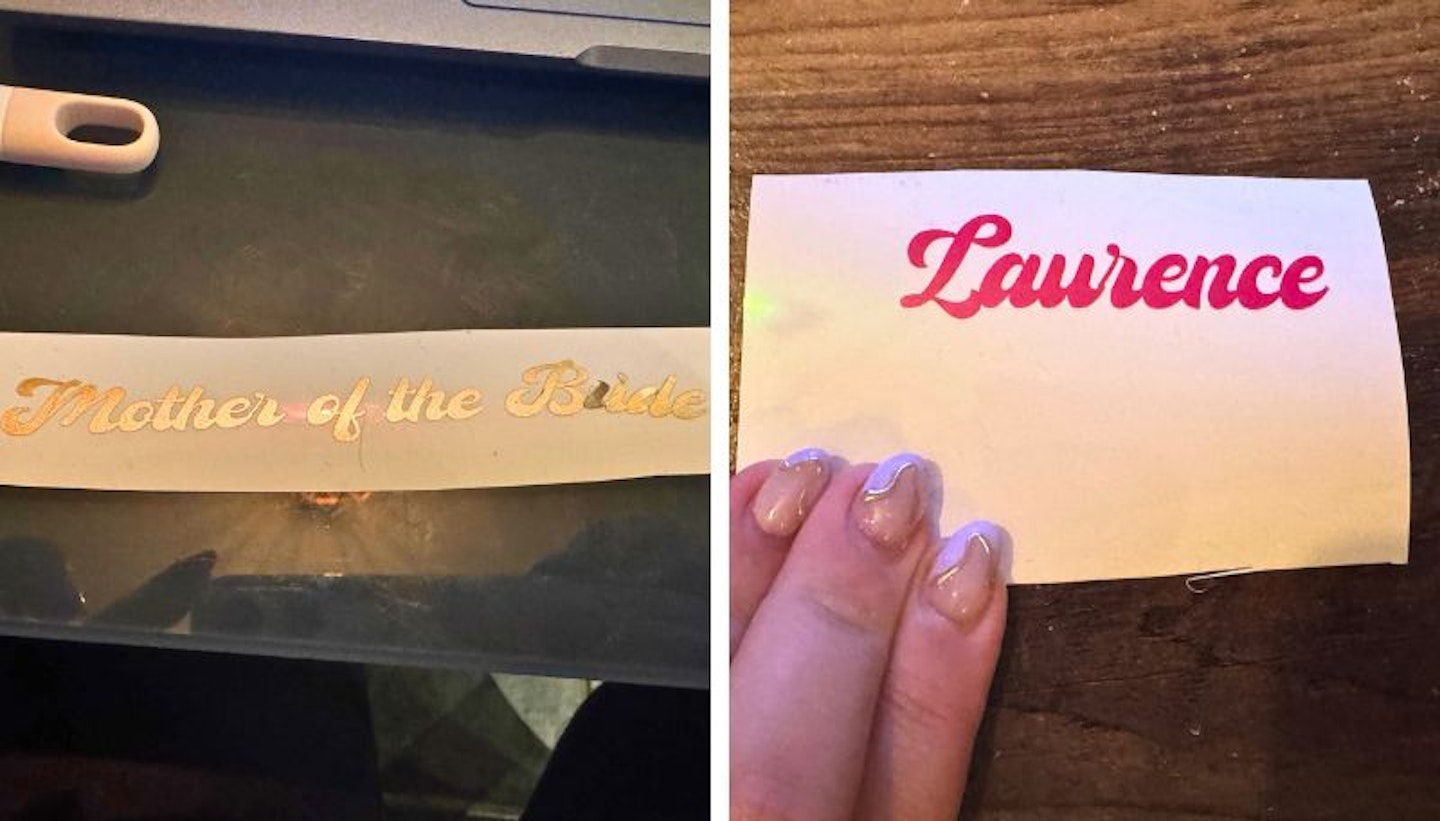
I did have a couple of challenges along the way. For example, when working with transfer tape on permanent vinyl, I sometimes struggled to get the letters to stick properly, particularly on smaller fonts. I found that applying firm pressure with a scraper and peeling the transfer tape at an angle helped ensure the design stayed intact. On some of the earlier projects I did, a couple of them are missing dots on top of I's, as I just didn't notice that they'd come up with the excess vinyl when I was weeding the design out.
Shop this product
I did struggle with weeding designs from heat transfer vinyl. Unlike regular vinyl, where you can see the cuts clearly, the heat transfer vinyl cuts were harder to distinguish, even under bright light. The designs are also cut out mirrored when using this material as it needs to be this way so it can appear the right way when you iron it on. These factors can make it a little confusing when it comes to weeding. This led to me making mistakes, such as accidentally weeding out parts of the design that should have stayed. My first T-shirt (a holographic Elvis design for my mum) had an error that she didn’t notice - but I did! By the time I made the second one for the bride-to-be, I had a better feel for it and found glitter vinyl much easier to work with (but still difficult to see the cut marks).

Out of all the projects I made, the biggest challenge for me was the welcome sign for the hen party. I used foam board with a mix of smart vinyl and permanent vinyl, and I had read online that overly sticky transfer tape could damage the board. To prevent this, I stuck the transfer tape onto my sofa a few times to reduce its stickiness as recommended by other crafters online. However, this made it difficult to get the letters to stick properly, and it took me a couple of hours to complete. It was worth the effort in the end, but it’s definitely one of the more time-consuming projects for beginners. Due to the size of the Cricut Joy Xtra, it's not designed to make huge projects so you're limited to the length of a roll of smart vinyl or to the length of a cutting mat for other materials.
The size is also something to bear in mind for making insert cards and cutaway cards as the card mat only allows you to make one at a time. If you’re making bulk quantities, a larger Cricut model, such as the Cricut Explore 3, might be more efficient. That said, I found making cards incredibly straightforward using the templates in Design Space, which ensures you get the right dimensions.
Shop this product
Usability
For someone with no previous crafting experience, I found the Cricut Joy Xtra surprisingly easy to use. The Design Space app is intuitive, and I appreciated the flexibility of working between my desktop and my phone. While I preferred designing on my desktop for precision, I sometimes used my phone to send designs to cut. There are slight differences where settings are between the desktop app and the iPhone app so it was tricky working across the two.
Having access to Cricut’s full Access membership in Cricut Design Space with all graphics and assets was a bonus, but I didn’t find it absolutely necessary. There are plenty of free designs available, and you can even create your own in Canva and upload them. That’s exactly what I did for the place cards I made for the hen party - I designed them in Canva and then used Cricut’s print-and-cut feature. I opted to make it in Canva because I figured it was the best way to make sure that the white space in my design actually printed and didn't end up getting cut out. There probably is a way to do this in the Cricut Design Space but I found it was easier to do in Canva as I work on it more regularly.
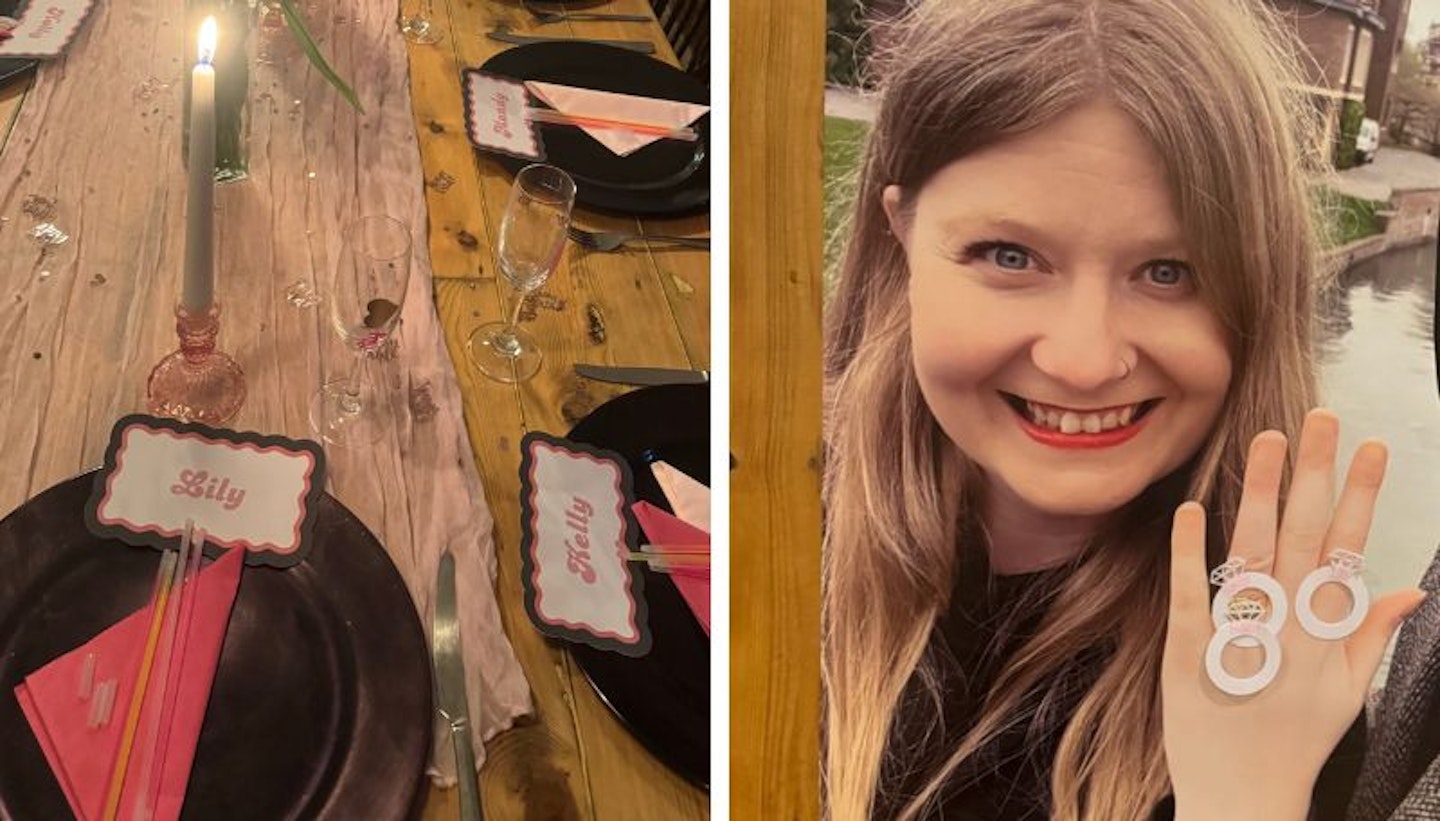
I also wanted to leave a bit of room around my design, so I added an offset, something I was taught in my one-on-one session with a Cricut ambassador. However, do make sure you pay attention to what colour this is. I had intended for my design to be white in the middle with a pink squiggle board with additional white around it, but I didn't realise the offset colour is what prints out, so I ended up with a Black border printed around my design. I had already printed all the designs out by the point I realised and didn't want to waste printer ink, so I just left it, and it did work with the dress code we'd set for the dinner party at the hen do, but something to keep in mind if you want to do something similar. I also liked that with the print and cut feature, you can print your designs at one time and print at a later date. I don't have a printer at mine so it meant I could head to my mum's house to print any designs off I needed and then head back to mine to use the Cricut Joy Xtra to cut the out.
The one-on-one session with a Cricut ambassador and guidance from our resident crafts expert, Natalie Knowles, who has tested both the Explore 3 and the Cricut Maker 4, were incredibly helpful. But honestly, I also learned a lot just from TikTok tutorials. Seeing other users troubleshoot similar issues helped me gain confidence and pick up useful tips.
Shop this product
Final verdict
Overall, the Cricut Joy Xtra is a fantastic machine for beginners, even for someone like me who has never crafted before. It’s user-friendly, compact, and delivers great results with a bit of practice. If you’re new to Cricut, expect to have a few failed attempts and some wasted materials as you learn the ins and outs of the machine. But once you get the hang of it, the creative possibilities are endless. Just keep in mind that as this is a machine for beginners, it doesn't have as many capabilities as some of the larger machines that can do scoring, engraving and embossing on wood, leather, and so much more. However, for projects with vinyl and card, the Cricut Joy Xtra will offer exactly what you need.
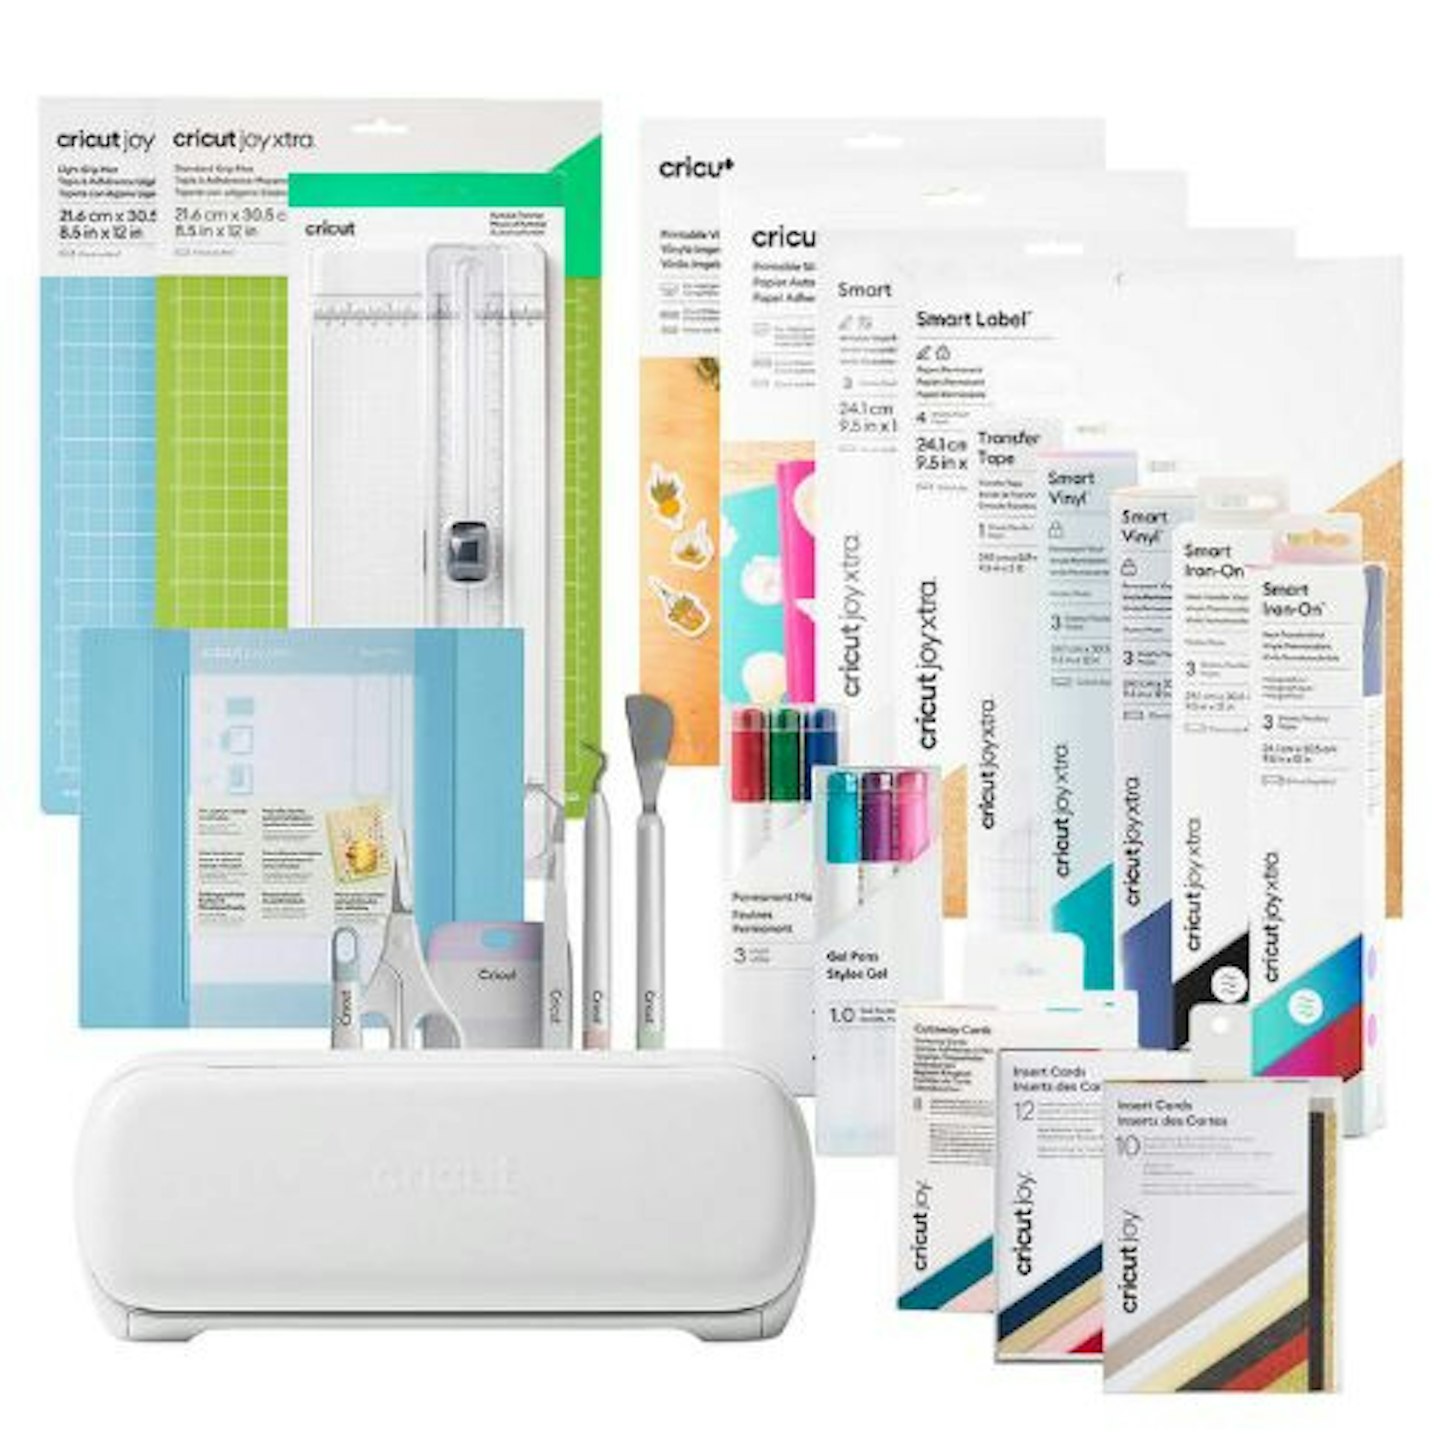
If you’re looking for a beginner-friendly cutting machine that can handle a variety of projects, the Cricut Joy Xtra is a good choice. Just be prepared for a learning curve, and don’t be too hard on yourself when things don’t go perfectly the first time. I also think you need to arm yourself with a whole host of Cricut accessories to ensure you do the job perfectly, as the cutting out with the machine only plays a small part in completing projects. A scraper, a weeding tool and transfer tape are all completely necessary tools. You can buy the Cricut Joy Xtra on its own, but I truly believe getting it as part of the bundle is the best value. With the materials bundle, you get a light grip mat, a standard crip mat and card mat, a basic tool set, insert cards, cutaway cards, gel pens, smart iron-on vinyl, smart vinyl, transfer tape, printable sticker paper and printable vinyl so you can have a go at completing a variety of projects with what's included and once you've built up your confidence, you can then go and buy more colours and invest in what you truly want to make.
Would I recommend it? Absolutely. Just be ready to fall down the rabbit hole of Cricut crafting - and say goodbye to your free time. If I, a total crafting novice, can make a whole host of personalised items for a hen do, anyone can!
Shop this product
Cricut Joy Xtra FAQs
What can my Cricut Joy Xtra do?
The Cricut Joy Xtra can cut, write, draw, and even foil, making it a super versatile crafting tool. It’s perfect for creating everything from full-colour stickers and custom cards to T-shirts, vinyl decals, and more.
What is the difference between Cricut Joy and Joy Xtra?
The main difference between the Cricut Joy and the Cricut Joy Xtra is the size. The Cricut Joy Xtra is bigger and can do more. While the original Joy is great for quick, small projects, the Cricut Joy Xtra can handle full-size designs like custom T-shirts, larger cards, and full-colour stickers. Think of the Cricut Joy Xtra as the Joy’s big sibling who brings a few extra tricks to the craft table.
Does the Cricut Joy Xtra actually print?
The Cricut Joy Xtra doesn’t actually print like a regular printer, but it works with printed designs. You can use the Print Then Cut feature, which lets you print your design on a standard printer and then cut it out perfectly with the Joy Xtra. So, it’s a pro at bringing printed projects to life.
What is the limitation of the Cricut Joy Xtra?
The Cricut Joy Xtra is super versatile, but it does have a few limits compared to its bigger siblings. It can’t cut through thick materials like wood or leather, and you can't score or engrave with this machine, either. It's more compact, too, so if you're looking to make cards, you can only do one at a time. If you're looking to make larger or more tricky projects, take a look at the Explore and Maker models.
Rosie Floyd is a Senior Home & Pets Product Writer for Yours, specialising in home appliances, décor and furnishings, as well as all things dogs. After completing her Journalism & Media degree from Coventry University back in 2015, she started her career writing about must-visit holiday destinations, moving on to creating content around outdoor living and garden buildings, before joining the team at Bauer.