Cricut surprised us all with an exciting new launch for the next generation of their popular cutting and crafting machines – and we got our hands on it! The Cricut Explore 4, is an upgraded version of the previous model (Cricut Explore 3) and we couldn't wait to take a closer look and get crafting!
What is the Cricut Explore 4?
If you're discovering Cricut products for the first time, the brand offers a range of digital die-cutting machines. These can cut out intricate shapes and designs from a variety of different materials using an optical camera for accuracy. The model to go for depends on what you want to make, with higher-ticket machines being compatible with a wider variety of additional tools and materials.
The Cricut Explore 4 is a good intermediate machine. It's twice as fast as the previous Explore model and comes in a gorgeous new colour they've described as "seashell". You can still cut all the same materials with 100+ to choose from, allowing you to make loads of fun things from full-colour stickers and batch-making cards to vinyl decals, iron-on T-shirts, and more.
Plus, with the new launches comes a new and improved user experience in the Cricut app on Design Space, so you'll be able to find your preferred projects quicker than before.
Cricut Explore 4 - Essentials bundle

Start crafting straight out of the box with the Cricut Explore 4 Essentials bundle
What you get in the box
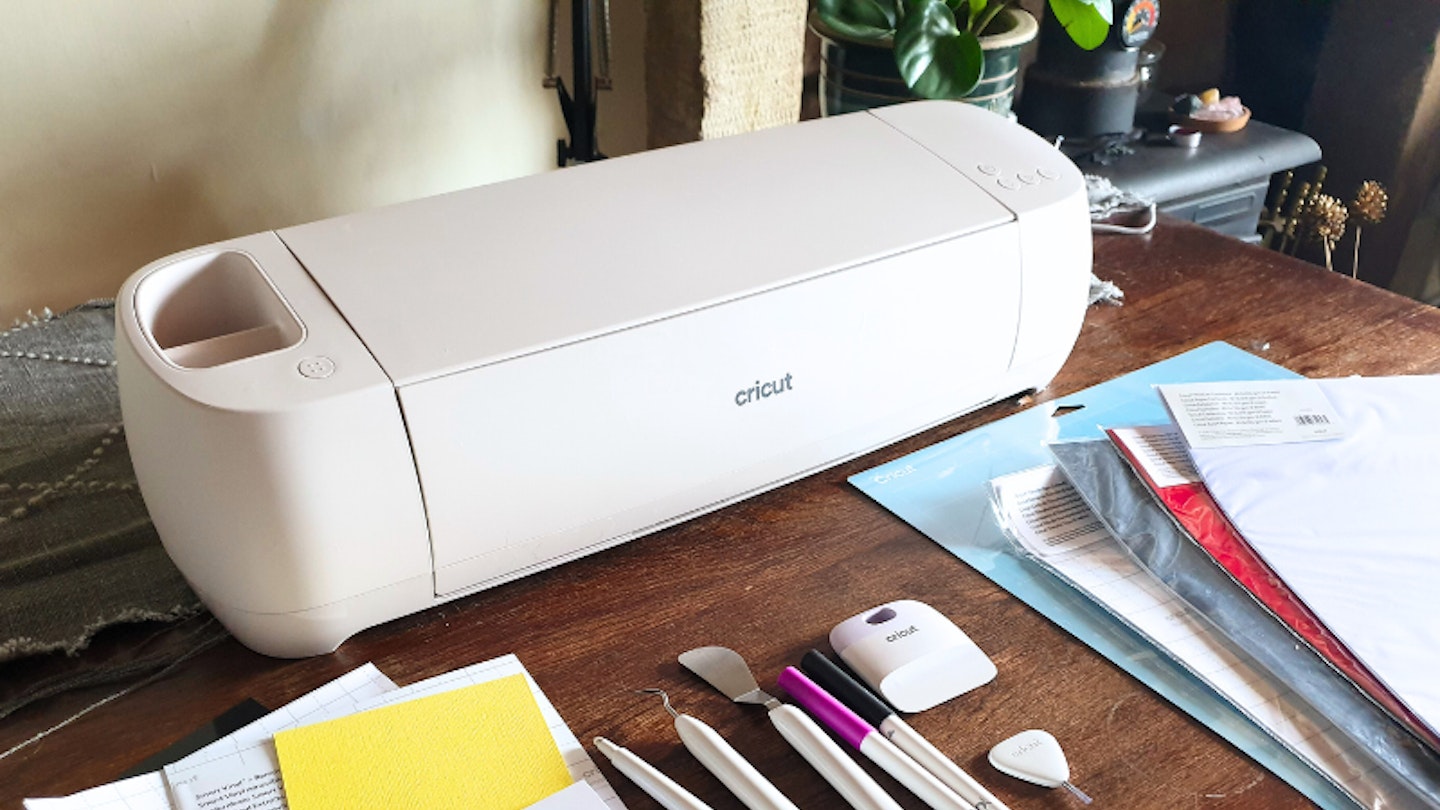
The machine came with a variety of tools and materials. The tools and materials you get may differ depending on which bundle you go for, so check the product descriptions to see if you need to pop anything extra into your shopping basket. Generally, Cricut includes a few essentials to help you get crafting straight out of the box. According to the Cricut website, you can make up to 10 projects with the included supplies.
In the basic box, you get the Cricut Explore 4 smart cutting machine, a Premium Fine-Point Blade + Housing, a Light Grip Machine Mat (12in x 12in), a Fine Point Pen (0.4mm), a Mini Weeder, materials for practice cuts. With bundles, you'll get even more value for money.
Who tested it?
Zara Mohammed is a Digital Writer specialising in parenting and lifestyle content for Mother&Baby – including product reviews and shopping guides. She has previously tested and reviewed the Cricut Joy Xtra and owns a Cricut Easypress 3. Zara is also a keen artist and crafter. She ran her own business as a pet portrait artist and is obsessed with making all sorts of handcrafted goodies. Zara is excited to try out the new Cricut Explore 4 and see how it compares to her Cricut Joy Xtra.
How we tested the Cricut Explore 4
The Cricut Explore 4 was tested at home over two weeks after a 1-2-1 Zoom chat with a lovely rep from Cricut who introduced the new machine and answered any questions. Zara unboxed and set up the machine by herself, to find out how easy this was and to see if she'd face any roadblocks with the software. She followed the test cuts and tried projects from the Design Space app, using the materials and pens provided, to comment on testing criteria.
This included giving first impressions of the machine and software, evaluating the performance and ease of use, defining any downsides, and finally sharing whether or not she'd recommend the product, to whom, and why.
Testing the Cricut Explore 4: What did we think?
First impressions
I had no idea what to expect, as I wasn't told anything about the new products – except that they were top secret until the launch date. So opening the box to reveal the new machine was very exciting. The unboxing was a fun experience with extra care taken to wrap the machine in protective tissues, prolonging the big reveal. I wasn't disappointed to discover that I had been sent the new Cricut Explore 4. I have the Joy Xtra, which I've tested and reviewed previously so the machines would be suitably different and make for a great comparison.
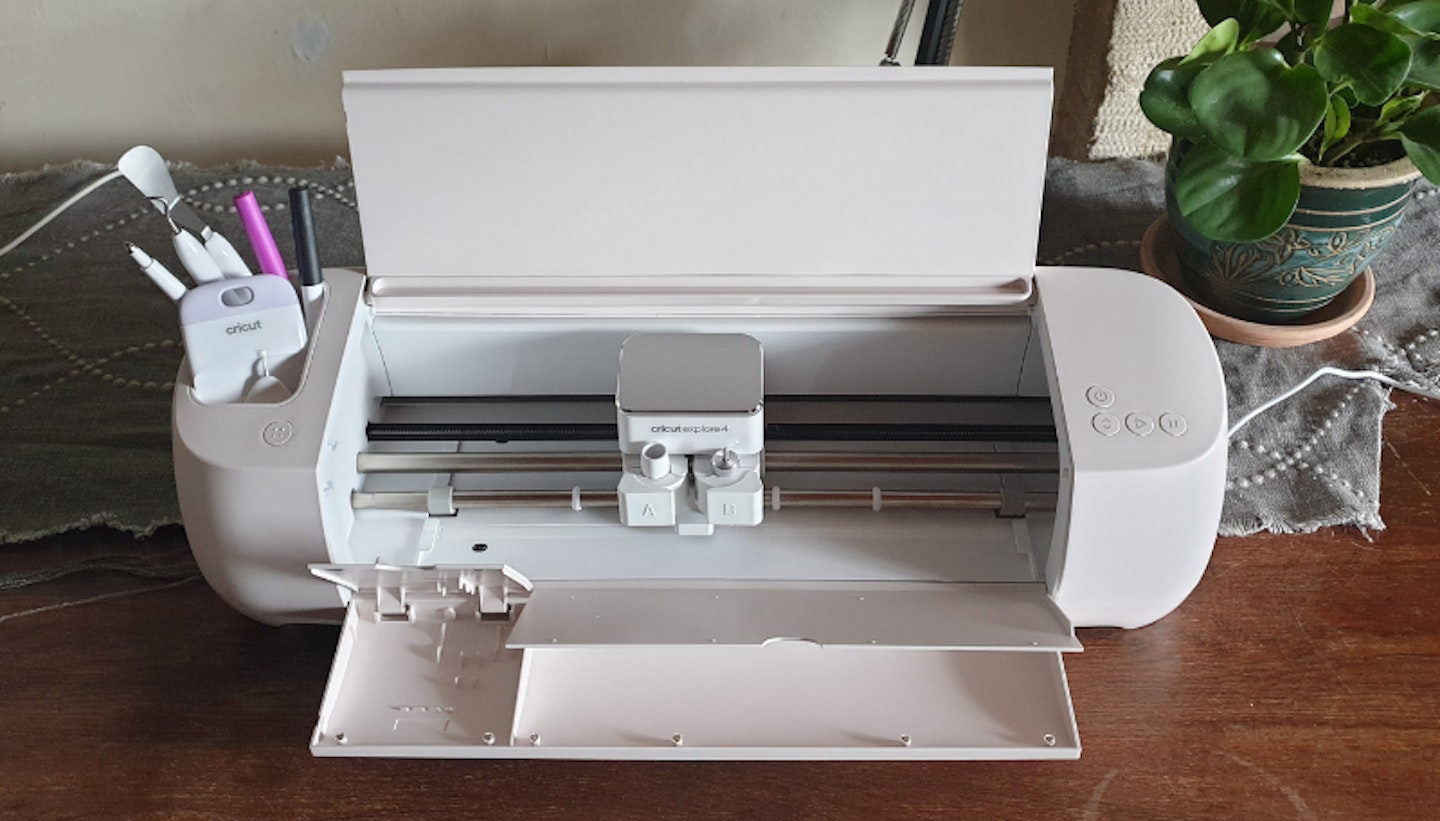
The first thing I noticed was the difference in size. The Explore 4 is a stunning machine. It is significantly larger than Cricut's Joy Xtra – long and narrow, with smooth contours and rounded corners. It's not too heavy to lift and move, so you could still store it on a shelf if you want. I want to have my machine set up in a permanent position where I can use it though, as I found that I didn't use my Joy Xtra as much because it lived on a shelf out of sight due to its smaller size.
I prefer the beautifully neutral seashell colour of the new machine to the mint green of the Explore 3. The "seashell" is a subtly pinkish shade of cream, and the lady from Cricut said they were going for more neutral shades for the newest generation of machines that will likely appeal to everyone, regardless of gender. I agree that the vibe is minimalist, which works well no matter what your decor. I also like the attention to detail – despite the minimalist design, there is a shelf incorporated into the top lid so that when it's open you can prop your iPad up out of the way of the machine.
Some reviews mention that they enjoyed pressing the button to open the machine, with the top and bottom flaps opening slowly to reveal the interior. I found this to be quite slow. It's fun and exciting the first time, but having to wait each time you want to use the machine might get on your nerves. Closing the flaps is also a tedious process. You do this manually, but the resistance forces you to do it slowly. I worry that I might break the flaps if I'm impatient and push them too hard. I think it would have been better if you could press the same button and leave the machine to close automatically.
Was the machine easy to set up?
Setting up this machine couldn't be easier. I already had the software downloaded to my iPad so I went ahead and added the new machine to my account, then followed the step-by-step instructions. What I like at this stage is that they don't overload you with too much information at once, and they use animated pictures to show you each step in action. It's so user-friendly so anyone who is non-tech-savvy can do it.
You'll need to have a good internet connection so the software can automatically update with the latest and greatest features. This was quick and took less than a minute. You may also have to set up an account if you're new to Cricut, but I already had one so it took me straight to the practice project.
Was the machine easy to use?
Your first task is the practice project. It's a non-permanent custom decal that can be stuck on a water bottle, notebook, etc. It's very easy, again just follow the instructions as they appear. The decal is made using the piece of smart vinyl you get with the machine so you won't need a mat. Smart materials fit the width of the machine so that they can feed in perfectly by themselves. I liked that it allows you to customise the text here. Previously, with my Joy Xtra, the practice decal design said "Cricut", with no option to customise the text – so it felt like a bit of a waste of the free material.
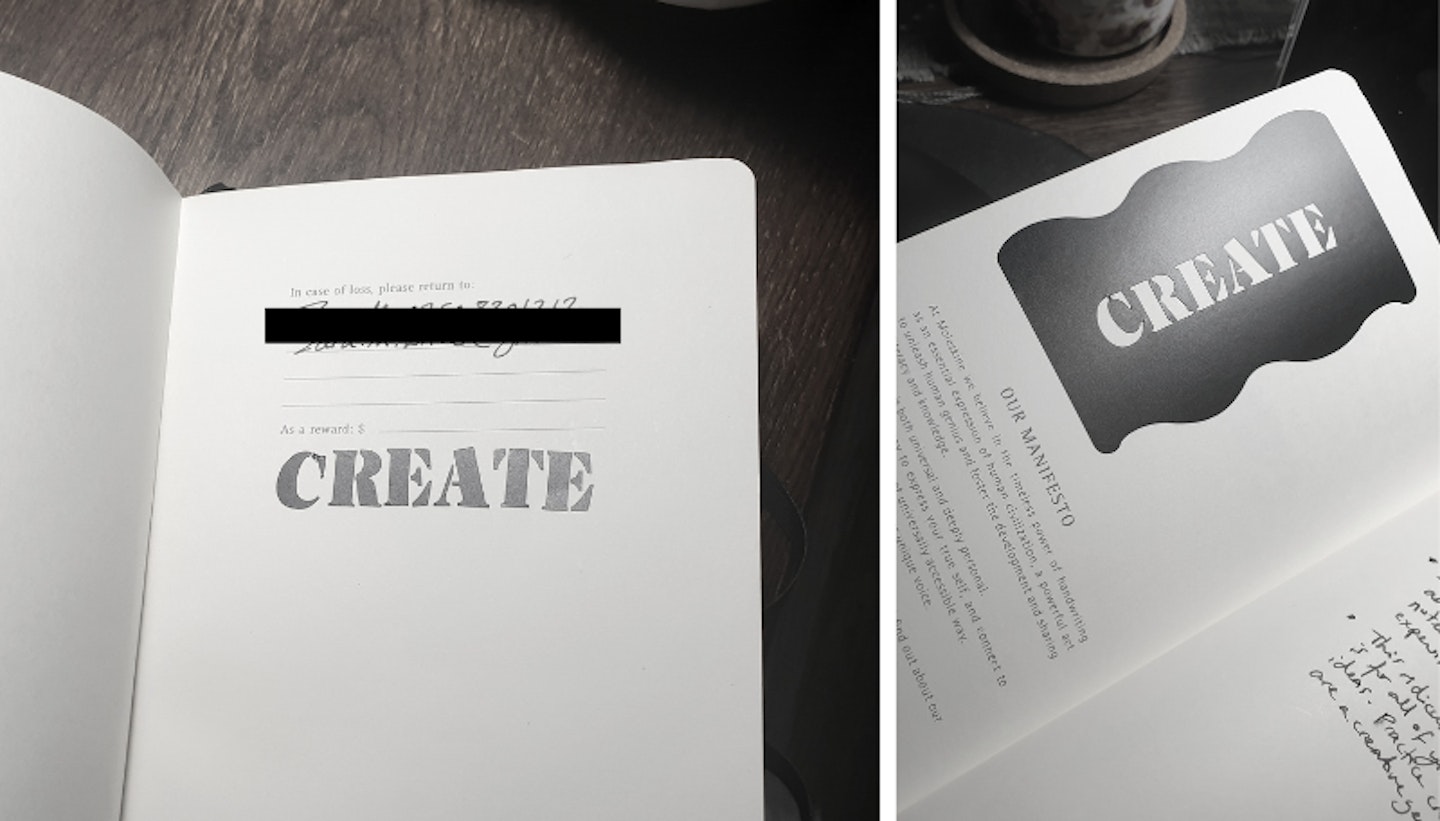
For complete beginners, it might not be obvious which way to load the sheet. With smart materials, both ends should slip under the guides, and then you just press the flashing button to load the material. I like that the buttons flash so there's no guesswork. When you're ready, press start and the machine quickly cuts your design. It wasn't as quiet as the Joy Xtra, but it's not horribly loud either. The design was easy to peel off, and I stuck mine in my notebook.
However, there was no prompt to use the transfer tape in the instructions, so the pieces that made up the letters got left behind but could have been transferred onto a surface too (I did this anyway). There was a lot of waste material around the shape, so this is something to be aware of when positioning your designs using Design Space.
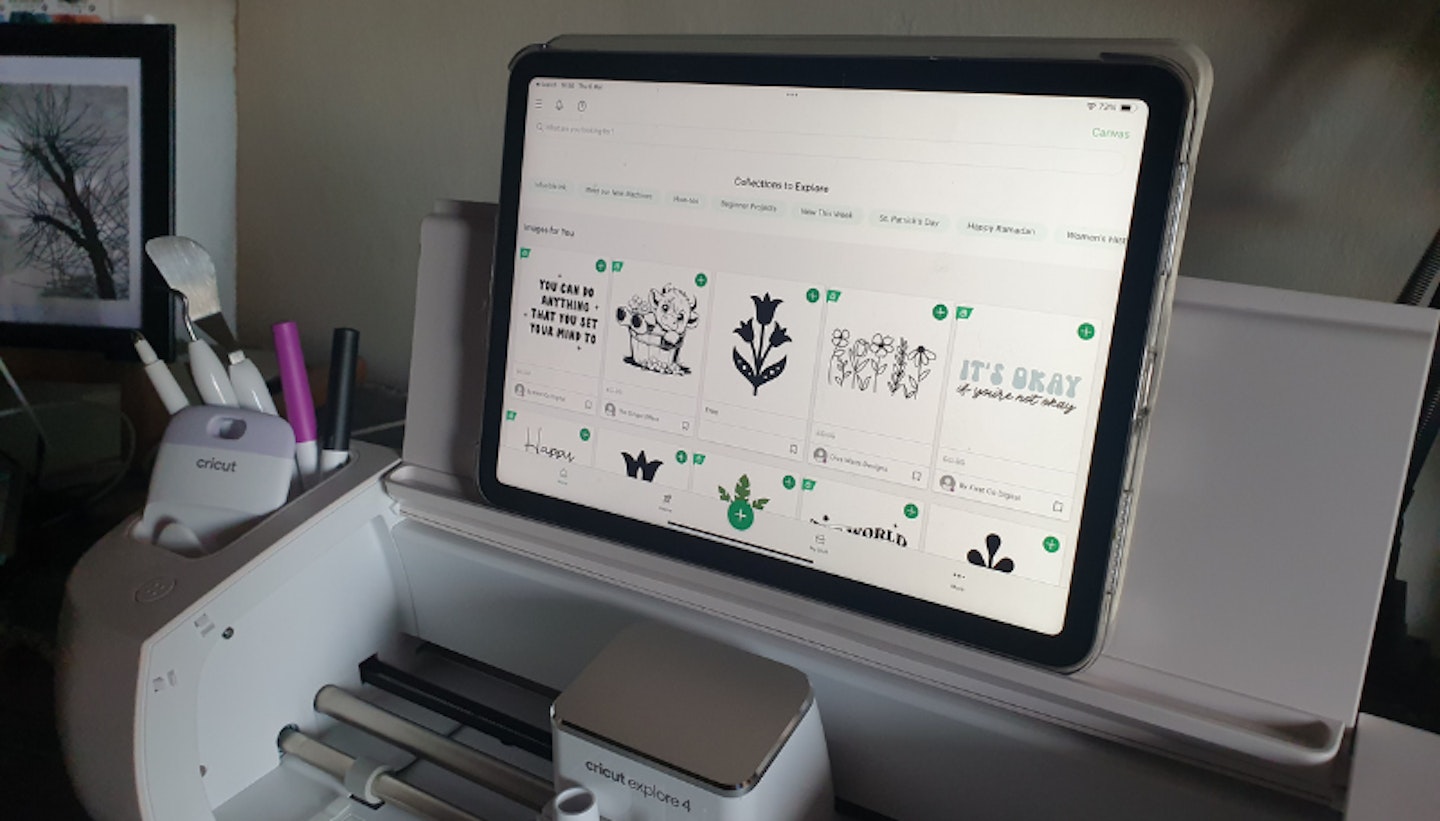
What I think about Design Space
After the initial practice cut, I found myself in Design Space, but I couldn't find the selection of starter projects I was expecting to see that use the free materials that came with my machine. This might have been because I didn't open a new account though. It's also worth noting that the Design Space app on looks different on iPad and desktop, as the unfamiliar layout disorientated me a bit. You do get the hang of Design Space the more you use it, but if you're brand new or don't use it often like me, it's easy to feel lost, confused, and get a bit frustrated. Many newbies agree that there is definitely a learning curve.
I recommend starting with a simple project. The project card will tell you what materials you need, and provide full instructions so you don't end up on an empty canvas thinking – I'm so not ready for this technology, where are my scissors? Also, I have learned that the search bar is your friend! You could type something like "starter project" or "beginner", or something more specific like "birthday card" to find a project you like.
Just be warned, browsing Design Space gobbles up your time. If you're anything like me and have no idea what you want to make, you could end up down a rabbit hole for hours before you've even turned your machine on. I'm choosy about what I make because Cricut tools and materials can end up being expensive.
How did the machine perform?
To test how the Cricut Explore 4 performs, I did some projects to try out the machine's features with the materials provided. I wanted to check how the machine would handle more detailed cuts, and try out the cutting mat and pens, as well as the included Cricut materials and non-Cricut art paper. I decided not to test features that require extra purchases, such as alternative blades, a heat press, and foiling, because you wouldn't be able to do these kinds of projects straight out of the box unless you already have the extra tools and materials needed.
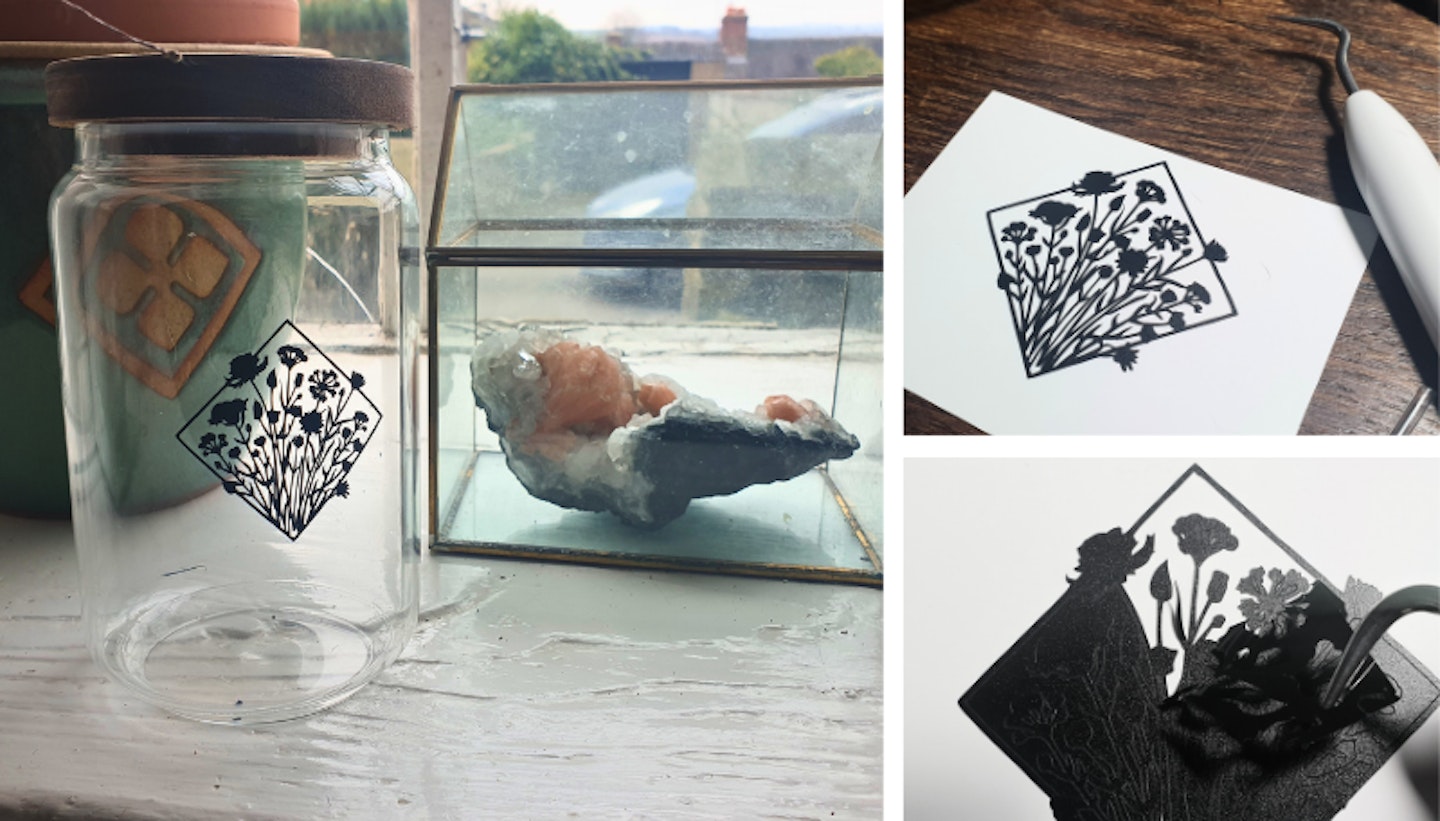
The initial cut I did on smart vinyl for the practice project was accurate and fast, so I was confident that the machine would handle more intricate designs. To test this I cut a very detailed floral silhouette using smart vinyl, but I reduced the size significantly to see how the blade would handle it. The finished design would need to be carefully weeded and then burnished using transfer tape onto the curved surface of a glass jar.
The results were one hundred percent perfect! I cannot believe how the machine managed to cut such intricate detail so accurately that I was able to weed tiny pieces of the vinyl, barely a millimeter in size, away from the negative spaces. Transferring the design to the glass jar was easy too, despite the design being so delicate. I am in love with this jar.
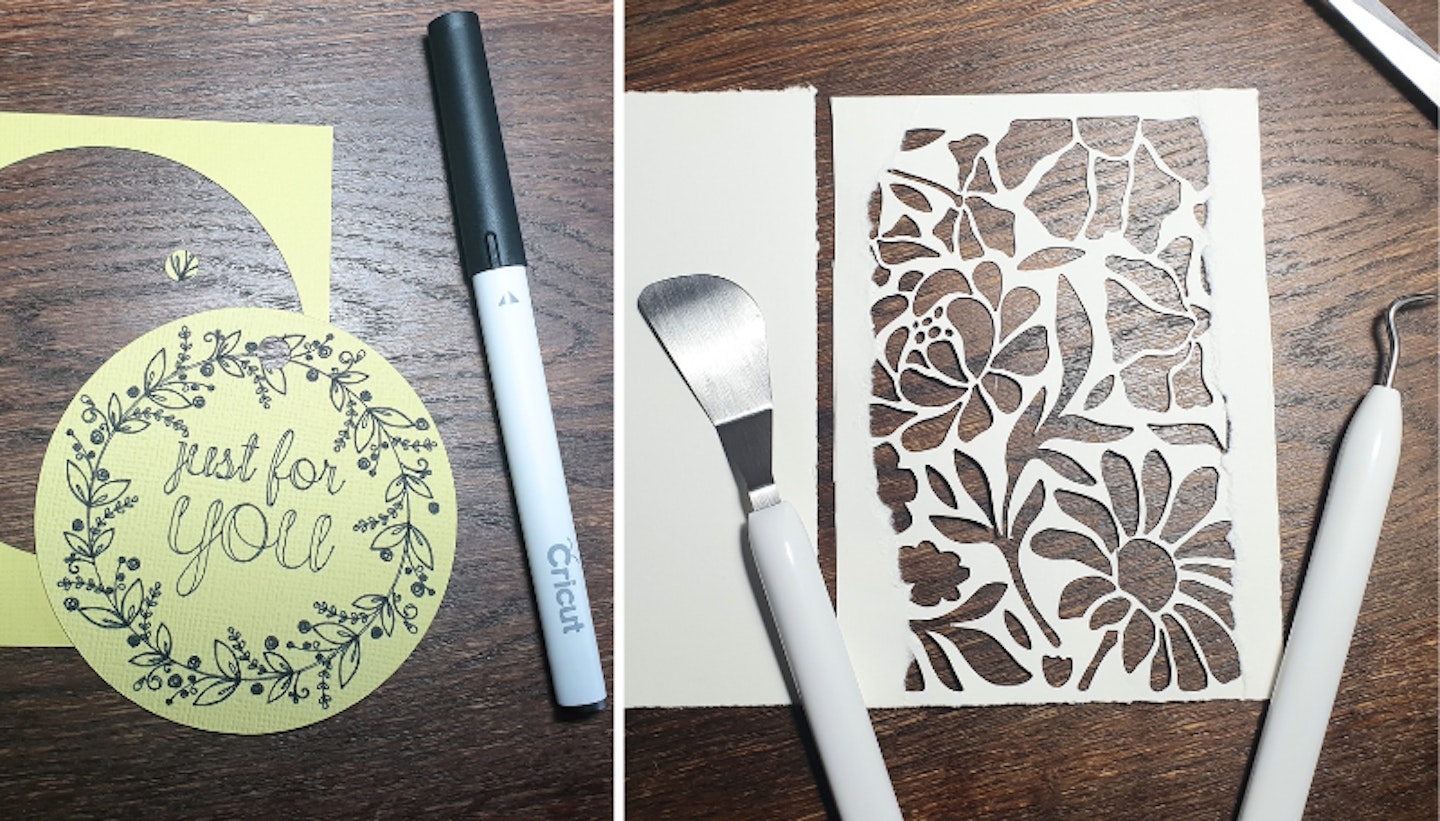
Now that I had mastered cutting vinyl, I wanted to try my non-Cricut art paper. So I made a cutaway greeting card using cartridge paper and the light grip mat. I chose a detailed floral design that was bigger than the previous project and the machine performed fairly well. The cutting was precise, the blade cut all the way through, and it didn't take too long. However, the design was slightly off-centre making one side too close to the fold in my card. I also found that the paper I had chosen couldn't handle the delicate pattern, so the pattern tore in one or two areas when removing the card from the mat.
These hiccups were partly to do with my lack of experience in Design Space and choosing the wrong materials for the job, but it's a good example of the trial-and-error nature of learning how to use the machine. I was able to add a border using extra paper to help support the design and ended up liking the result as it looked more handmade, which is my style. Mental note: for intricate cut-out designs, a non-fibrous stiffer cardstock is more suitable.
Finally, I wanted to test the 'draw and cut' feature. I went for something simple, a cute circular gift tag with a detailed floral wreath design and text in the centre that says "Just for you" in a handwritten font. Initially, I was afraid to push the pen all the way down when loading it for fear of breaking something, but when I did this correctly the machine got to work, first drawing the design, which took a while. I was asked to load a different colour pen for the text but I wanted the whole design in black, so I just pressed continue and the machine finished drawing, then cut out the tag and the hole. Simple and gorgeous.
I used Cricut Medium Cardstock (216 gsm) and it was the perfect stiffness for a gift tag. Despite the textured surface of the card, the pen drew a clear design that looked like it could have been printed using a high-quality printer. I was very happy with the result, and the yellow card made me smile.
Would I recommend the Cricut Explore 4?
Yes, I would recommend the Cricut Explore 4 – but only based on what you want to make, whether you already have a Cricut machine, and which one you have.
I'm pleased to have The Cricut Explore 4. It's a fun tool and I can see the appeal of precision cutting and drawing, especially for home and event decor, cards and gifts, and personalisation projects. If you love making crafts and personalising things at home, and even if you want to venture into the world of Etsy or sell at craft fairs, the Explore 4 is a handy upgrade from the smaller machines. You can cut bigger projects and make things in batches, plus it's twice as fast as the previous model. Now that I have the new machine, I feel like I don't need my Joy Xtra anymore. Unfortunately, if upgrading from the Joy or Joy Xtra you'll have to reinvest in all of your tools and materials though, as they won't be compatible.
If you already have the Explore 3, there's no need to upgrade to the Explore 4, unless you simply must have a faster machine in a pretty seashell shade – both machines do the same things. If you decide to upgrade, the good news is that you can use your old tools and materials, they are compatible with the new machine. If you want to experiment with more adventurous materials, engraving, and the full range of tools, you might be better off trying the Maker 4 instead.
The Cricut Explore 4 has the potential to be a fun, useful crafting tool, once you get the hang of it. But you must use it frequently to build up your skills, so be ready to fork out for new tools and materials as you progress. A subscription to Cricut Access will open up the potential for creativity offering a sense of community, and increasing learning potential, not to mention all the amazing designs and inspiration.
Zara Mohammed is a Digital Writer at Yours and Mother&Baby, specialising in parenting, women's health and lifestyle content – including product reviews and shopping guides. Zara has previously written for Netmums and House Digest, and has enjoyed writing home, garden and pet content as a freelancer. She is also a pet portrait artist and cartoonist, and loves crafts.