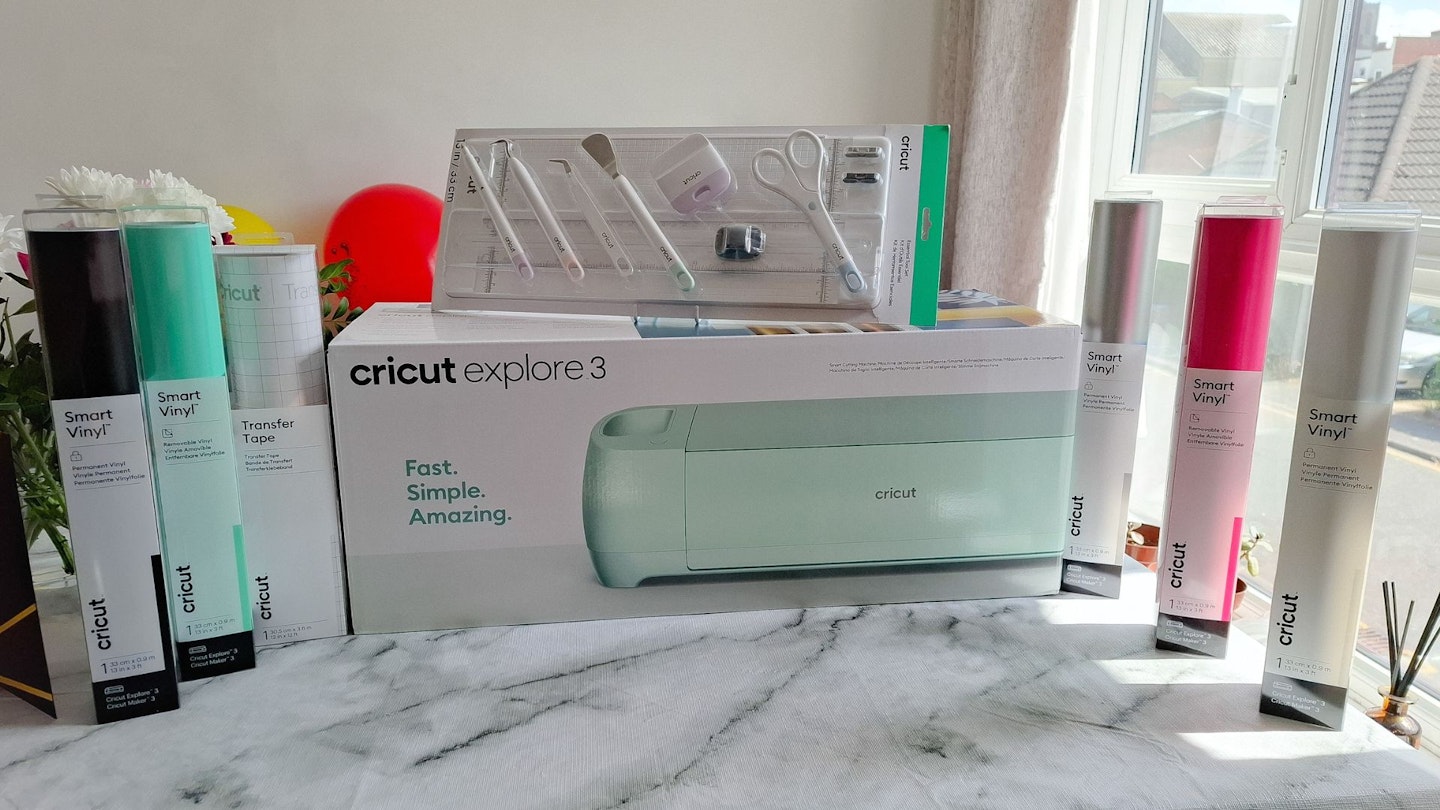
Spread your creative wings with the Cricut Explore 3. It's a digital craft machine that's twice as fast as previous models and cuts 100+ materials. New for 2024, Cricut bundles include a machine and everything you need to be crafting within 30 minutes of unboxing. As far as the best Cricut deals go, the Cricut Explore 3 is the top option for an avid crafter who wants to take their projects further.
Right now, there's a special offer to get the Cricut Explore 3 + Essentials Bundle + Cricut Access subscription for the same price as you'd usually pay for just the machine.
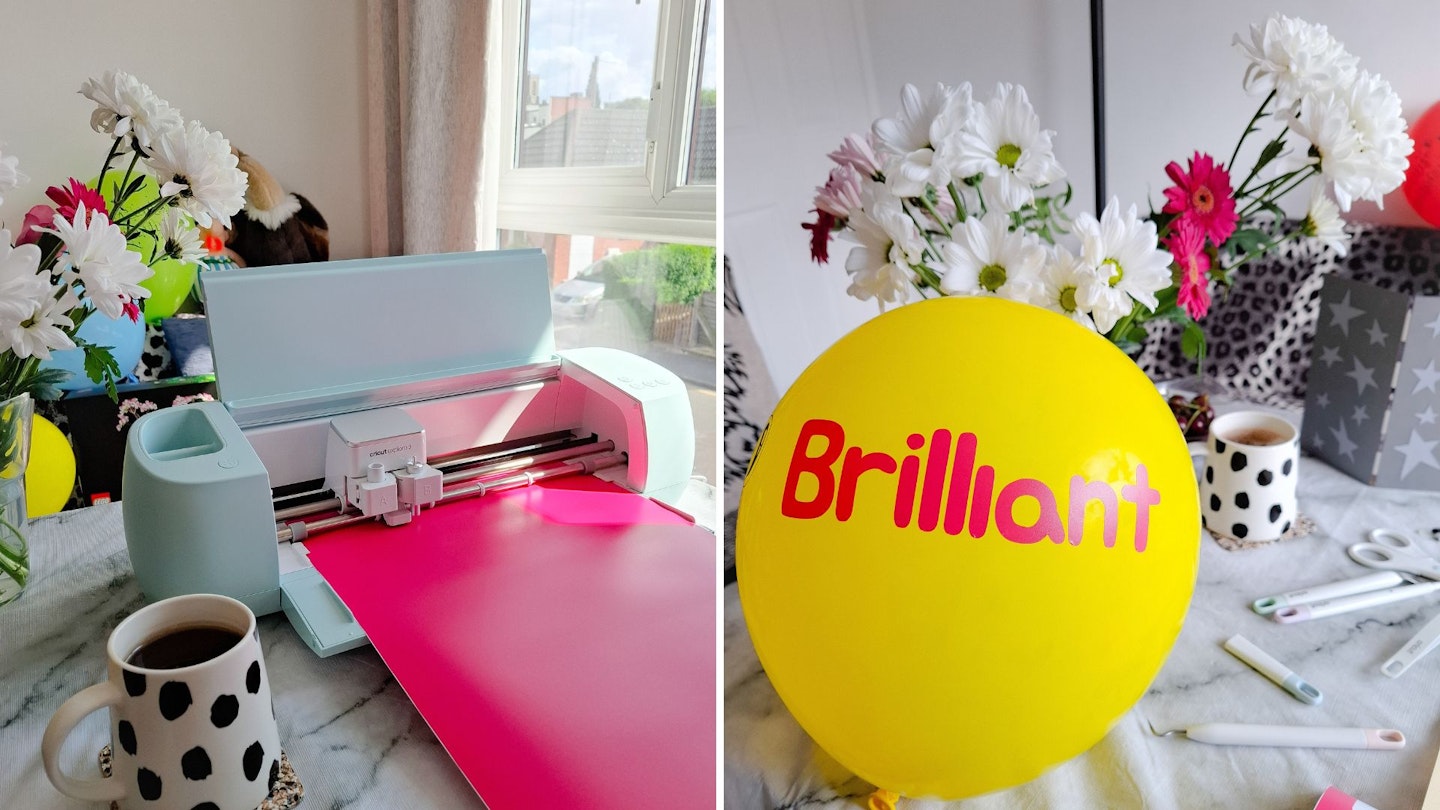
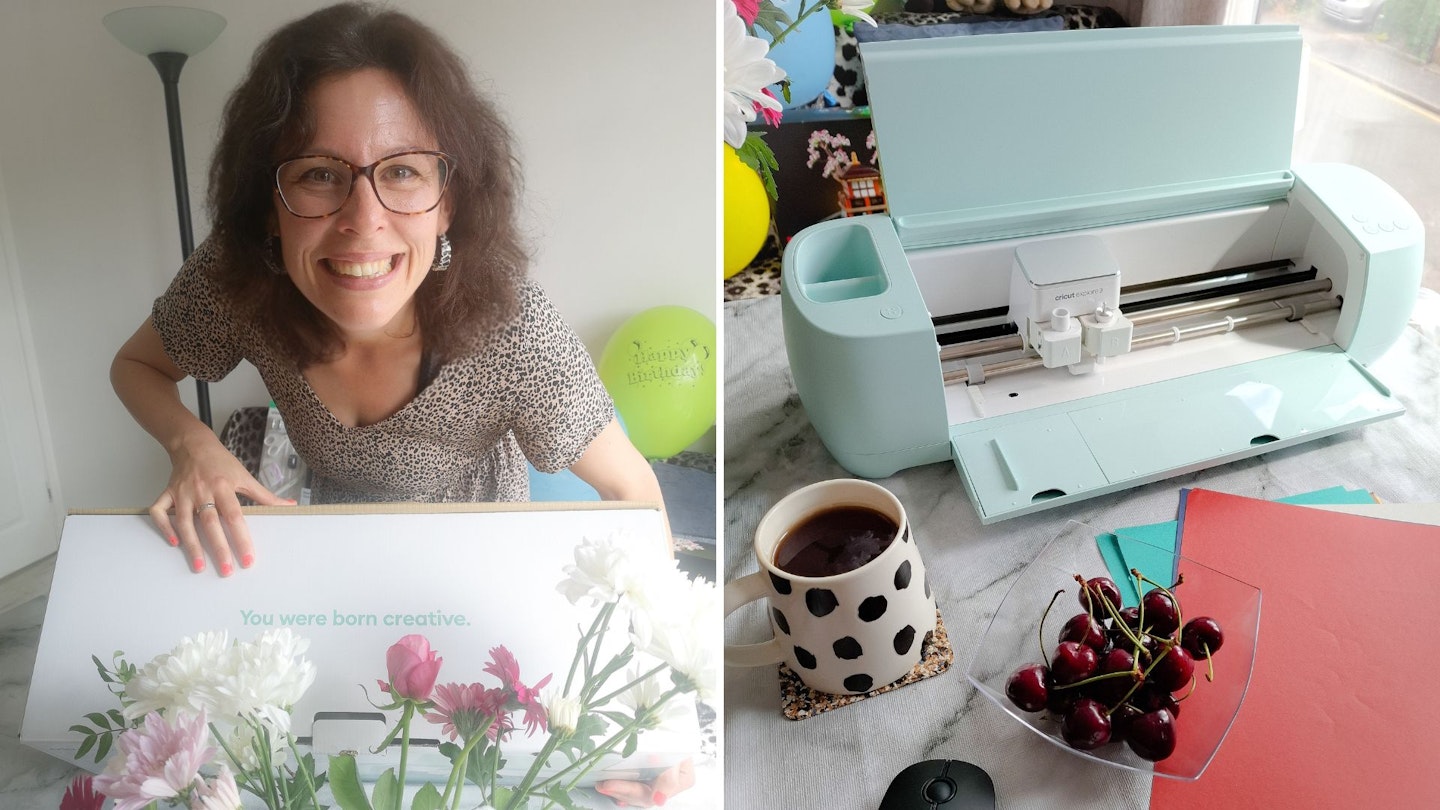
We couldn't think of a better 40th birthday treat for Commercial Content Writer, Natalie Knowles, who is also an artist. Let's find out if this is the best Cricut machine for her latest creative venture...
Tested
 Cricut
cricut.com
Pros
- Better value for money to buy as a bundle
- Ideal if you have intermediate design skills and a passion for craft
- Unlimited creative potential and lots of goodies to play with
- Smart Materials – cut faster, longer and without a mat (unlike previous machines)
Cons
- Need to find creative ways to utilise the wastage, as the off-cuts pile up
| Size: | H15.01 x W56.31 x D17.80cm |
| Maximum cutting size for Smart Materials: | 29.7cm wide and 3.6m long |
| Maximum cutting size with a mat: | W29.7cm x L59.6cm |
| Design Space software: | iOS, Android, Windows and Mac |
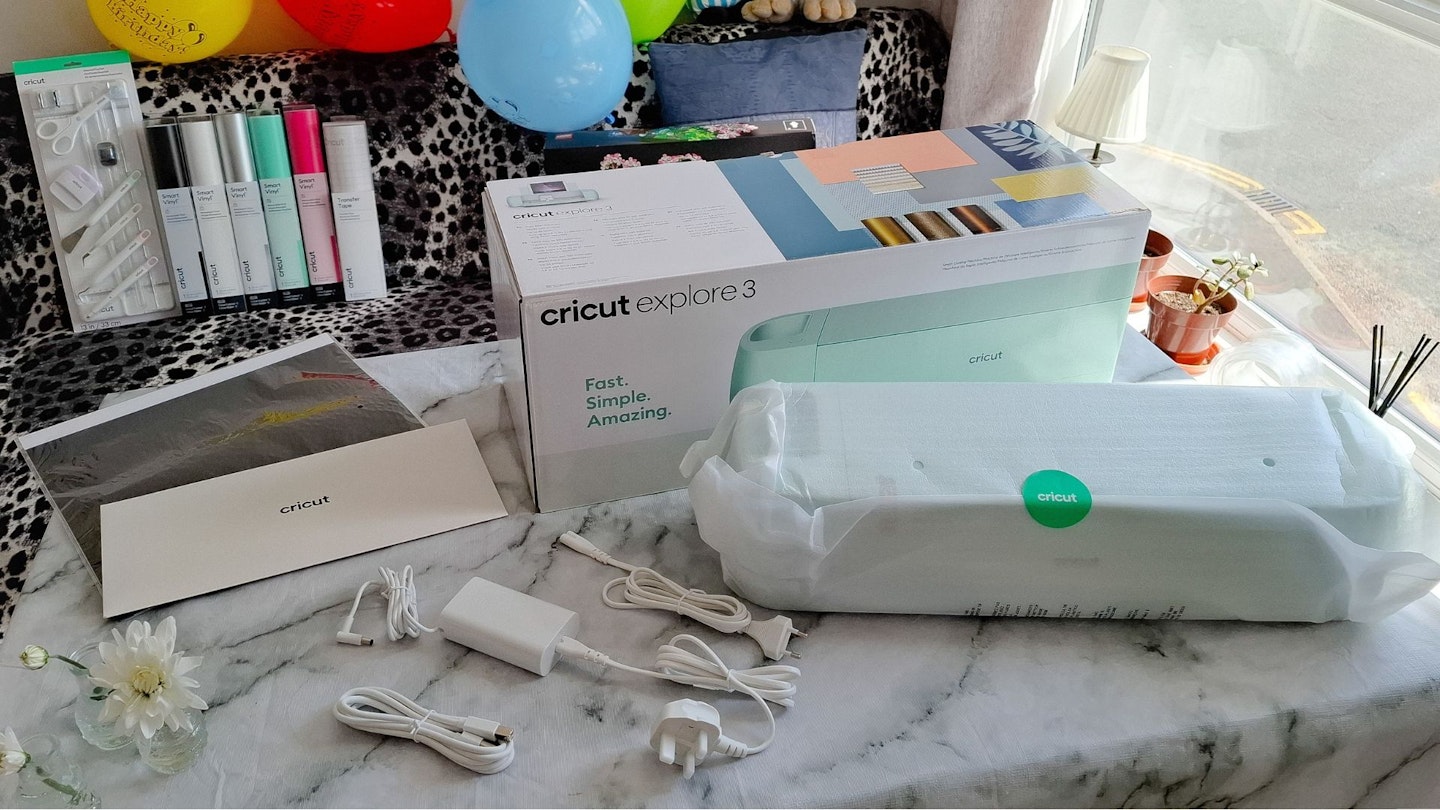
- Cricut Explore 3 machine
- Welcome card, 100 ready-to-make projects online, material for a practice cut
- Free trial subscription to Cricut Access Standard (for new subscribers)
- Premium fine-point blade + housing, power adapter and USB cable
What is the Cricut Explore 3?
The Cricut Explore 3 is a computer-guided cutting machine, but, actually it can do so much more. With additional tools, it's possible to make designs from a huge range of materials. Create stickers, greeting cards and even banners. It supports both Smart Materials which don’t need a cutting mat, plus an enormous range of other materials with a mat. Additionally, use with accessories such as the Cricut EasyPress to transfer your designs onto fabric.
The Explore 3 is larger than the Cricut Joy machines, but it can also cut wider and longer: up to 12 inches (29.7cm) wide and 6.4ft (3.6m) long. This makes it a great choice for batch production and small businesses.
As well as a clamp for a cutting blade it has a second clamp that holds a Cricut pen or additional tool – such as the Cricut Foil Tool that can add metallic embellishments to projects. So, you can draw and cut (and more!) with one machine. It's also compatible with the Scoring Stylus, for 3D paper projects. This tool is included in the Essential Tool Set.
The handy thing about buying a bundle is that an array of materials, tools and Design Space software come with the machine, so you can get crafting straight away.
Who tested it?
Natalie Knowles is a Commercial Content Writer who is thoroughly seasoned in doing product reviews on anything from sparking water makers to orthopaedic mattresses. But what you may not know is that Natalie was a professional graphic designer and illustrator for 12 years. She began her career at a digital printers, doing file preparation in a room full of large format cutting machines.
Natalie went on to co-author a series of educational publishing books, including a workbook on 3D-dimensional shapes. She drew the nets and prepared the die cutter paths for the supplementary material that comes with the book.
And when she's wearing her other hat, Natalie is an artist and regularly exhibits at contemporary art shows in Norfolk. Also, Natalie has exhibited in London, as part of Cluster Illustration.
Large format artwork has been a relatively new venture, but with the accomplishment of her three-metre Tudor Queens, who knows what Natalie can do with the Cricut Explore 3...
How was the Cricut Explore 3 tested?
The Cricut Explore 3 was tested over the course of a month at home. Natalie evaluates how easy it is to set up the machine and software. She uploads her own designs, as well as subscribing to Cricut Access to see if the project templates are worth the money. Also, Natalie tries out Smart Vinyl, cuts cardstock on a cutting mat and uses Cricut pens to reproduce her illustrations. The Cricut is rated for its build quality, performance and usability.
What were the results?
Build quality
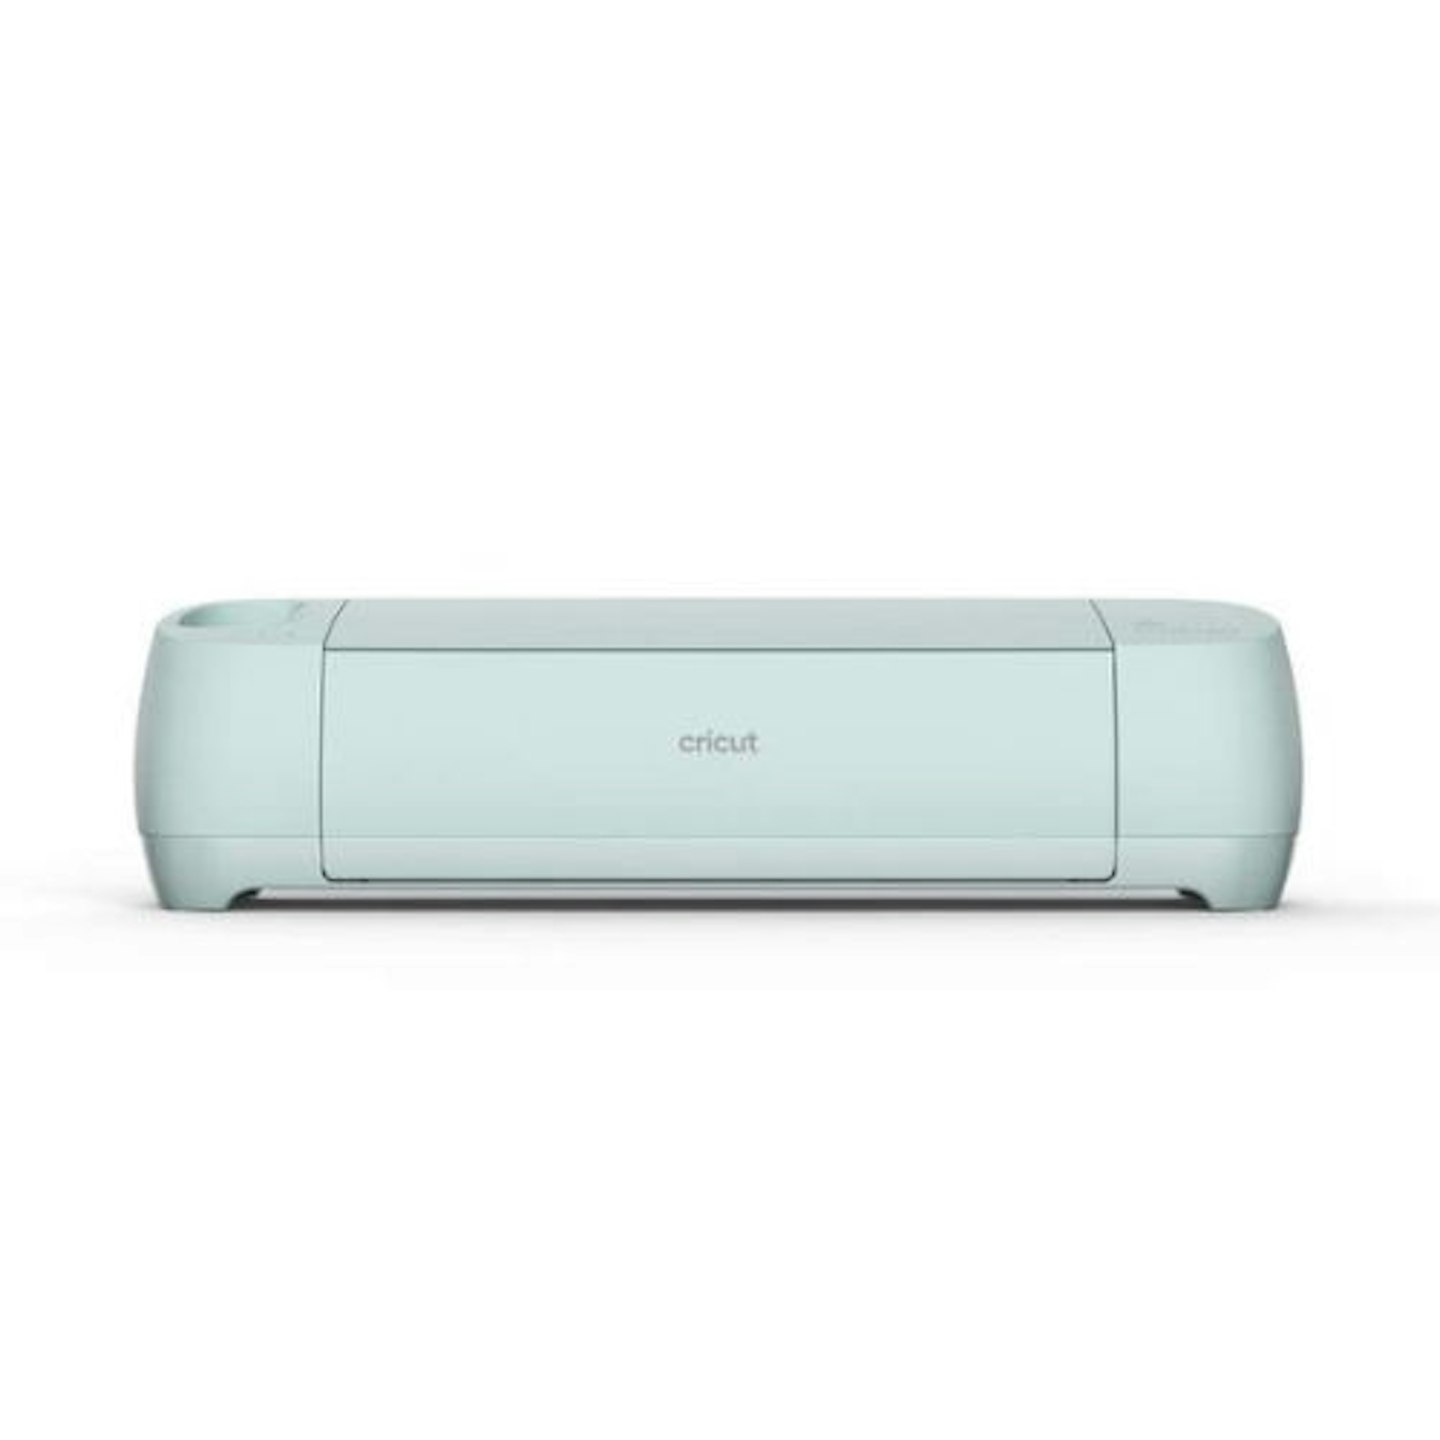
Oh, full marks from me! It's all in the details; like the care that was taken to wrap the Cricut machine in tissue paper – it gives a personal touch when you unbox it. The Cricut Explore 3 looks like a very stylish home printer, plus little cubby holes to store and organise tools. It's a wow moment when it opens like a Fabergé egg at the press of a button, to reveal the tool clamps.
It does come with a UK plug, so don't be alarmed if the instructions make it appear that it's a European plug, although one of those is included too.
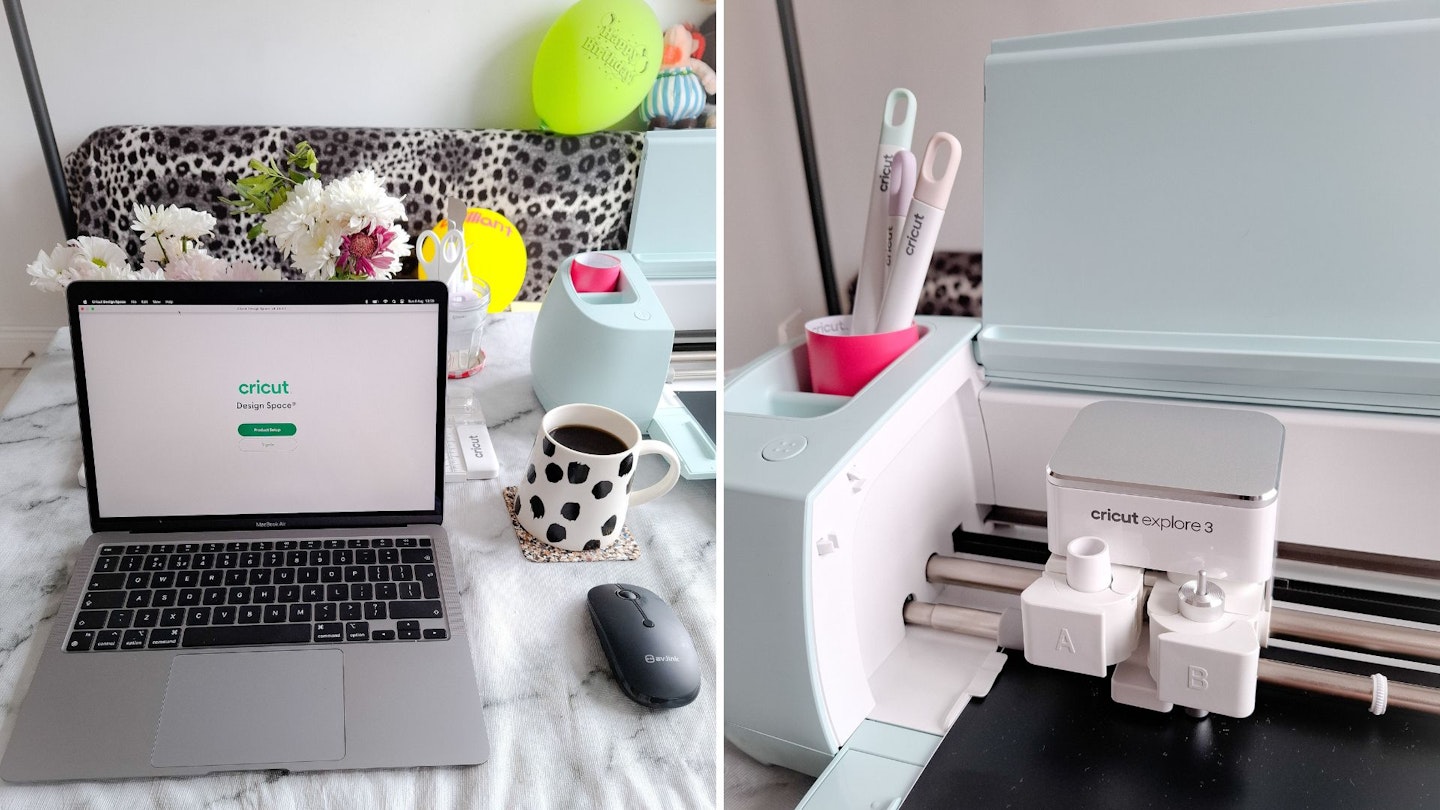
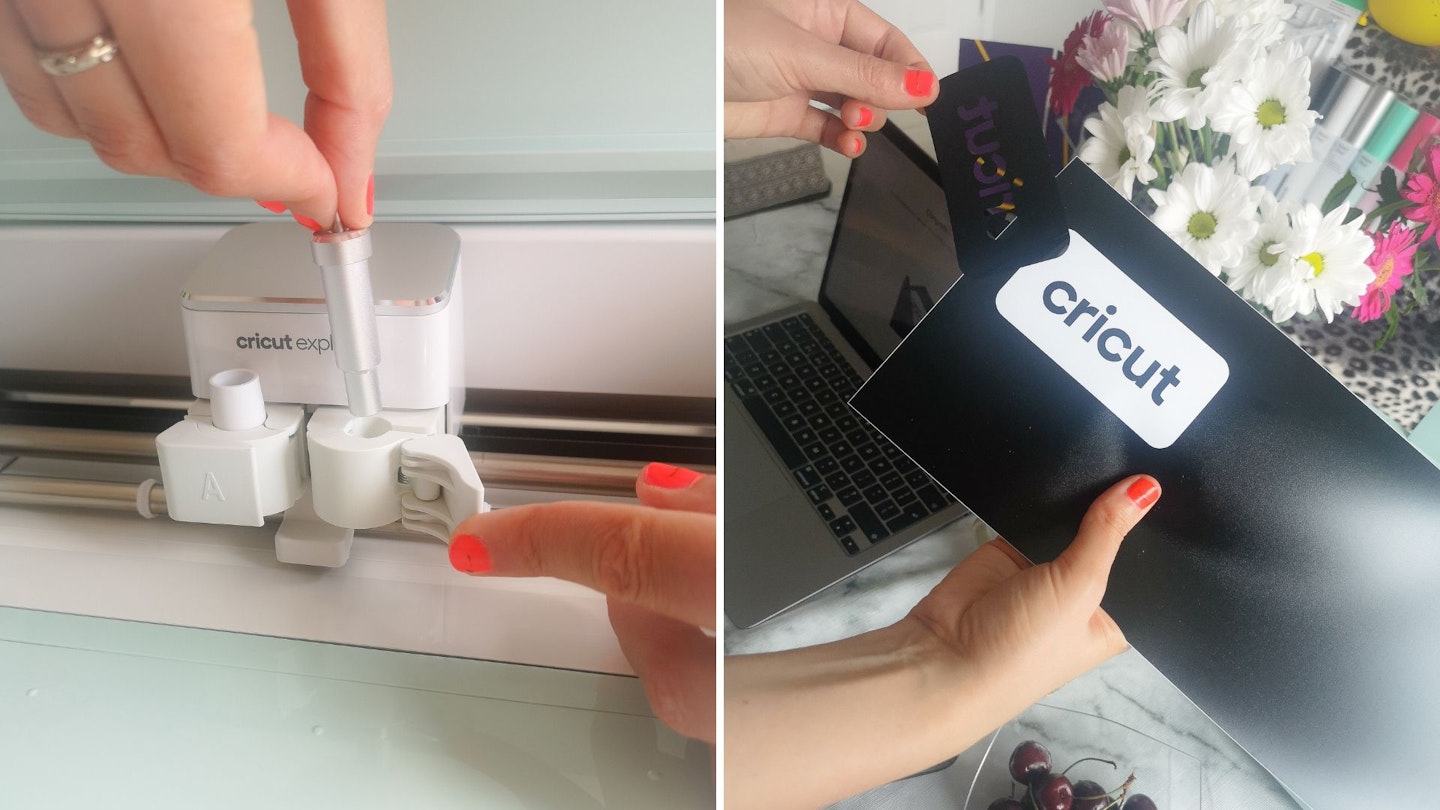
The A clamp is for drawing and scoring tools. They slot in with a neat click. The B clamp is for the cutting blade.
The first thing you notice on the machine is that there are minimal buttons as most of the operation is done through the Design Space software.
Design Space software
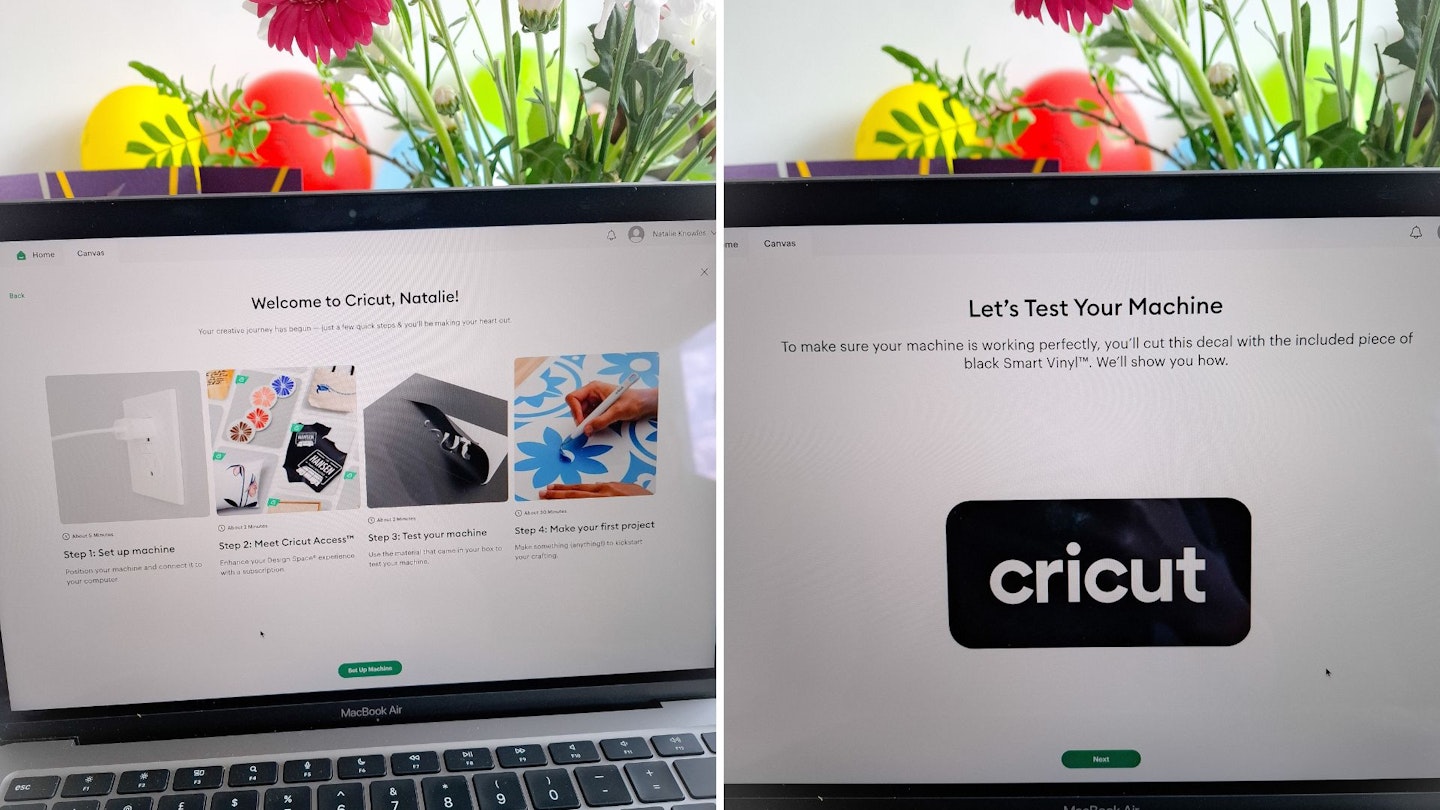
I switched the Cricut on at the mains and connected it to my Mac Airbook via Bluetooth. Next, I downloaded the free Design Space app and installed it on my Mac. A PC and Android version is also available so you can have the software on a mobile device.
There are thorough step-by-step instructions – so while there are several steps to go through – the overall set up is straightforward.
The Design Space studio invites you to have a trial of Cricut Access and its thousands of projects; for this you need to provide payment information. I wanted to see what was available for free first, which turned out to be limited projects and fonts. It did tempt me to sign up later so I could get the full potential and Cricut experience.
On first use you are guided through an initial test cut, which is a vinyl decal of the Cricut logo – it's fast and easy.
Go to the Get Started column and you'll find some super simple, easy to do 30 minute projects, such as making rolled flowers. Plus, there are how-to videos.
Filter by Cricut Only designs as these have the best instructions. It's like a recipe card. You can even print the instructions out.
Advanced users, who are familiar with professional graphic design software, will understand the concept of working in layers. Design Space deconstructs each element of the design into a layer. It can import .psd files and retain the layers. But remember to keep it simple, line-based and no shading.
Performance
Using Smart Vinyl
The beauty of Cricut's Smart Vinyl is that it doesn't require a cutting mat. It feeds into the machine and up to 3.6 metres can be cut in one go. Cricut Smart Materials are convenient and easier to work with because they have been rigorously machine tested. While you may find with other materials, such as cardstock, there will be trial-and-error to get a perfect cut.
Without a doubt you can be cutting and crafting within minutes of setting up the software and machine, thanks to the Smart Vinyl that's included in the bundle.
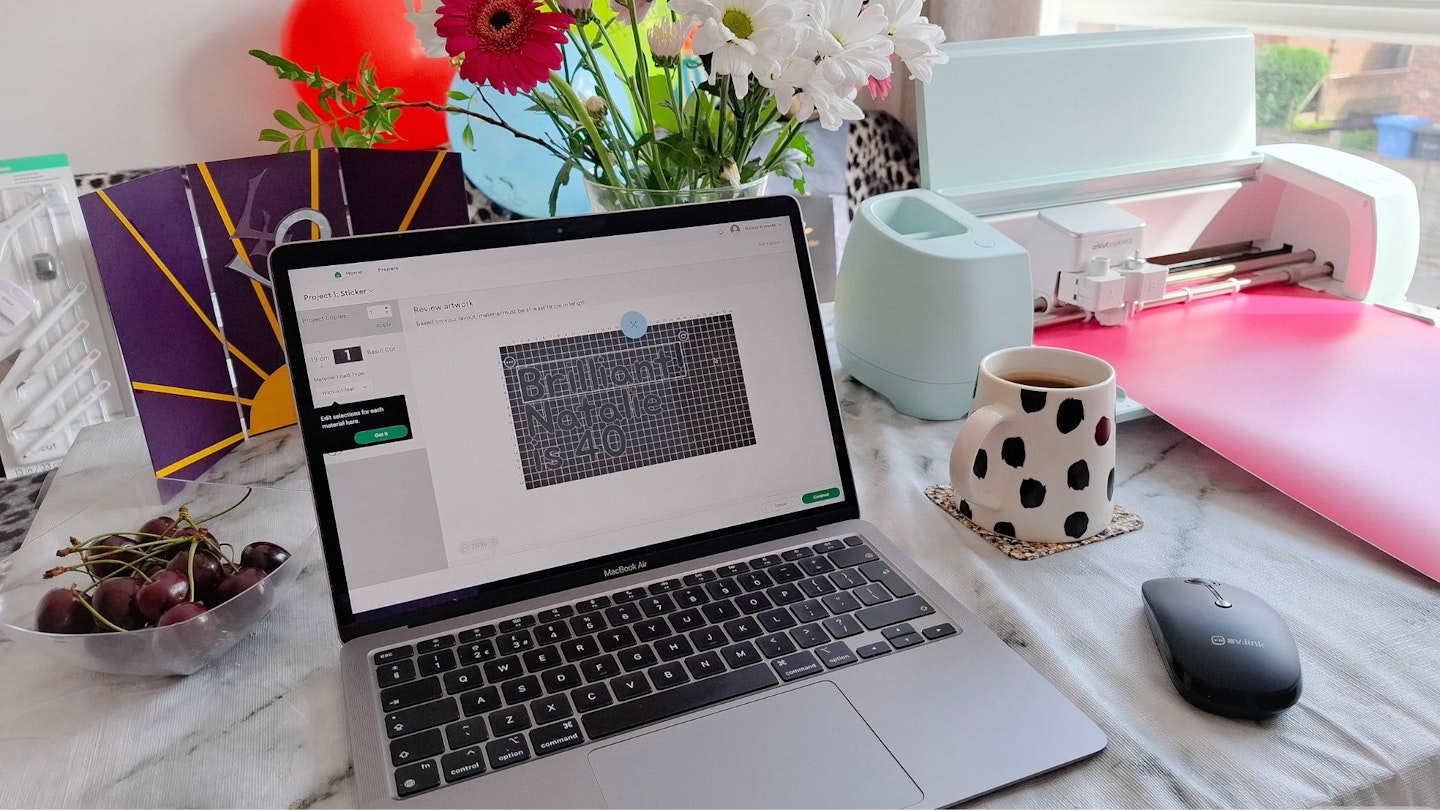
My first project was decorating my birthday balloons. I typed some simple lettering and fed Smart Vinyl into the Cricut Explore using the arrow buttons on the machine (which operate the rollers). I selected which material I wanted the Cricut to cut, and hey presto – the machine cut fast and with precision.
I've heard a lot about how relaxing it is to weed your design from the vinyl, and with tools included in the bundle it was indeed a pleasure. The weeding tools are superb and I could extract the vinyl lettering without damaging it. I used the pick to pull the positive lettering away from the negative wastage. There's a lot of pleasure in weeding the design – it's a perfect Sunday afternoon activity with the radio for company. Very therapeutic... even my partner had a go.
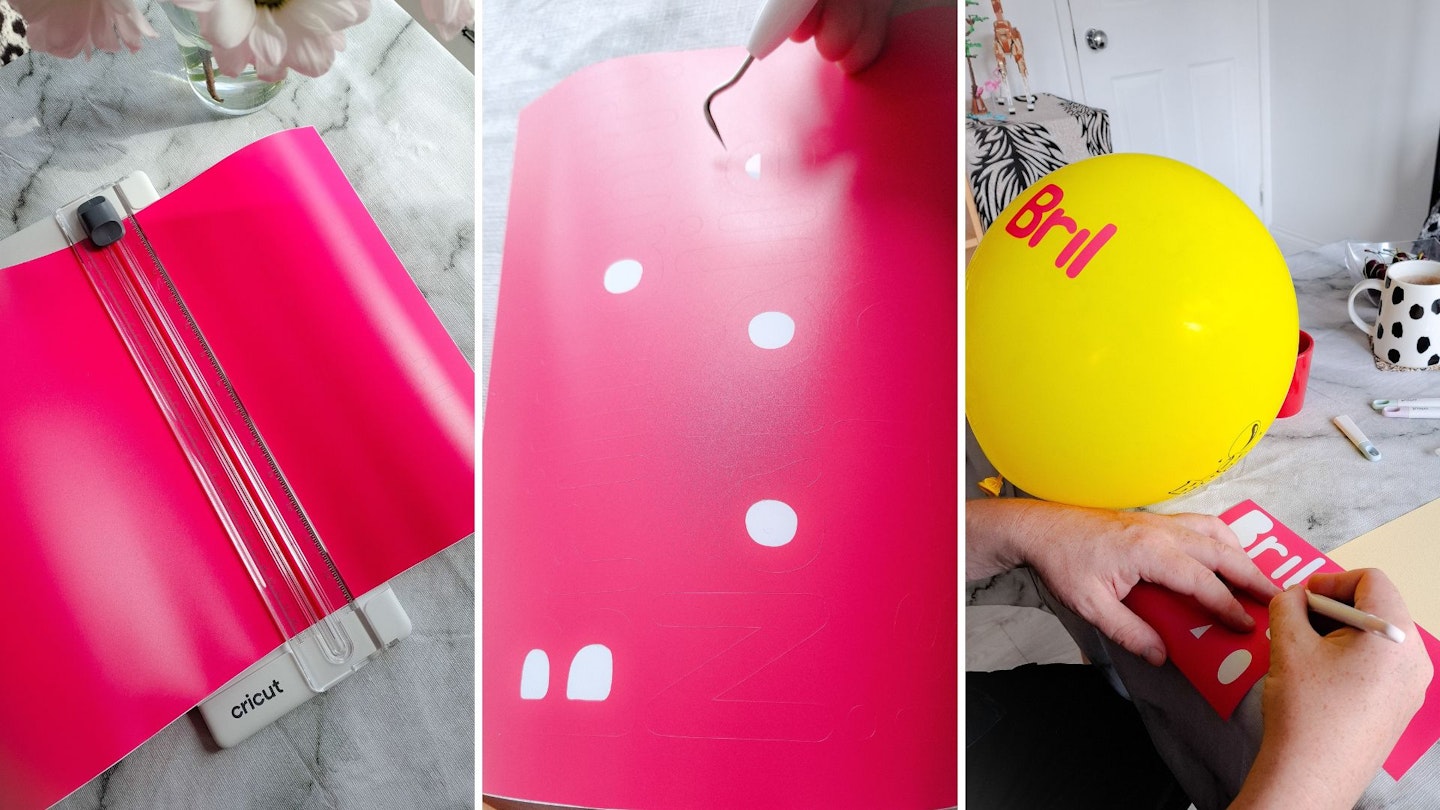
There will be wastage, so get clever about how you position your design to minimise the off-cuts. For example, in Design Space I deliberately put the letters very close together to save a few centimetres of vinyl. I also used the cutter to cut as close as possible to my lettering. It's a lightweight and effortless-to-use little guillotine.
The Smart Vinyl stuck directly onto my party balloons. The whole project took less than 30 minutes.
Making cards with templates available from Cricut Access
I recommend subscribing to Cricus Access as it's a full-proof way of achieving a great design, with step-by-step instructions and tried-and-tested templates. You will be prompted to set up a subscription in Design Space, or if you purchased a bundle with Cricut Access included, you're sorted!
Using a cutting mat
Any material that isn't a Smart Material needs to be used in conjunction with a cutting mat. My mat is 'Strong Grip' and it's very sticky. Keep the plastic cover that comes with the mat to preserve its tackiness and stop dust and other things from sticking to it.
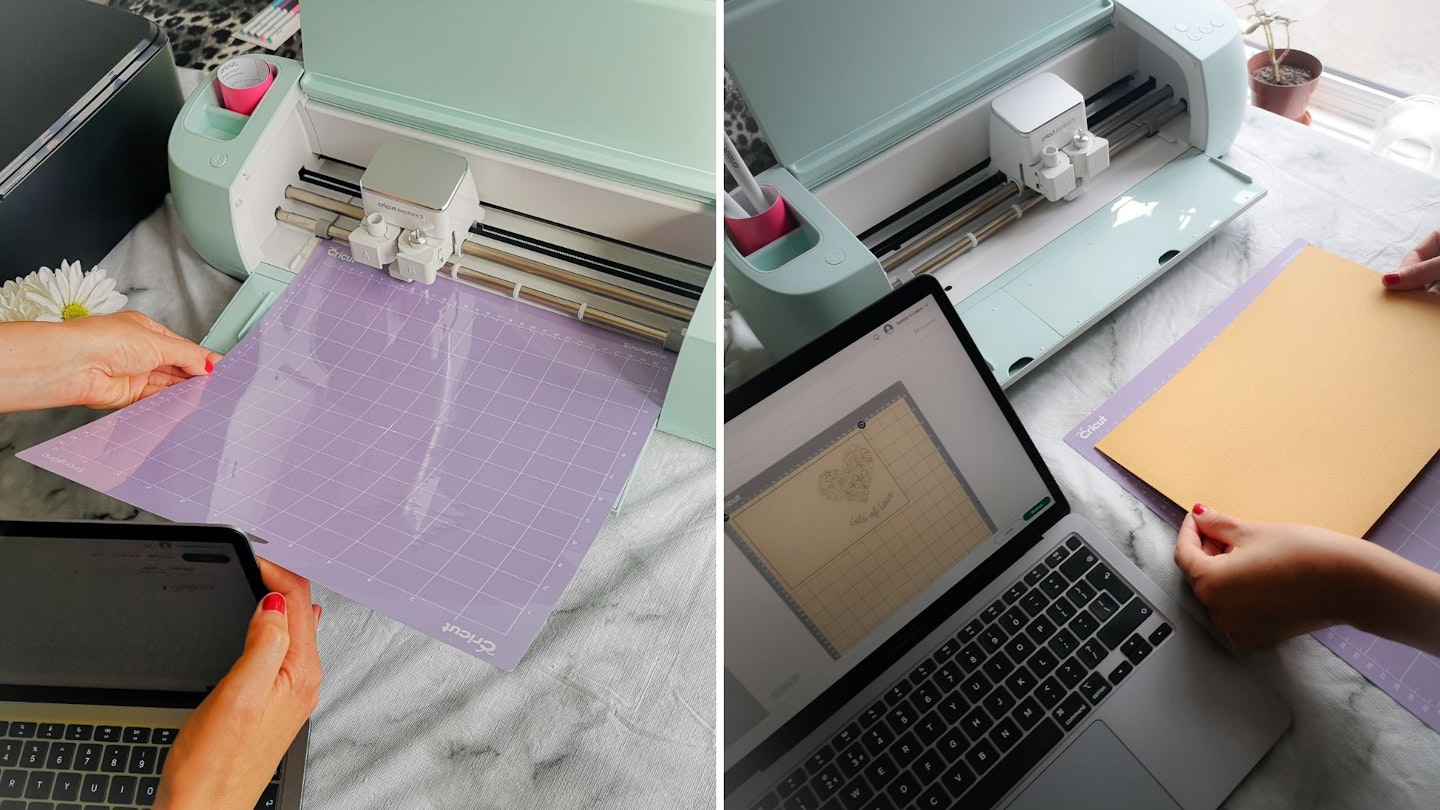
In Design Space, select that you're using a mat, otherwise it will think you're using Smart Materials. With mat selected you are able to choose from hundreds of materials in a list. Selecting the type and weight of material is important so the machine knows how much pressure to use when cutting.
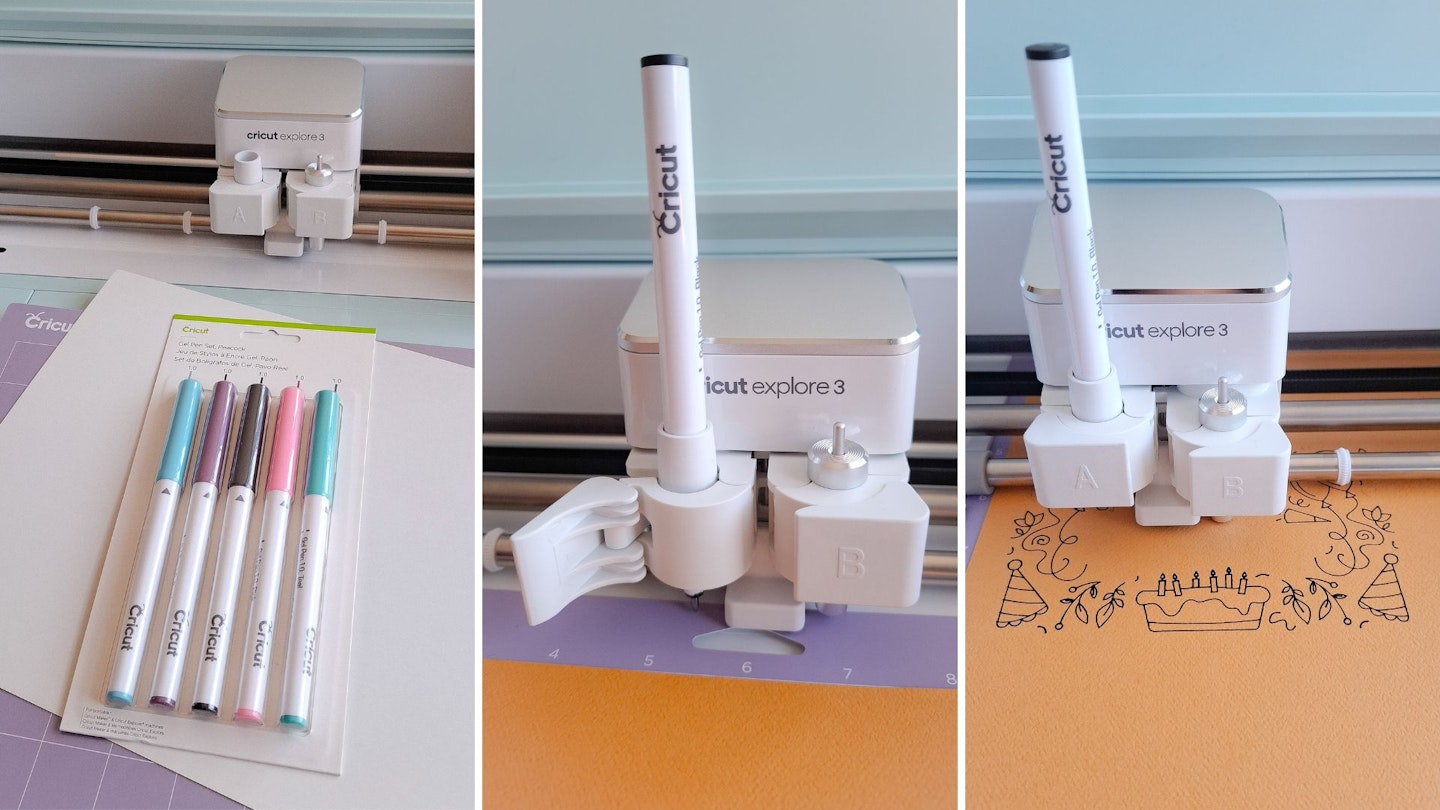
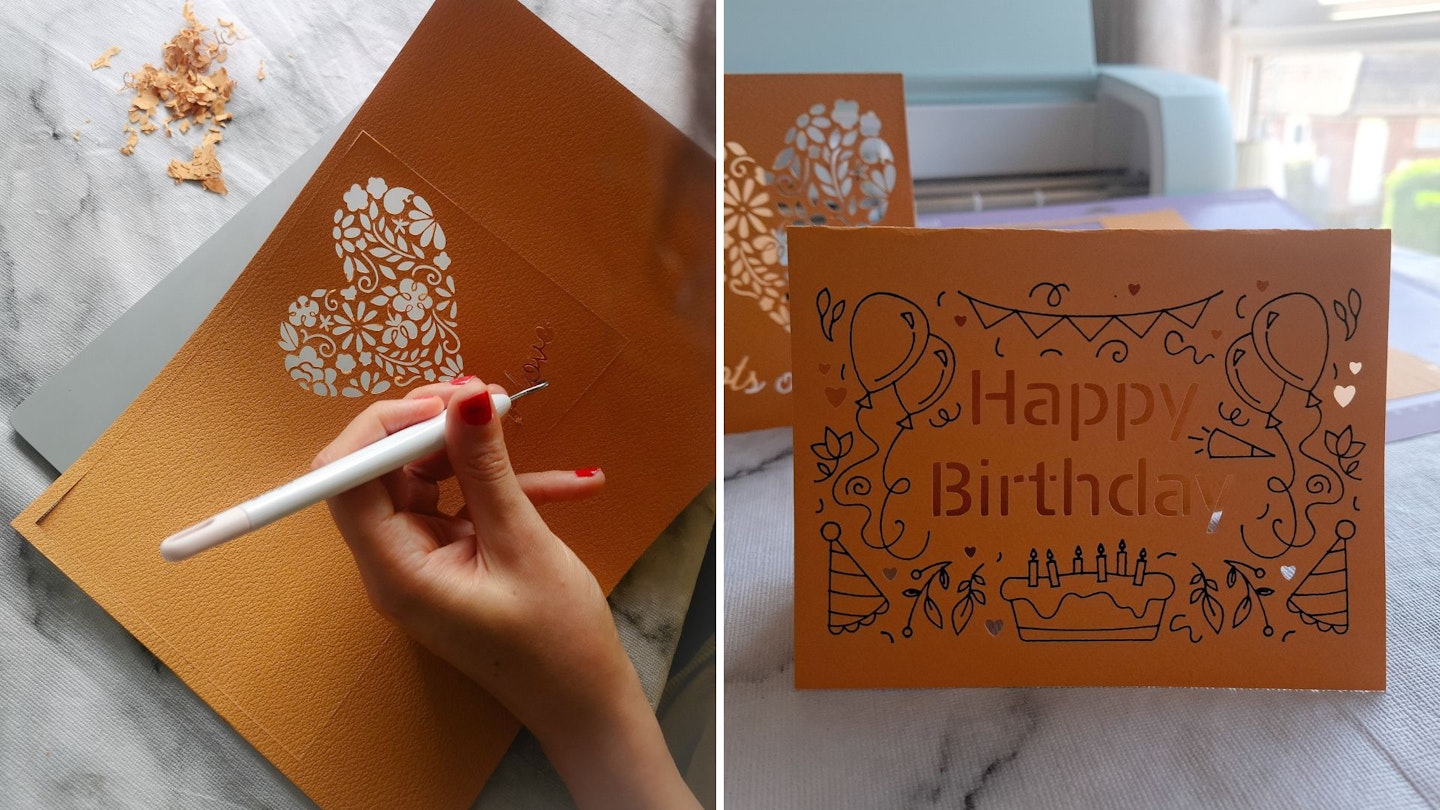
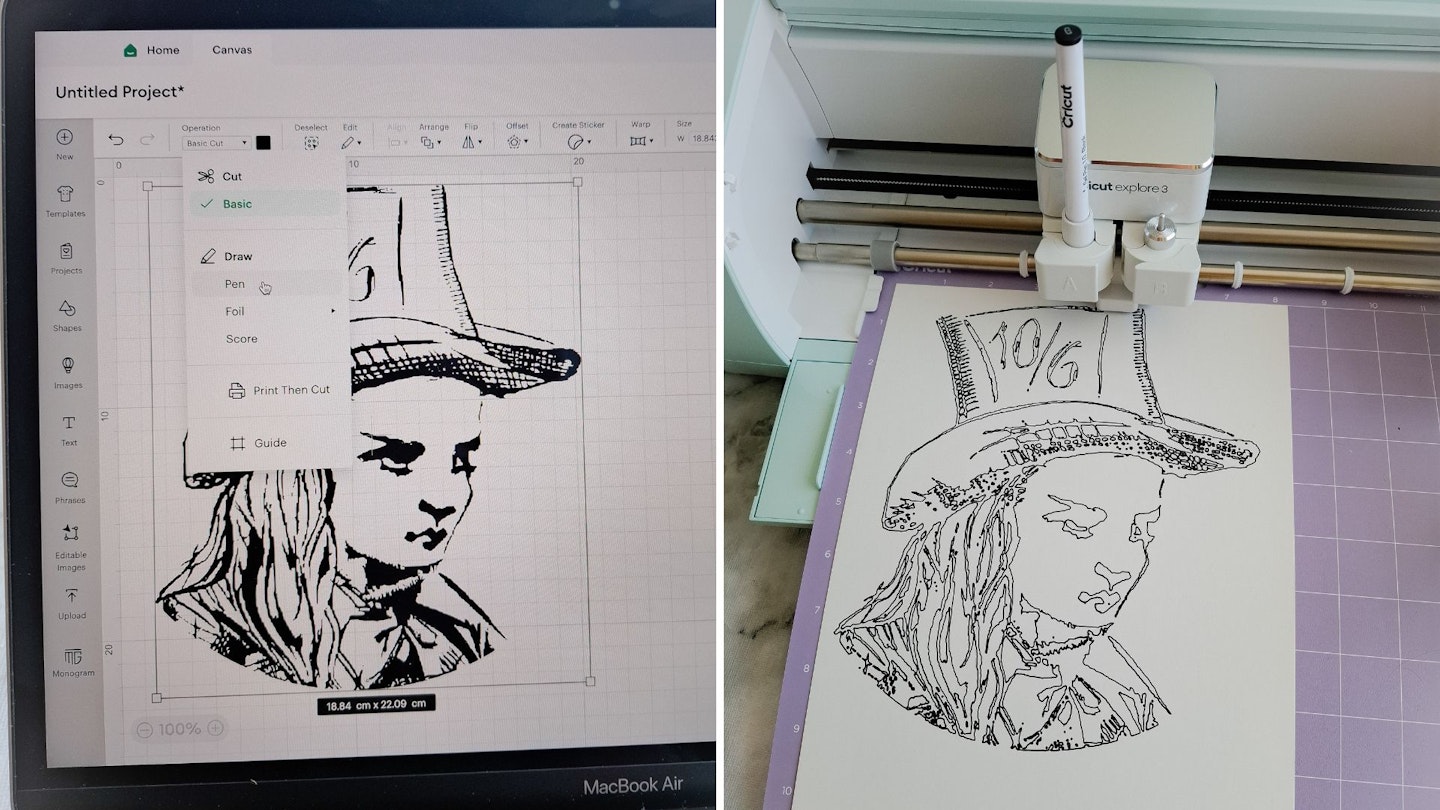
Drawing and cutting
The Explore 3 has a clamp for the blade and a separate clamp for a pen or tool. That means if you’re making a project that involves drawing and cutting, you don’t have to switch tools as often. Though you will still have to switch each pen colour if your design is multicoloured.
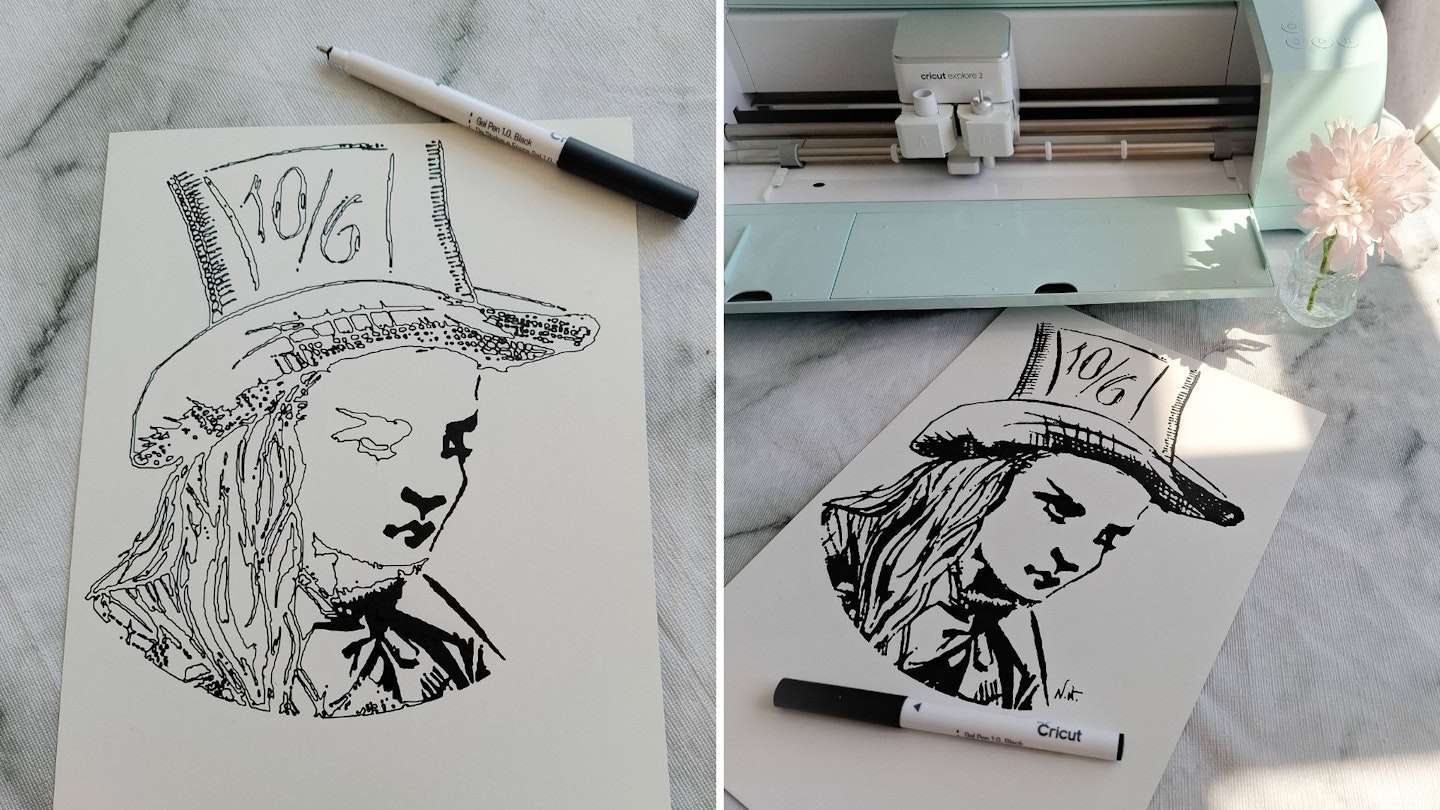
A pen easily clicks into clamp A. Make sure you push it down otherwise it won't make contact with the paper. It's really exciting to press go on a design and I was amazed at speeding of the drawing. It draws the image in a sequence, then the second pass is the cutting stage.
The Explore 3 is also compatible with the Scoring Stylus, making 3D paper projects that much easier. This scoring tool is in the bundle and is used in conjunction with a cutting mat.
Importantly, do not peel your material (paper, card etc.) away from the cutting mat, otherwise it will curl. You need to lay the final design face down and gently peel the mat away from the material.
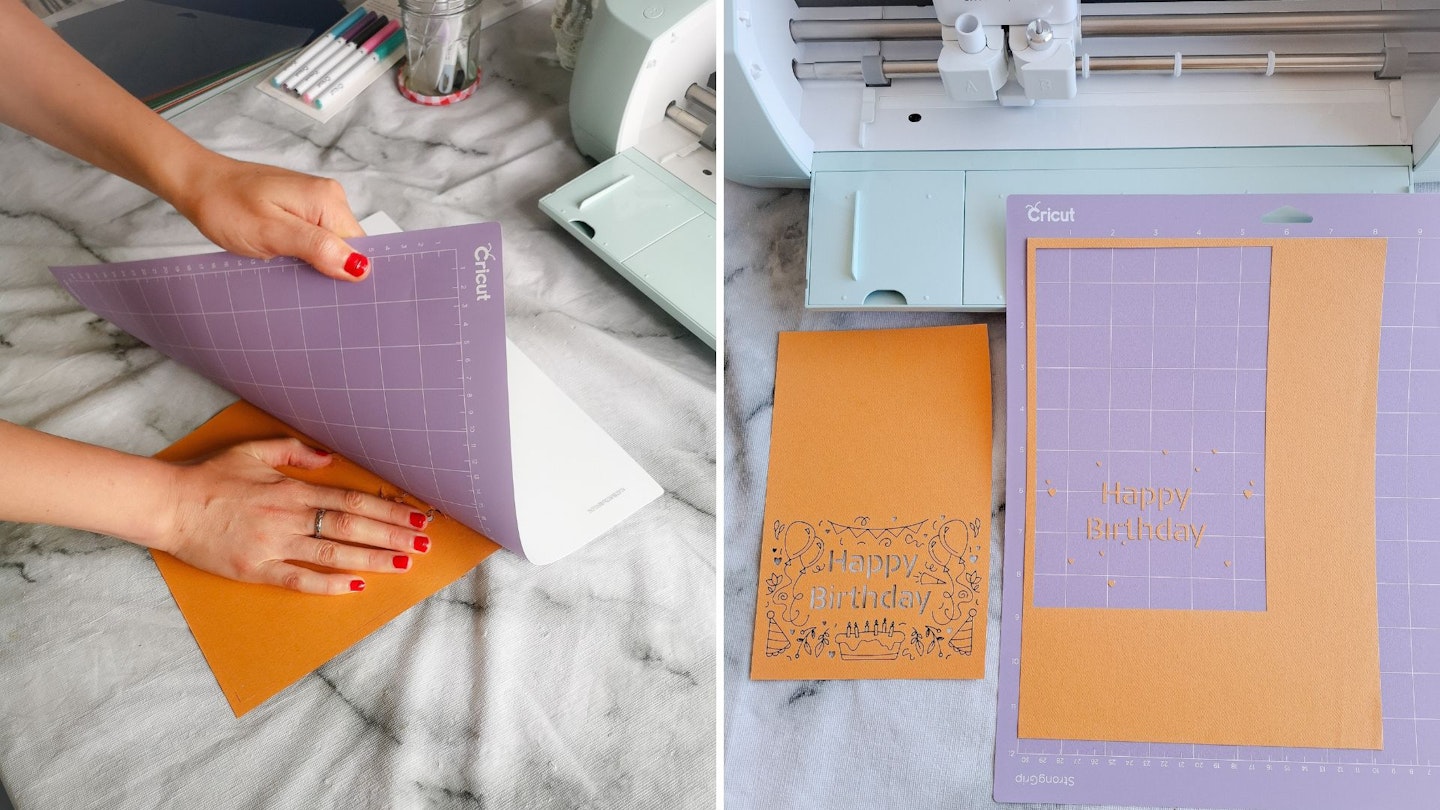
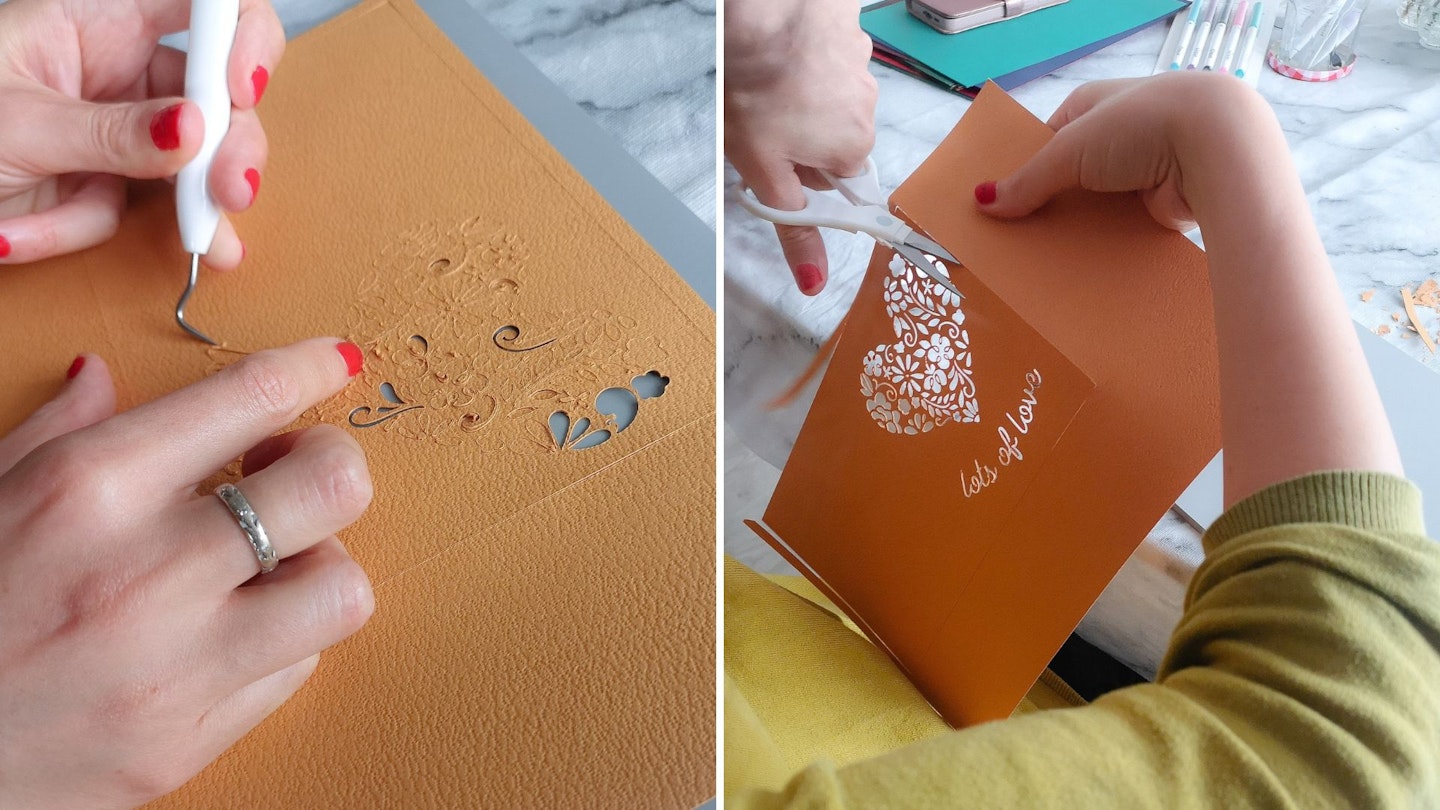
Non-'Smart' materials involve a bit of trial-and-error. It's a good idea to make a test cut on a piece of scrap material. I chose a particularly textured cardstock and if I were to repeat the project I would adjust the pressure of the cutting blade as it didn't quite get through all the layers of the card. That's just all part of the fun of learning the machine. Additionally, it's very easy to select more or less pressure before it starts cutting.
I like that it cuts the overall card shape out of the cardstock for you as a very neat finishing touch. But, you can see how the card scraps can accumulate.
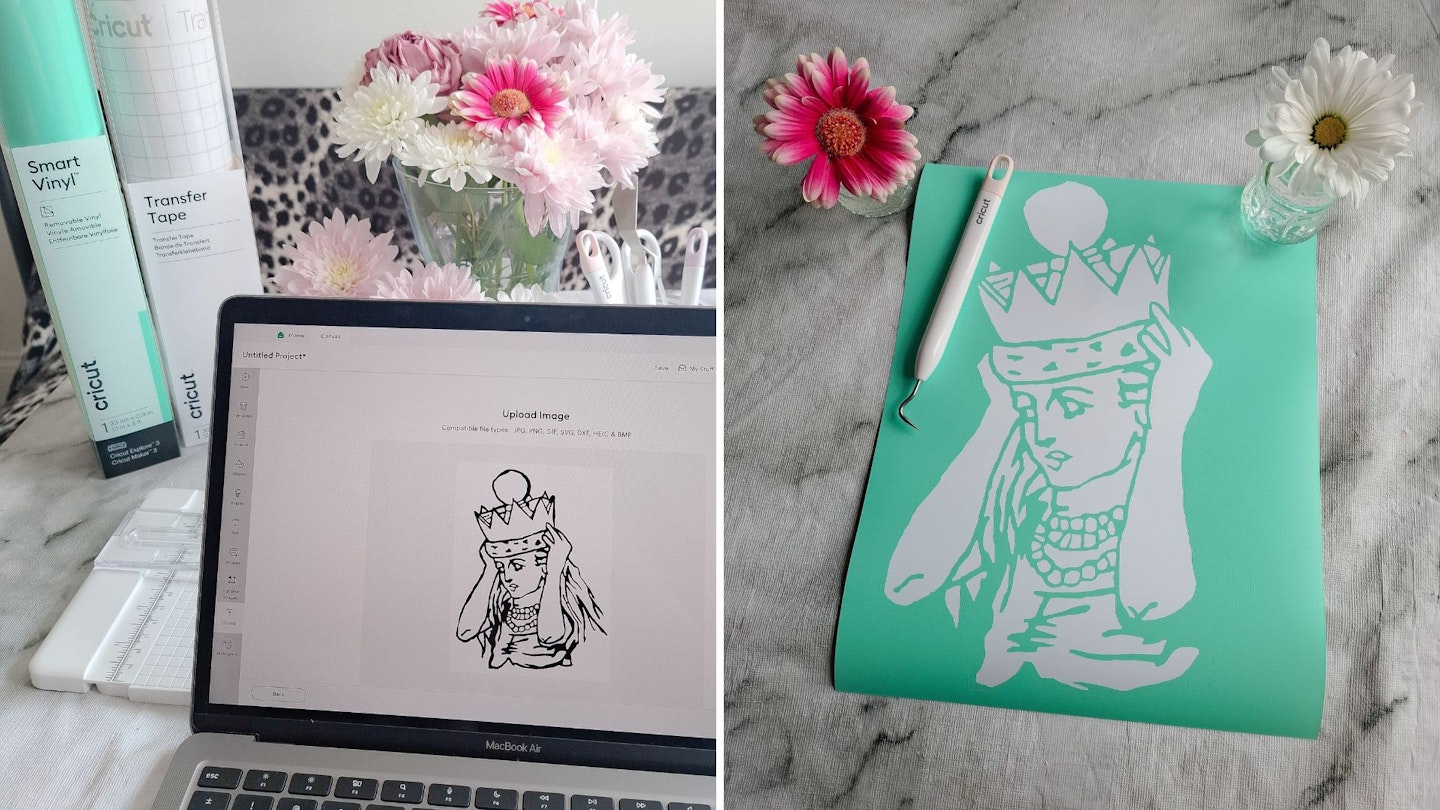
Cutting an intricate design
If you're uploading your own .jpeg or .png, the Design Space software can automatically erase the background. It can also convert your design to outlines, so don't worry about spending hours in a separate software attempting to create a vector file (like I did!). Turns out, Design Space can handle that for you.
In Design Space it's important to select the Cricut machine that you are using. For some reason, mine defaults to the Cricut Explore Family and this can bring up different options. So, it's good practice to make sure your machine is selected as soon as you open the canvas.

Your own design will need working out to get the measurements right. The Cricut will measure the material you're using and tell you if the design is too big. You can go back into the canvas and change the size.
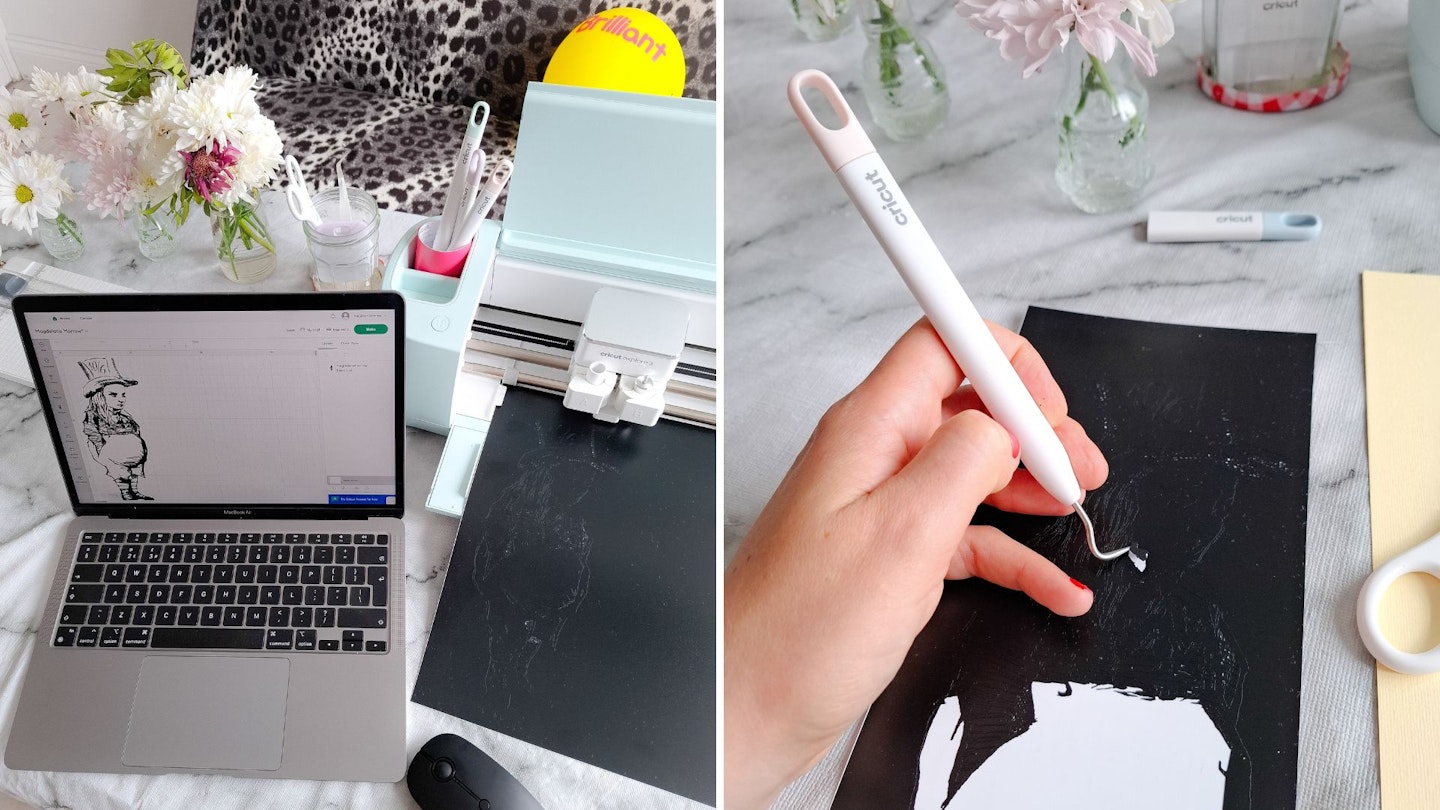
It's magic watching the Cricut cut your design. Because mine was super intricate it took over five minutes. I think my design was a bit too fiddly for vinyl. But this was an impressive demonstration of the Cricut's precision cutting blade. In fact, the Cricut is so precise if you stuck two layers of sticky tape together the cutting blade could cut through the first layer without making a mark in the second.
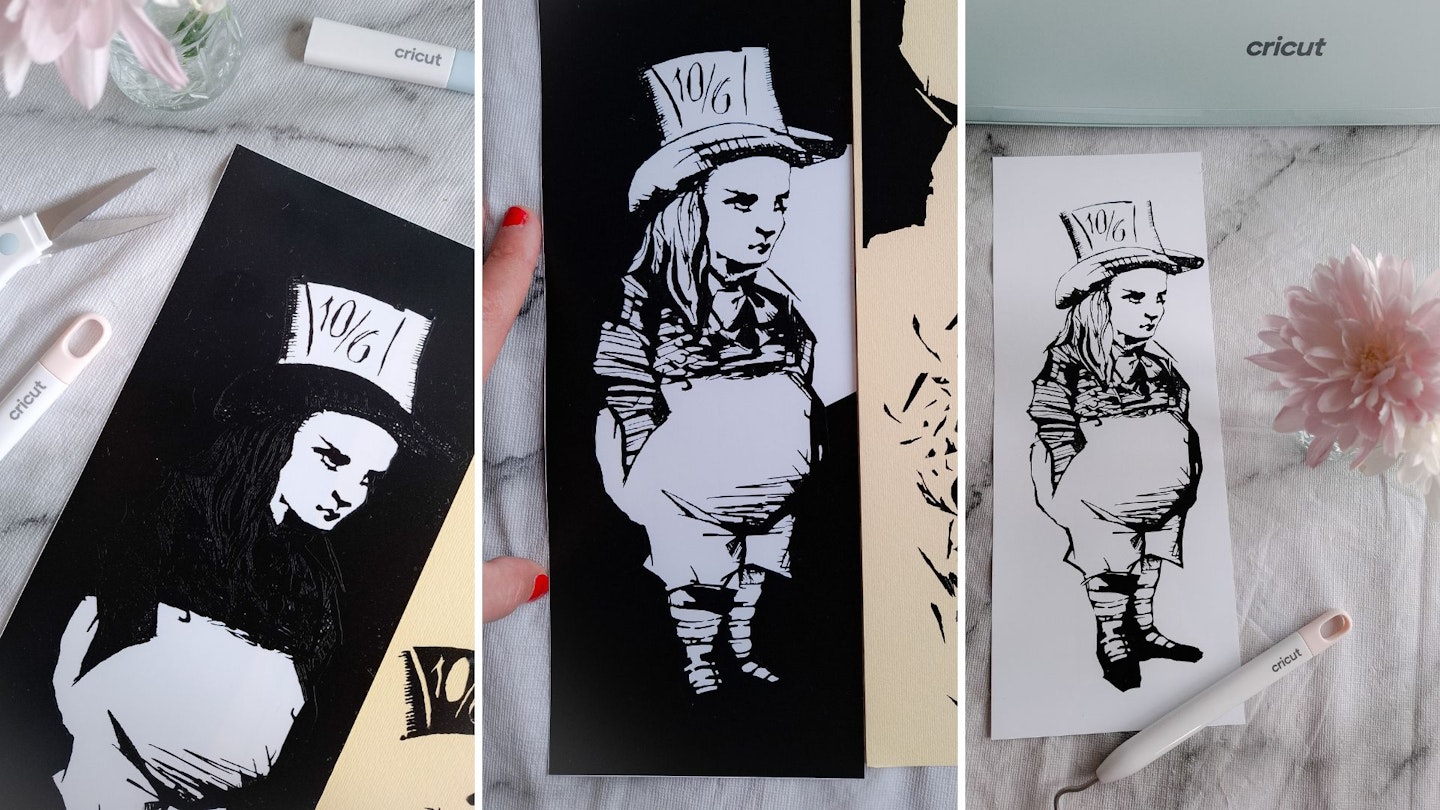
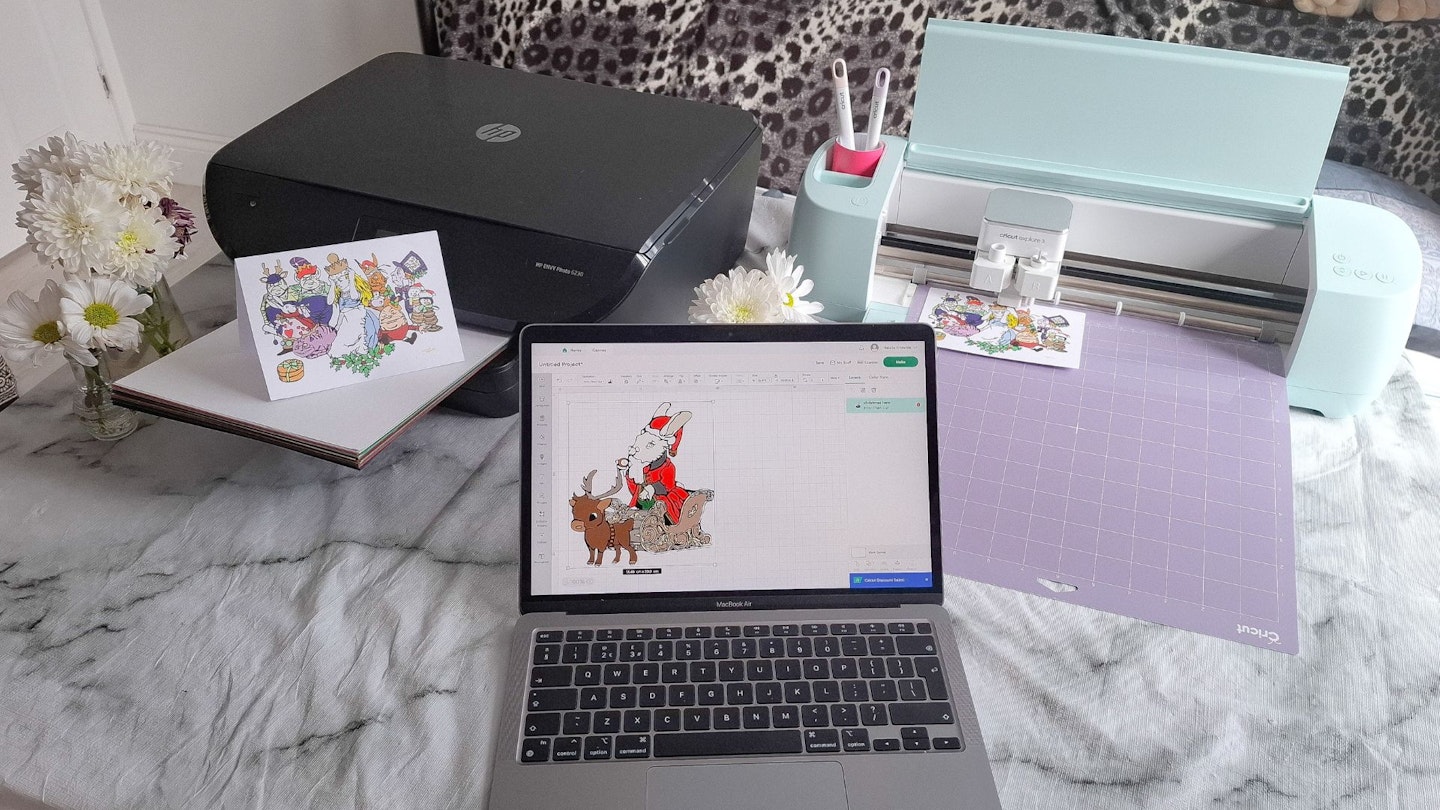
Print and Cut
If your work is extremely intricate, multicoloured or shaded, it's best to print a sticker. The Design Space software can talk to a home inkjet printer via Bluetooth. The beauty of this is that you only need the Design Space software open to both print and cut a design.
Print and Cut was recommended to me in a 1-2-1 session with a Cricut expert. Because my illustrations are so detailed, it's better to print them as a flat image and then cut around them. This way, I can create stickers and transfers with my artwork.
Using a Printable Iron-On material allows you to customise T-shirts, tote bags and more. The mirror-image function in Design Space reverses designs for iron-on transfer. For best results, use a Cricut branded heat press.
Usability
If you are new to design software I recommend using the Cricut Access projects and customising existing designs. Equally, if you're a dab hand and experienced designer, you'll be blown away by the Cricut's ability to cut complex designs.
Cricut products are fantastic for both hobbyists and professionals. Just bear in mind that using a computer or mobile devices is required. If you prefer a wholly manual process, a traditional die cutting machine may be preferable.
I have used the Cricut for cutting and drawing, but equally, with additional tools you could cut stencils out of acrylic or embellish a design with gold foil. It really is a case of playing around with the machine, it's a tool, just like a sewing machine. Craft for crafts sake and have fun.
As an artist, I am currently interested in creating larger scale pieces of work. In recent years I have been building installations rather than exhibiting framed pieces of work. So, I'm excited how the Cricut Explore 3 enables me to create large reproductions of my drawings. For example, I got the Cricut to reproduce a large, seemingly hand-drawn version of my Natalie Knowles Art logo.
So, in terms of usability – my goodness – the possibilities are endless and defined by how you want to use the Cricut.
Using transfer tape to transfer Smart Vinyl onto a surface
It is possible to retain the layout of a design by using transfer tape. This is essential if you're transferring lettering to a window, for example, or have an intricate decal. It can be particularly useful for transferring a design to a curved surface... my partner has talked up his and hers branded egg cups!🤣
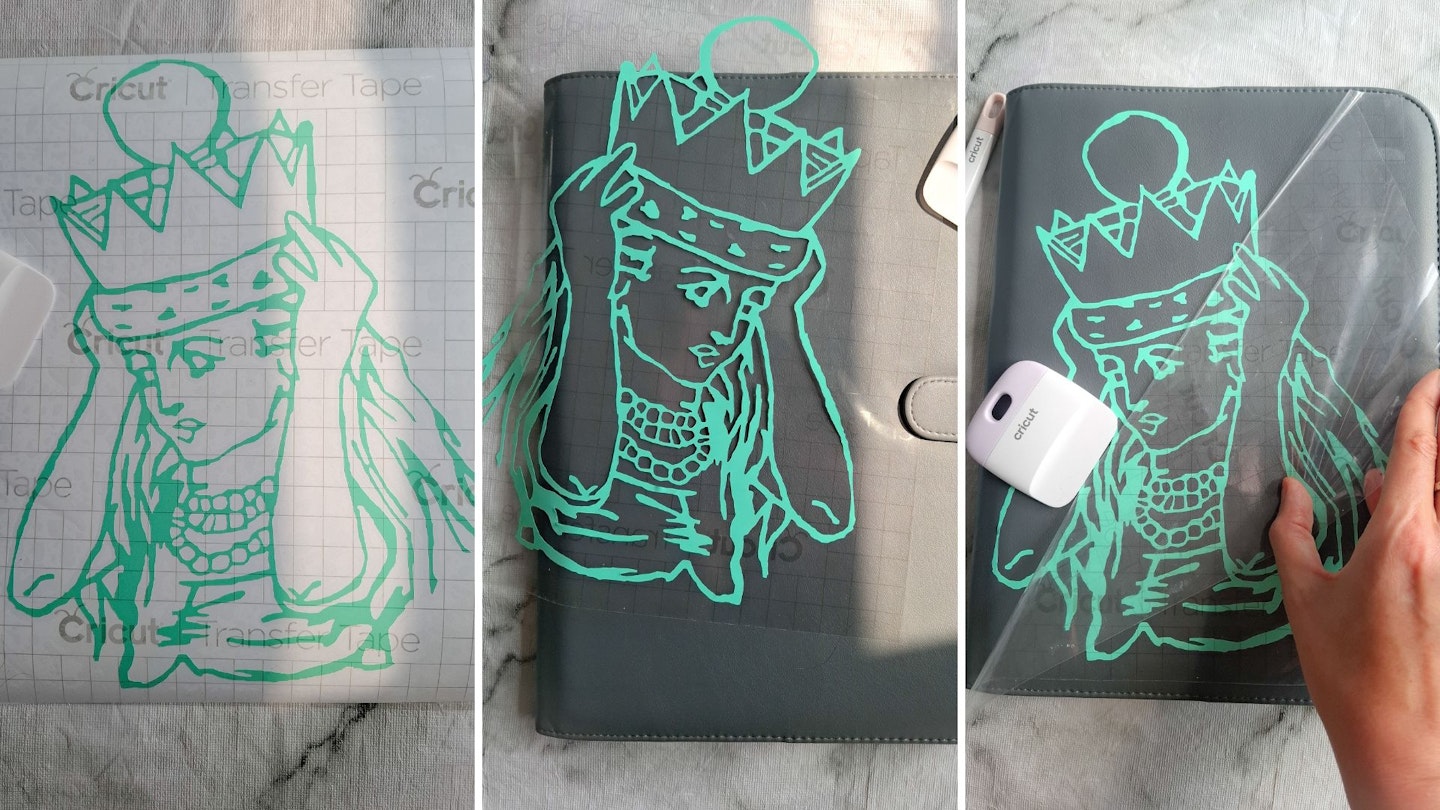
Transfer tape is a transparent film with a square grid that makes it easy to line up your design. Cut a piece of transfer tape to the same size as your design. Peel the backing off and retain it because the transfer tape can be used again. If it's a large design, work slowly and have patience because the sticky film curls up, but it's workable and you'll end up with transfer tape overlaid on your design.
A good tip is to use the scraper tool to firmly press the transfer tape onto the Smart Vinyl so all the little intricacies of the design adhere. Then, turn the design over and gently peel off the backing from the vinyl. Work slowly and use the scraper and weeder tools to help. Eventually, you'll have your design in reverse, stuck to the transfer tape. Next, flip it over and stick it to the surface that you want it on.
I stuck mine on my portfolio. I used the scraper to firmly press the design in place and then pulled the transfer tape off in one piece. Lastly, I put the transfer tape on it's backing card so it can be used again for another project.
Final verdict
Oh it's a glorious machine! But I do think it's worth having a subscription to Cricut Access. It's the best way to achieve stunning designs and learn from like-minded crafters. Yes, I've got professional experience but I'm short on time, and using Cricut Access convinced me that it's by far the best way to achieve a project if you don't want to faff around. That said, I've also successfully uploaded and created projects with my illustrations. For beginners, Cricut Access is a must-have to achieve the Cricut Explore 3's full potential.
All the Smart Vinyl and cutting tools are premium quality. When you use the cutter and weeding tools, you can feel that they are excellent.
It's worth attending a a workshop at Hobbycraft to see if Cricutting is for you. If you are interested in having a demonstration of Cricut products, check out Hobbycraft's ClassBento, to have a workshop in your local store or attend a digital crafting one-to-one session online.
In addition, Youtube has lots of Cricut tutorials, such as this Tips & Tricks for using paper.
Rating 4.5/5
Similar products to consider
Best Cricut machine for beginners
 Cricut
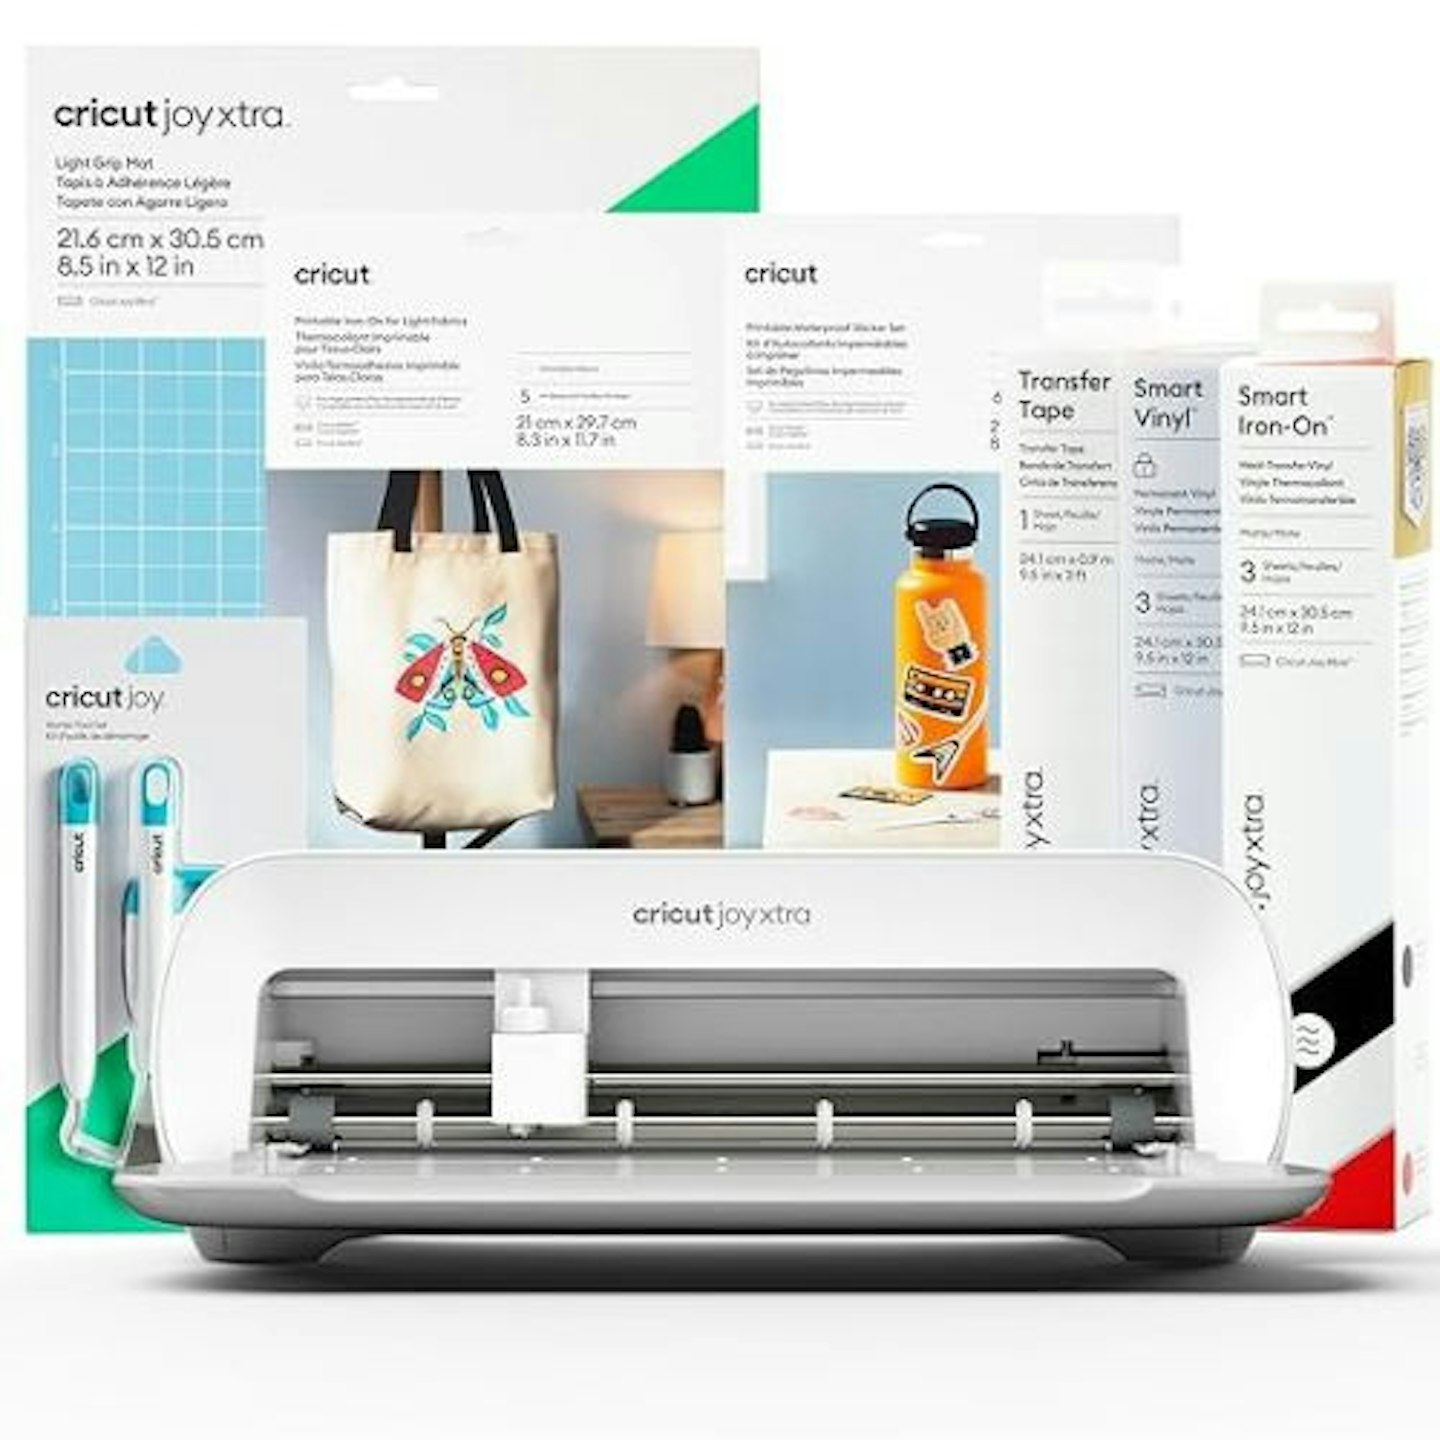
The Cricut Joy Xtra is perfect if you are getting started on your crafting journey. This is the most compact Cricut machine and it's portable. It's been known to see people crafting with their Cricut Joy on the train. The difference between the Cricut Joy and the Cricut Joy Xtra is that the Xtra is compatible with Smart Materials, which don't need a cutting mat. Simply feed it into the machine and a sensor detects the Smart Material. In addition, this machine works with over 50+ types of A4 width materials on a cutting mat. The length of cut can be up to 12 inches (30.48cm).
Pros
- Compact and easy to store away
- It works with A4 size materials
- Compatible with Cricut Smart Materials
- Portable for on-the-go crafting
Cons
- A bit more limited in terms of features than the Explore or Maker
Tested
Best Cricut for all creative possibilities
 Cricut
Choose the Maker 3 if you are a serious crafter and want the Swiss Army knife of digital crafting machines. While the Cricut Maker 3 is the same size as the Explore 3, it has some advanced features which will appeal to small business crafters, artists and art students. If you are looking to sell your items, then this machine is perfect as you can use lots of tools with it and create on a large scale, including banners that are up to 3.65 metres. It supports Smart Materials which don't need a cutting mat and it can also be used with other materials on a cutting mat. It's compatible with Cricut's Adaptive Tool System, which is a series of blades that can cut wood, aluminium, heavier fabrics, including leather up to 2mm thick.
If you are into personalising and decorating objects, (perhaps to sell on Etsy) this is the best machine. In addition to cutting, engraving and debossing tools there is a scoring wheel tool for for 3D paper crafts that makes it a doddle to fold thicker card stock. Also, the Cricut Perforation Blade makes it easy to punch holes in a range of materials.
_Please note these tools are sold separately to the machine.
_
Read our full review of the Cricut Maker 3.
Pros
- Compatible with 300+ materials
- Best Cricut machine for a serious crafter
- Compatible with a range of Cricut tools for embossing, scoring, engraving and more
Cons
- Will need some knowledge of intermediate to advanced crafting to get the most out of the machine
FAQs
Who is the Cricut Explore 3 best suited to?
The Cricut Explore 3 is ideal for crafters and hobbyists who have specific 'makes' in mind and wants to use specialist tools. A perfect example is if you were preparing personalised decorations, invitations and favours for a wedding. With the Cricut Explore 3 you can batch produce and create larger scale designs, such as banners. There is a full comparison of each machine available from Cricut, that gives a clear list of features to help you compare Cricut machines. It shows what projects are possible with specific machines and which tools are compatible. Also, Cricut US have a Machine Quiz to help you decide which machine is right for you.
What are the key things to know about Design Space?
Natalie spoke to Patricia Hutny, Cricut's UK & IE Marketing Manager, and found out everything you need to know to get started on crafting with Cricut. The Design Space app is free to use, and it is so easy to find a wealth of free projects and fonts on there, which you can use to your heart’s desire.
On Design Space there are easy-to-use video tutorials, which you can access by clicking the “Getting Started” button on the left-hand side sidebar. There are so many amazing projects, but you can use a filter at the top to distinguish between Cricut projects and Community projects.
Cricut Only projects are best for beginners as they read like a recipe card with step-by-step guides; many have pictures and even videos to show you how to craft each project. You can also buy images and fonts individually for one-off projects.
Are there benefits to subscribing to Cricut Access?
There is a 100% optional subscription to Cricut Access. If you use your machine regularly, it is likely to save you money compared to buying images and fonts individually. Cricut Access images and fonts also have the advantage of being quality tested, so you know they will work well with your machine and deliver good results. Cricut Access costs £7.49 monthly or £71.88 yearly. Plus, you'll get 10% purchases off Cricut.com, including the machines.
What is the Cricut Community?
Cricut is a community of 9 million people with a platform of 200 million projects made and shared on Design Space. Contributors create Community projects that can be so wonderful and varied. However, these won’t necessarily follow a specific format as they are personal to the creators who created them.
Why should I buy Cricut materials?
Yes, there’s a cost to the materials, though most will yield a lot of different projects. Especially if you’re saving your scraps. Buying from Cricut you know that the materials have been specifically engineered for use with Cricut machines and will yield the best results.
Any final advice for a Cricut newbie?
When starting on your Cricut journey, pick one material and then continuing to practise with it until you get more and more confident and then go from there. Not all crafts will turn out perfect the first time, so keep going and don’t get discouraged! It’s a learning process, and it will be a super enjoyable experience. Visit Cricut UK’s social channels for lots of inspiration. There's Cricut UK Instagram. Also, with over 67K follows there's an active community of Cricut lovers on the Cricut UK Facebook group. The Cricut community gather for events and meetups and are always so friendly and sharing their ideas; you will be sure to come away with like-minded friends from a meet.
Natalie Knowles is a Homes & Garden Product Writer for Yours, specialising in home appliances. When she's not testing sparkling water makers, she flexes her creative flair as an artist. Find out more about Natalie's art work. Follow @natalieknowlesart on Instagram for new designs and exhibitions.