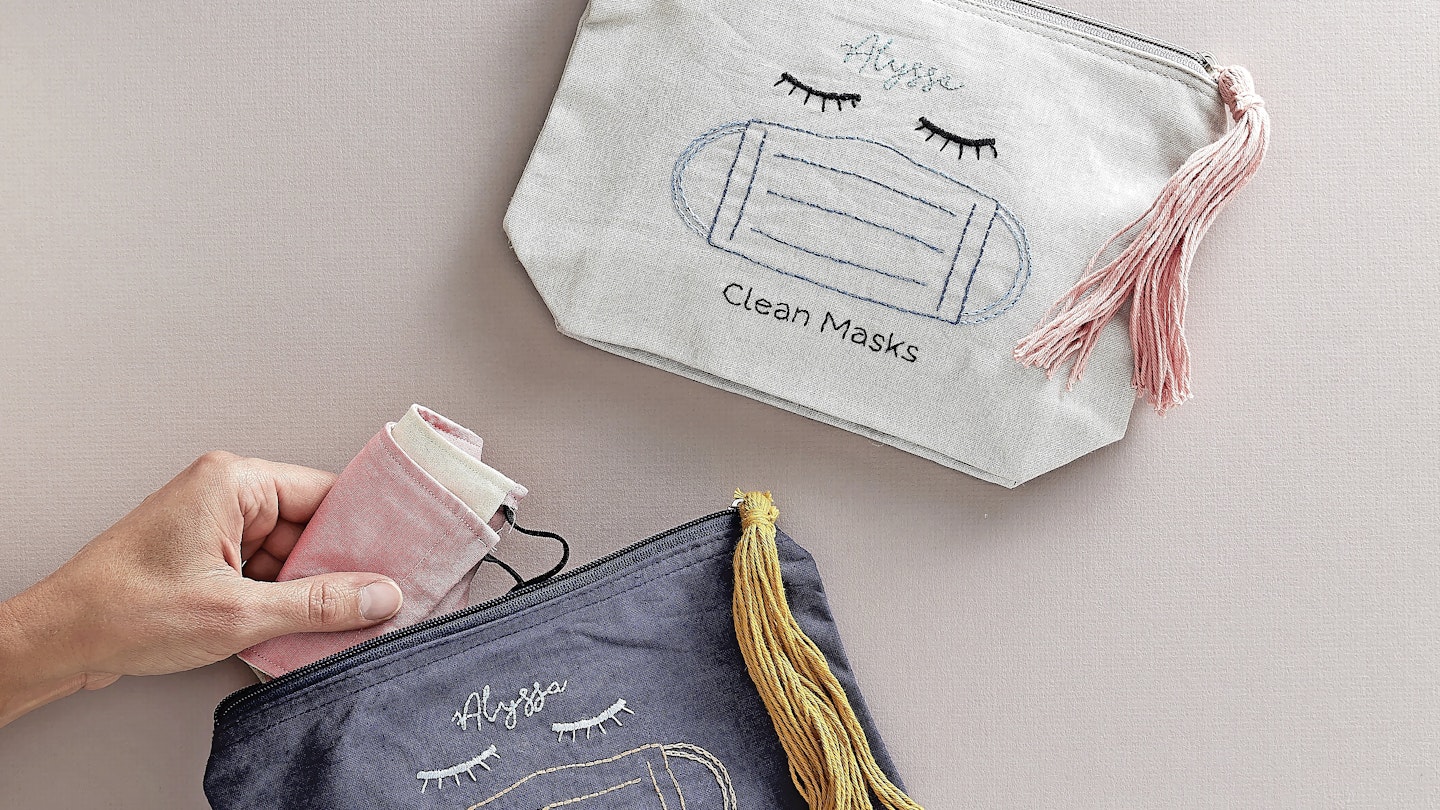
For both pouches, you will need:
- 2x different coloured cotton zip
- pouches (approx 15x14x9cm)
- Embroidery hoop (6in)
- Embroidery scissors
- Pencil
- Embroidery crewel needle
- Thread in colours of your choice
- DMC magic paper blank sheets
- Templates (far right) – use as
- shown or enlarge if preferred
Method
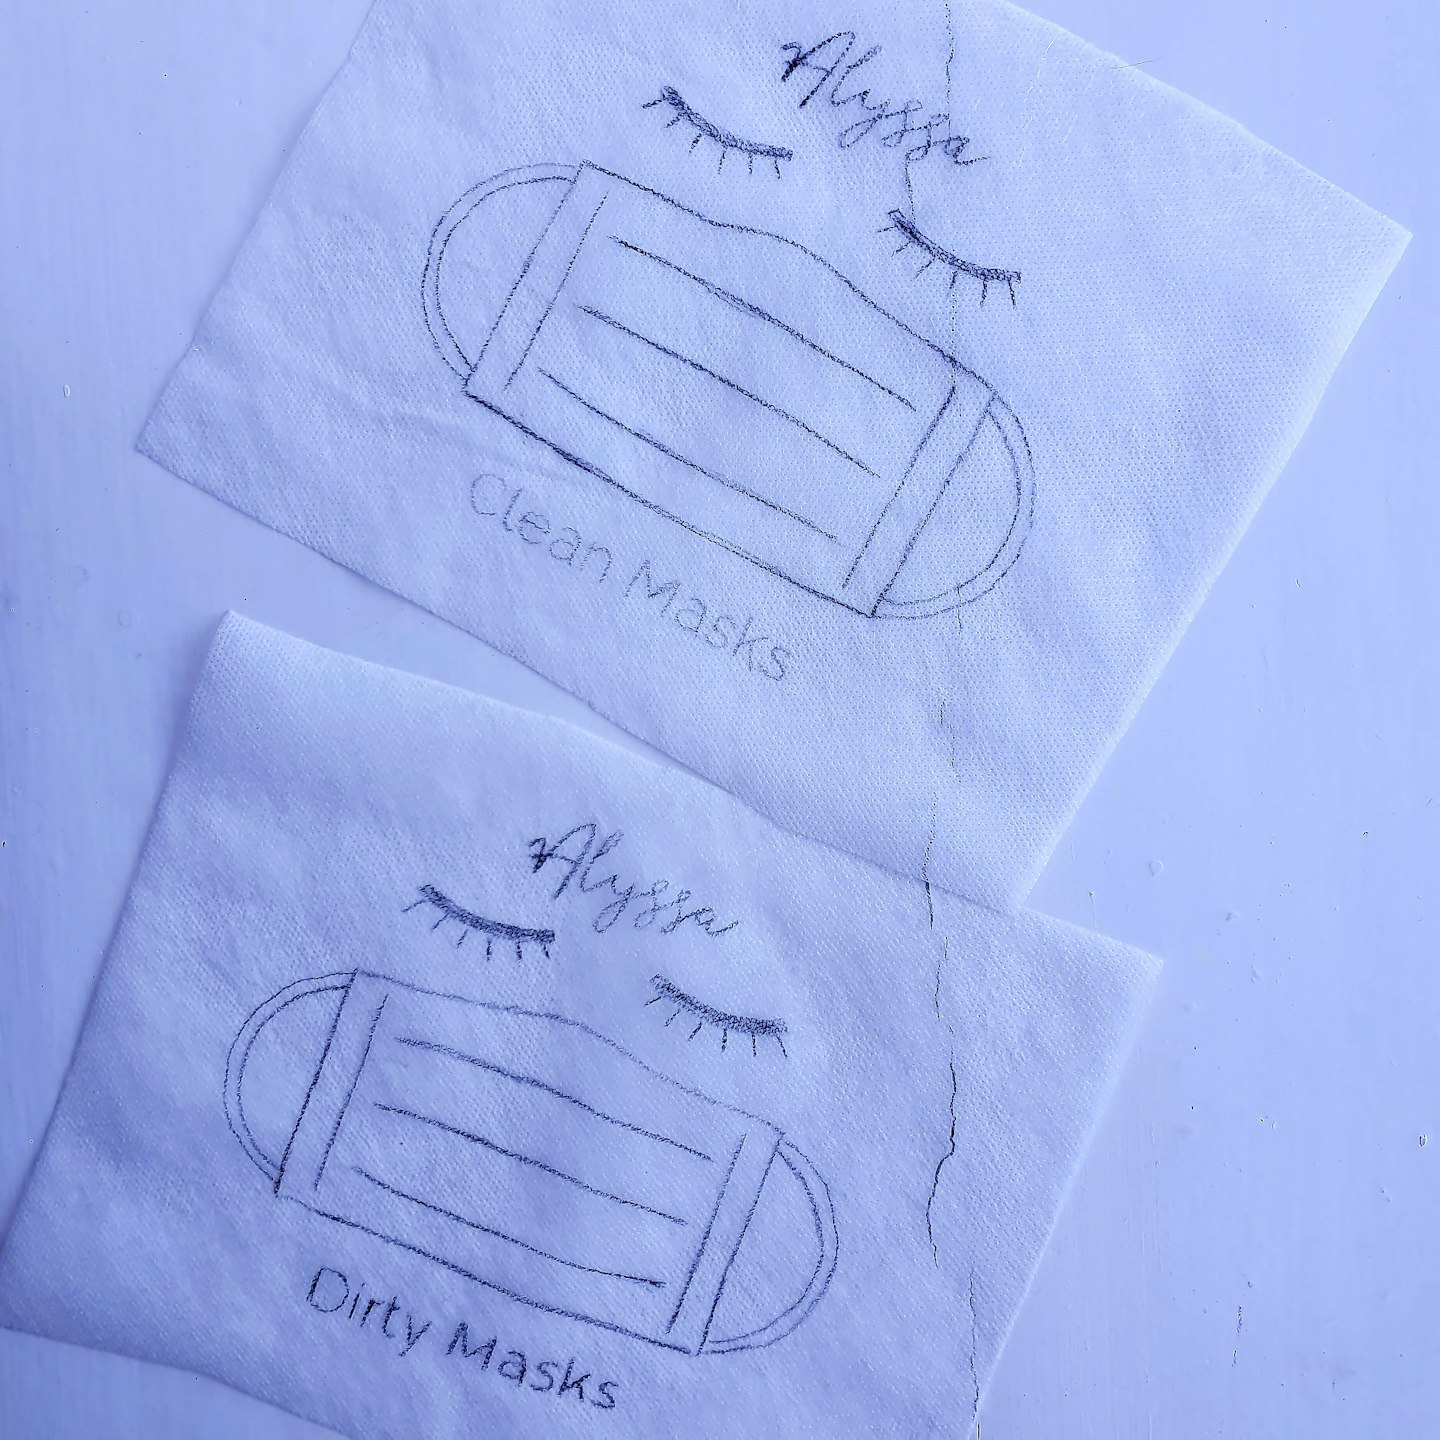
- Using the templates below, trace the design onto magic paper. For this design, you have the option to add your own name, which you can write on the magic paper. Place the magic paper onto one of the pouches.
- Place the 6in hoop around the 'Clean Masks' design, cut a length of black thread and divide the thread so that you have one set of 2 strands and one set of 4 strands. Using 2 strands stitch ‘Clean Masks’ text using backstitch.
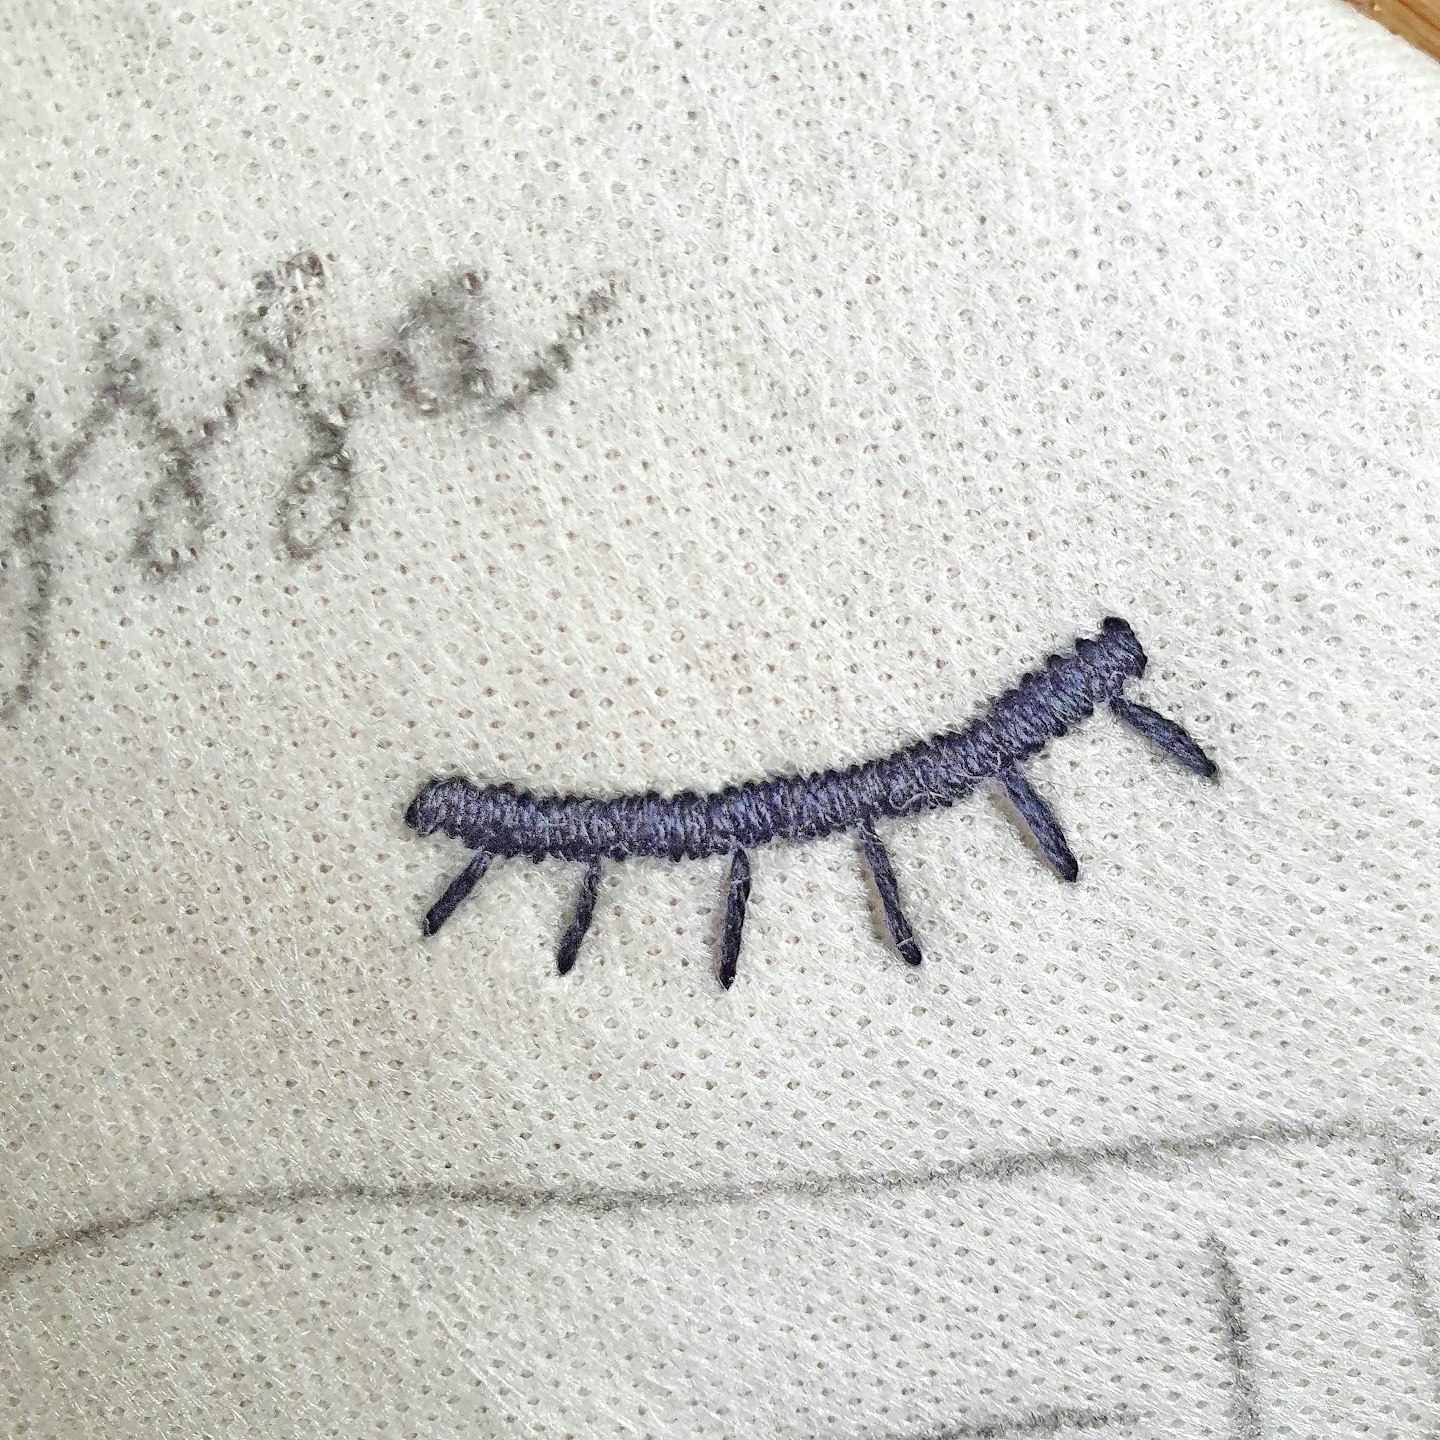
- Use the black thread again to satin stitch the eyelash lines; use three strands of thread for this. Add an individual straight stitch for each eyelash.
- Cut a length of a different colour thread and divide into two sets of three strands. Use these to stitch the mask outline and inner lines using backstitch.
- Cut a length of a lighter shade and divide so that you have three sets of two strands. Use these to chain stitch the outlines of the mask elastics.
- Stitch a name using three strands in backstitch. Remove the magic paper with warm water.
- Repeat all above steps with the other pouch but make sure you stitch the words ‘Dirty Masks’.
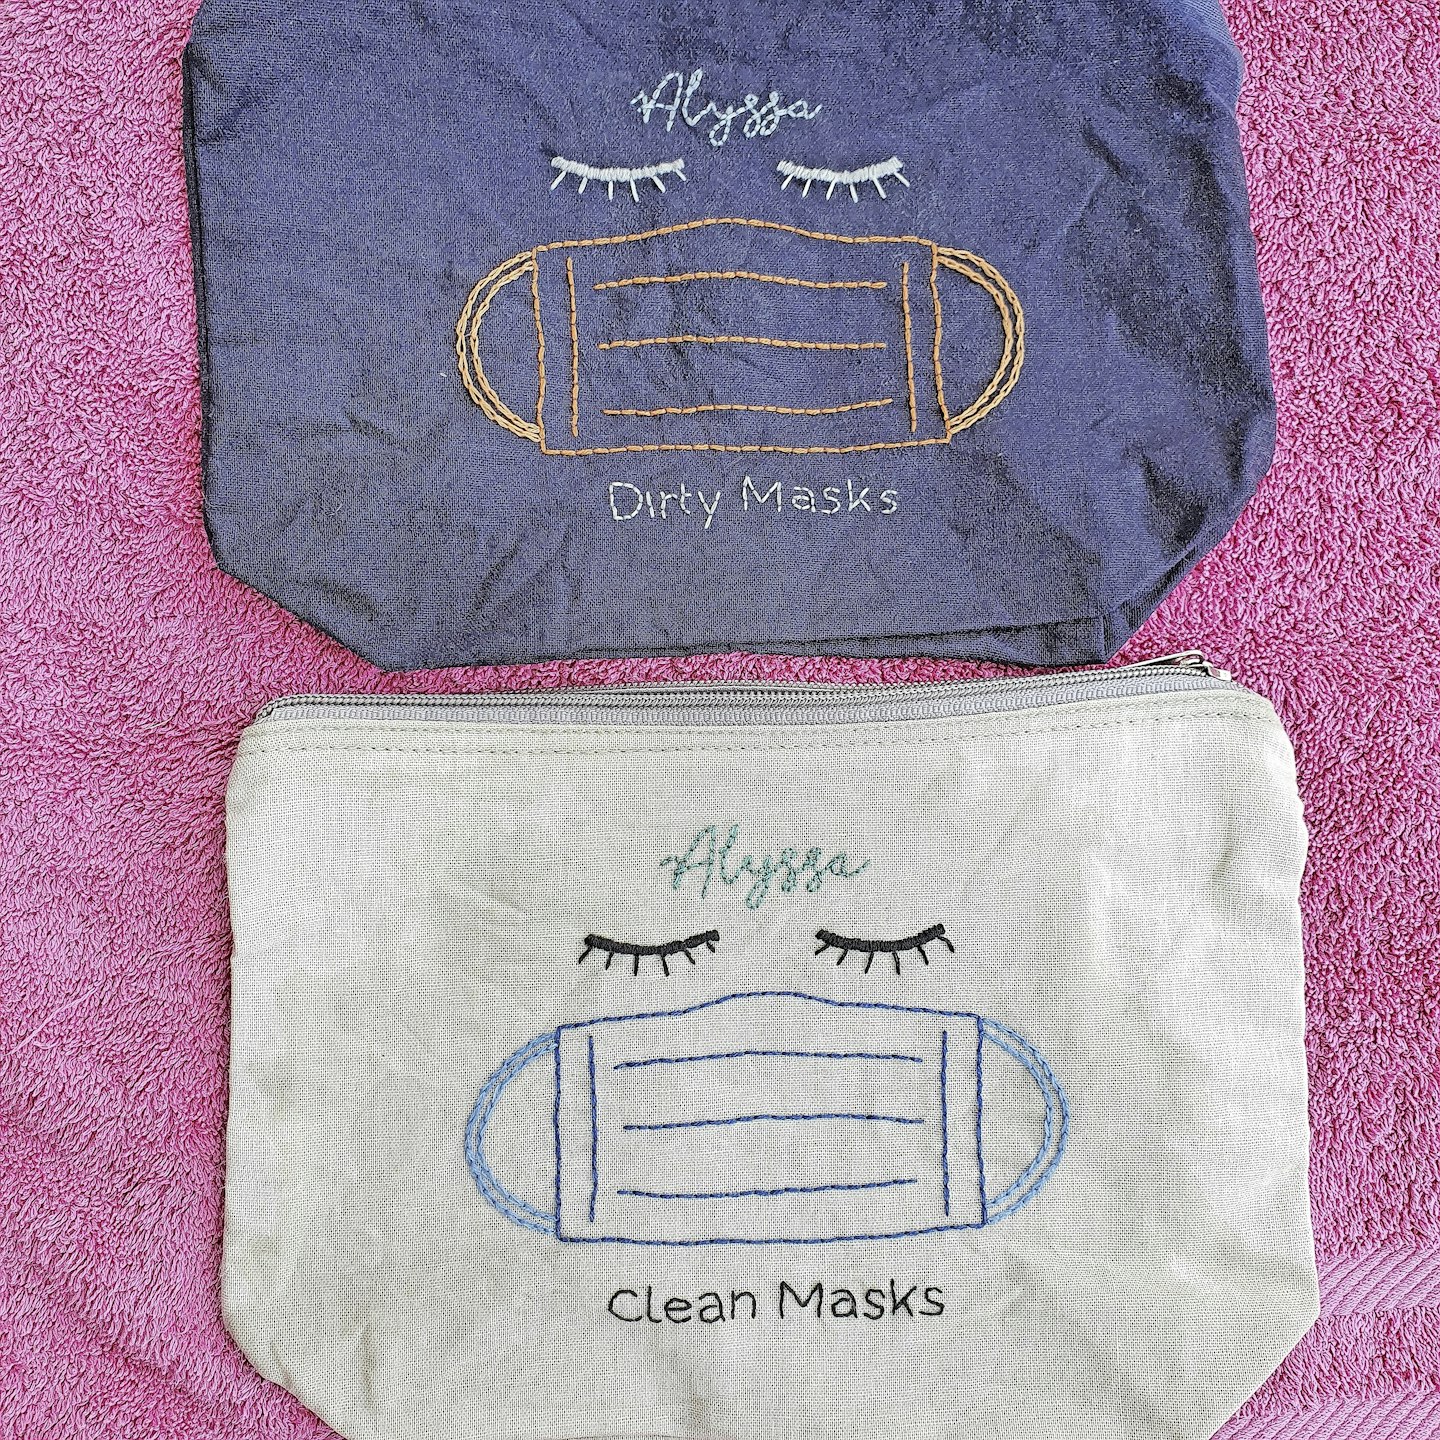
Templates
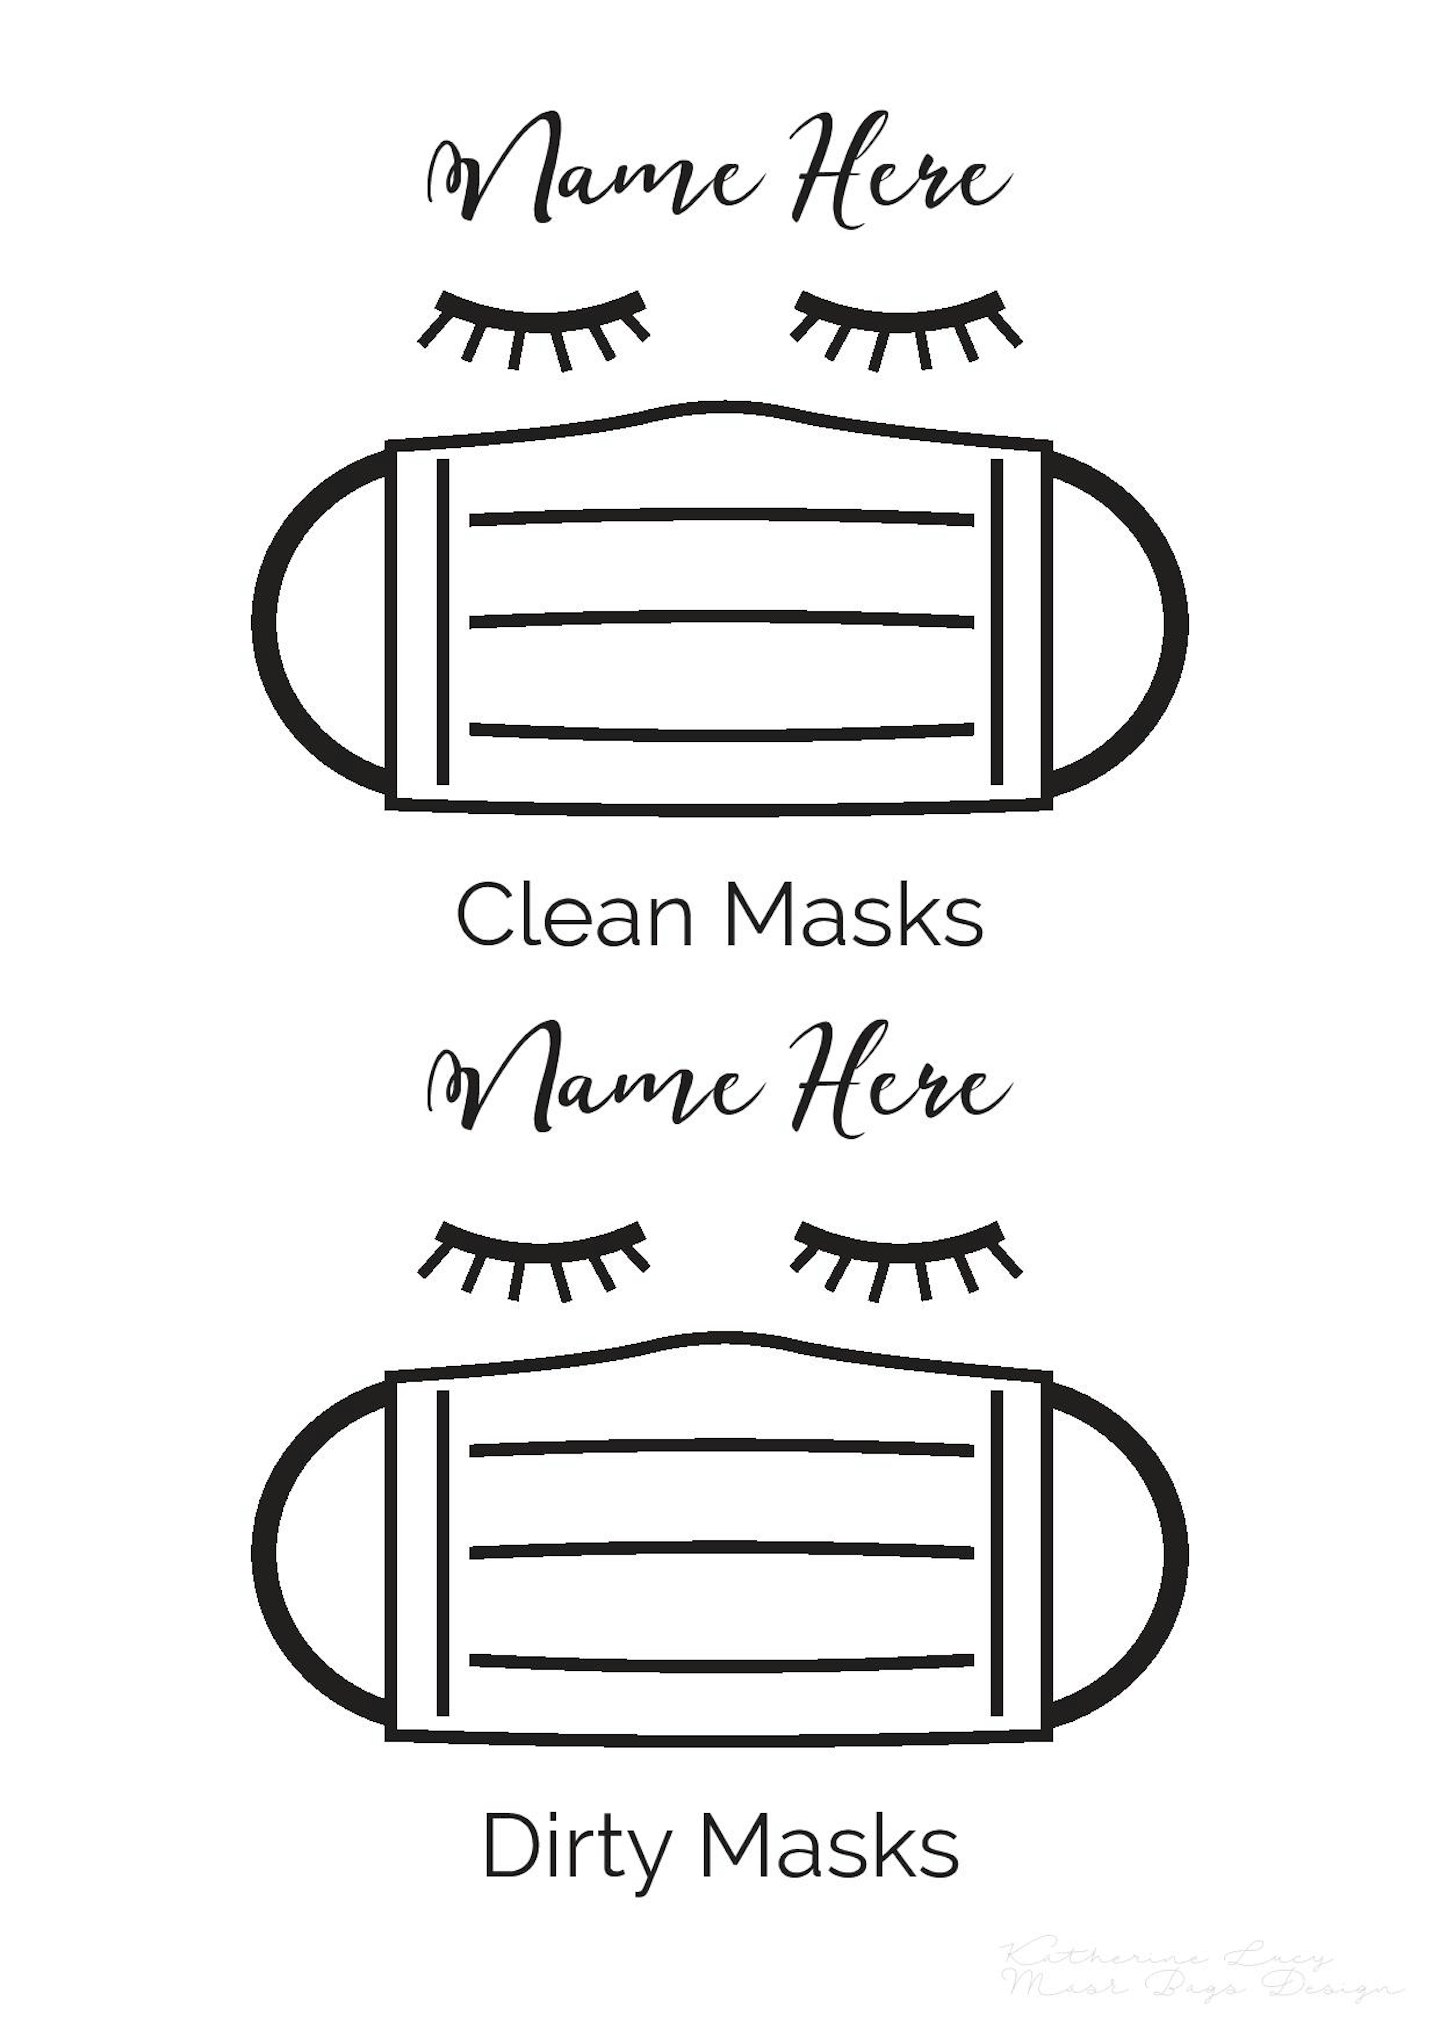
This project was supplied by Hobbycraft. For more craft inspiration visit www.hobbycraft.co.uk
Popular articles to read next
Face masks: How to make your own and where to buy stylish face coverings
